
Winter seed starting doesn’t have to feel complicated. With a few simple tools and smart setups, you can get a head start on spring without spending too much money or time. Many seeds actually grow well during colder months when handled the right way. This list walks you through practical, beginner-friendly ideas that help you plant earlier, protect young seedlings, and create strong growth before warm weather arrives. Every tip keeps things low-cost, realistic, and easy to try in any backyard, balcony, or small garden corner.
1. Use Clear Plastic Jugs for Mini Greenhouses
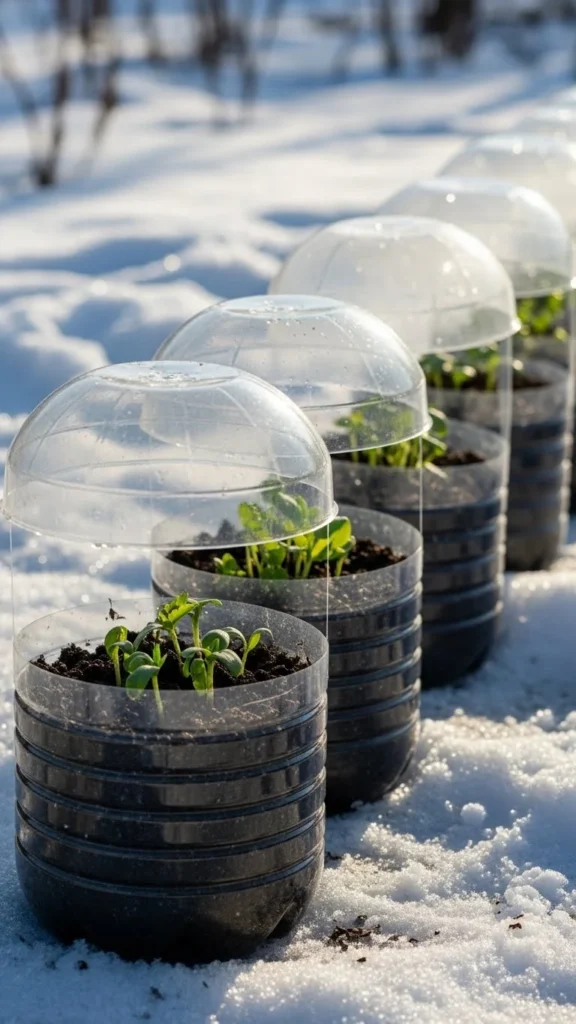
Turning old plastic jugs into mini greenhouses is one of the simplest winter seed starting tricks. Cut the jug almost in half, add soil, sow your seeds, and tape it shut. Leave the cap off so extra moisture can escape. Place the jugs outside where they get natural light. The clear plastic traps warmth on sunny days and protects seeds from freezing nights. You don’t need fancy tools or indoor grow lights. A small bag of potting mix and saved jugs are enough. Write plant names on the sides so you remember what’s inside. For extra stability, tuck the jugs into a shallow tray or between garden beds to prevent them from blowing over.
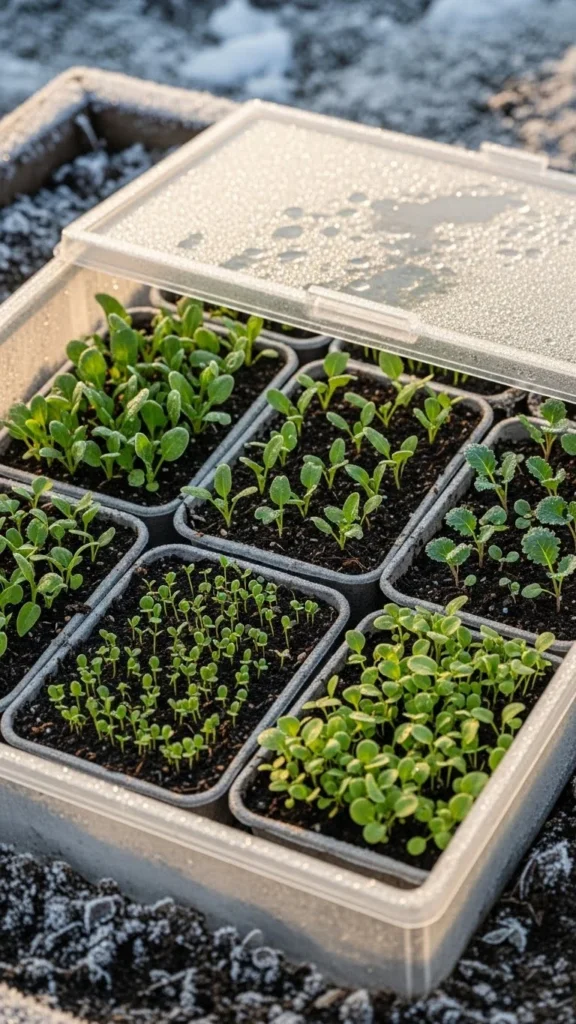
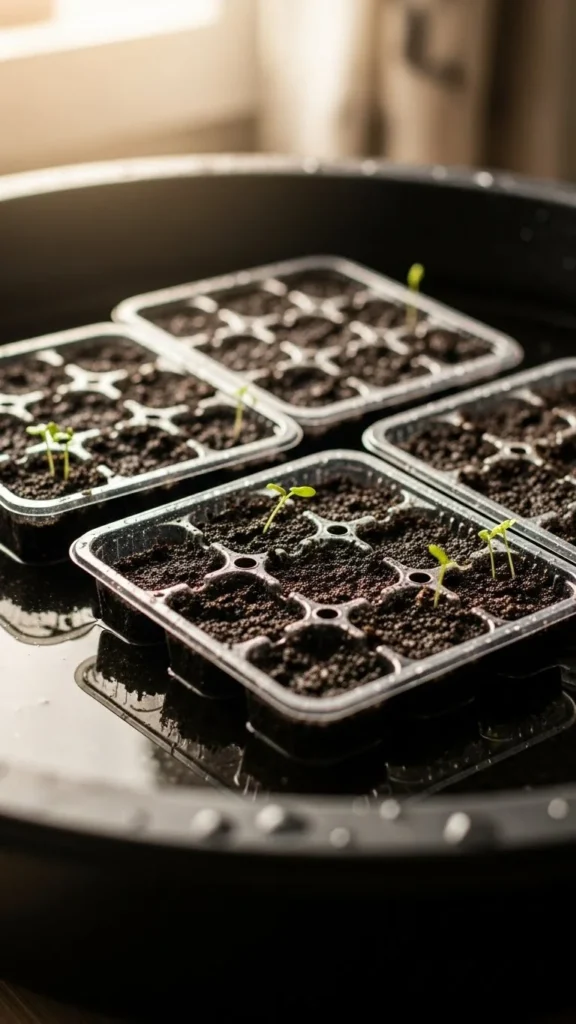
2. Start Seeds in Recycled Food Containers
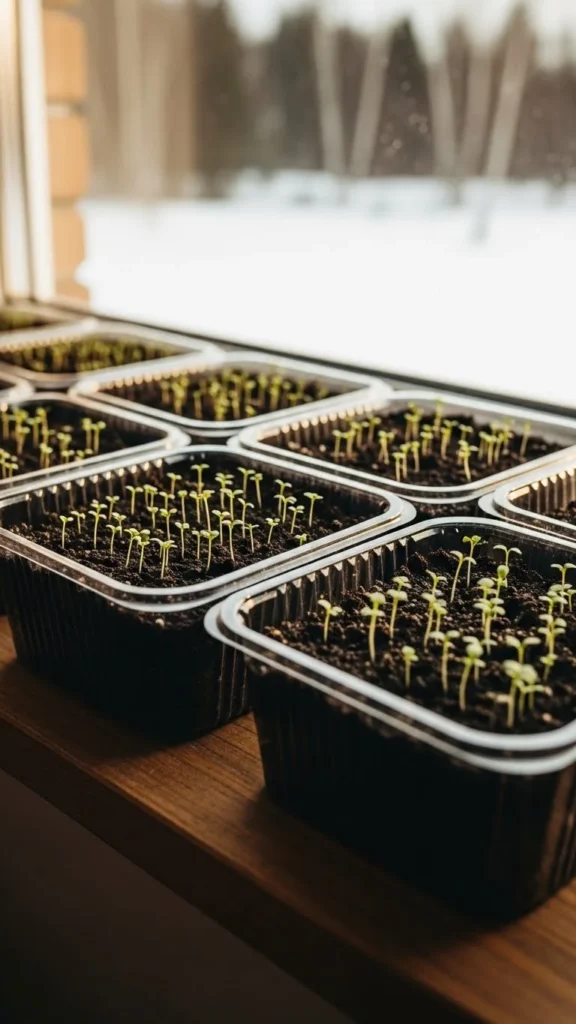
Recycled food containers, like clear salad boxes or fruit tubs, make perfect seed trays. They already have lids that act like humidity domes. Wash the containers, poke a few drainage holes at the bottom, and fill them with light potting soil. Their small size makes them ideal for herbs or greens. Place them near a bright window or under a simple shop light. Because they hold warmth well, your seeds stay cozy without added effort. If the lid fogs up too much, crack it open for airflow. This method costs nothing and gives you a quick, tidy setup that fits into any small space.
3. Try Soil Blocks to Save Time on Transplanting
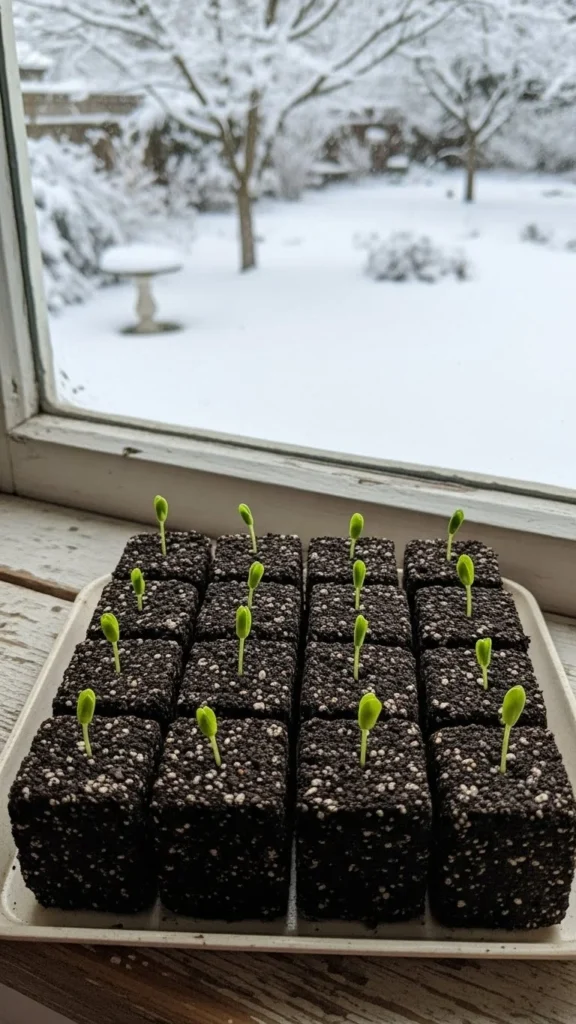
Soil blocks reduce the need for plastic pots and save you time when moving seedlings outdoors. Use a soil block maker or shape blocks by hand with firm mix. Each block becomes its own little growing home. Roots grow to the edge and stop naturally, which keeps seedlings from getting root-bound. When spring comes, you can plant the block straight into the ground. This helps the plant adjust faster with very little disturbance. Keep the blocks in a shallow tray so watering stays tidy. If you’re on a tight budget, you can even form small blocks using a cut-off tin can as a mold.
4. Use Seed Mats for Even Warmth
Seed mats give steady warmth during cold months. Many seeds sprout faster when the soil stays warm, even if the air feels chilly. Just place your tray on the mat and plug it in. This trick is especially helpful for peppers, tomatoes, and slow starters. If you want to save money, use one mat to rotate trays. Once a batch sprouts, move it off and start another tray. Keep the soil slightly moist but not soggy. You’ll notice more even germination and fewer failed seeds.
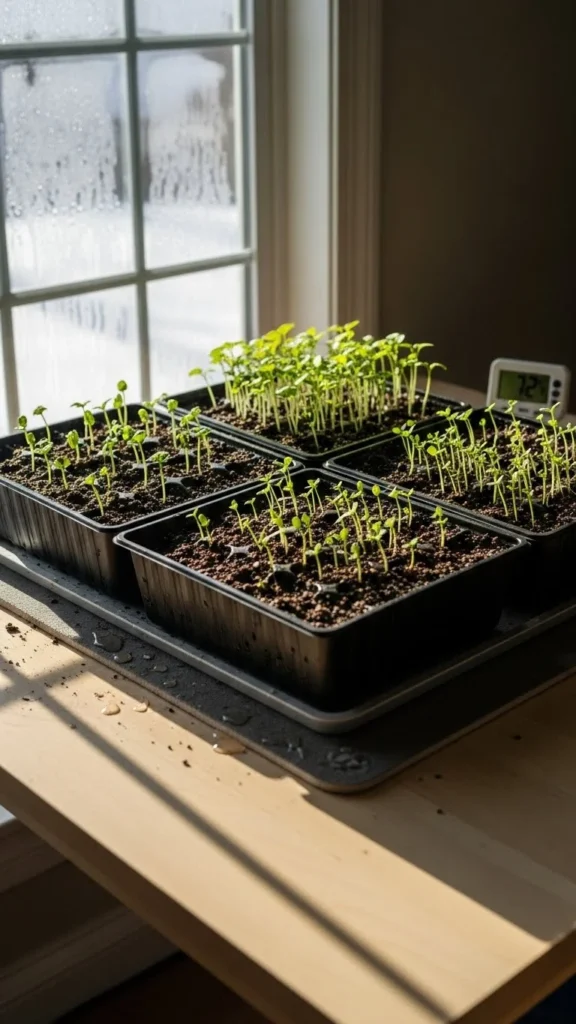
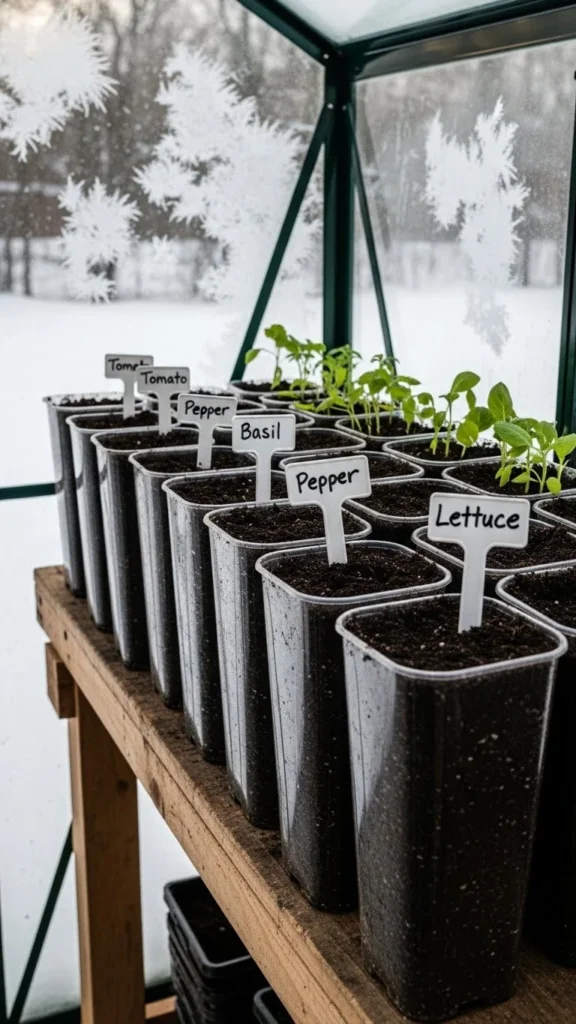
5. Create a Simple Indoor Shelf Garden
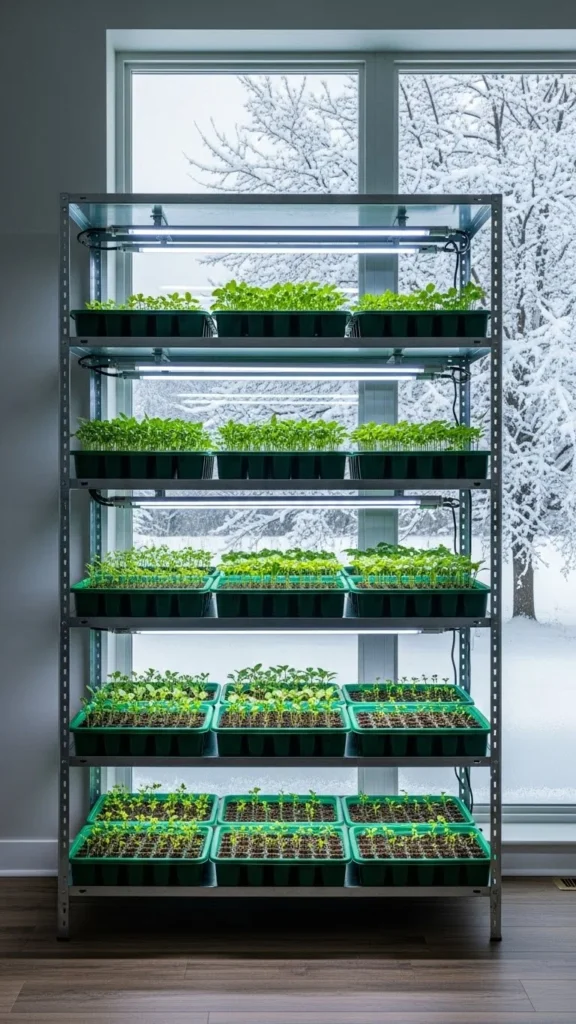
A lightweight shelf transforms any corner into a seed starting station. Place grow lights on adjustable bars so you can move them as seedlings grow. Use cheap plastic trays or even baking sheets to catch extra water. Shelves make it easy to organize different plants and keep your home clutter-free. If your budget is tight, buy a used shelf or repurpose one you already have. Add a small fan to increase airflow, which helps seedlings grow stronger stems. This setup keeps everything in one place so you can water and check seedlings quickly.
6. Try Winter Sowing with Flower Seeds
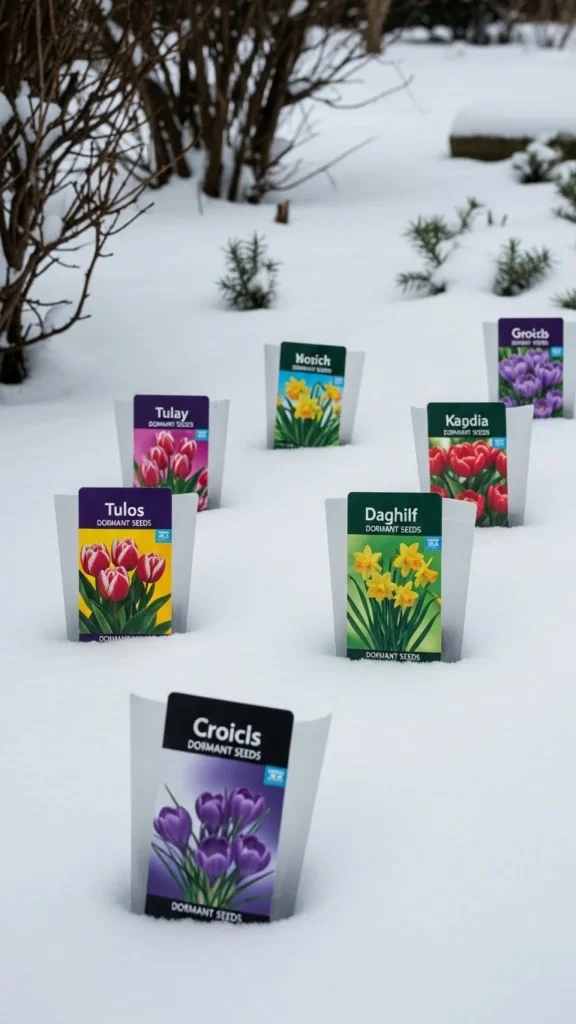
Winter sowing works especially well for hardy flowers like calendula, hollyhocks, and poppies. Sow them outdoors in covered containers during the coldest months. The freezing and thawing cycles help break seed dormancy naturally. You don’t have to monitor temperature or humidity constantly. Just prepare containers, label them clearly, and let nature do the work. When warm days arrive, the seeds sprout at the perfect time. This method saves hours of indoor care while giving you strong, ready-to-grow seedlings.
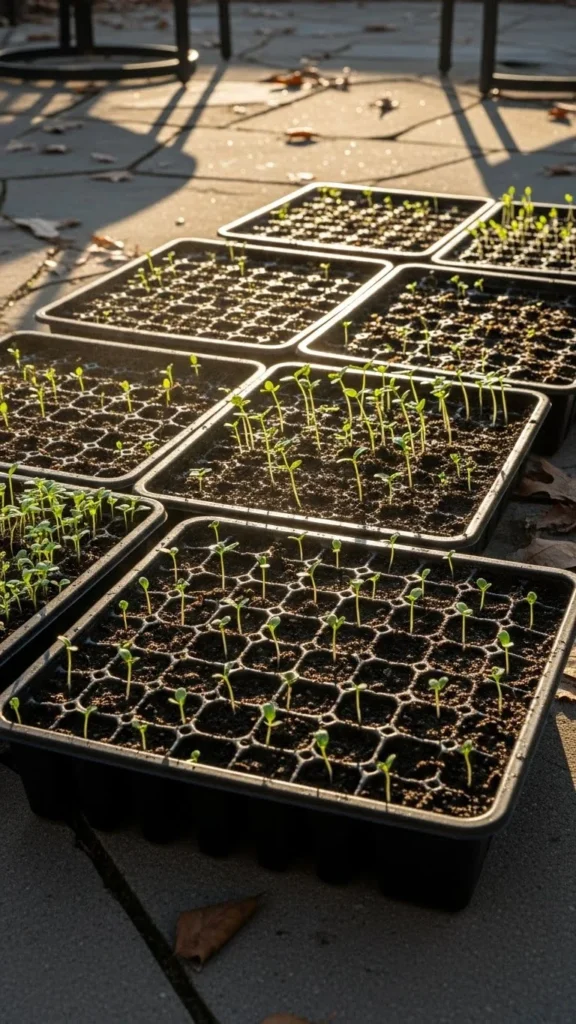
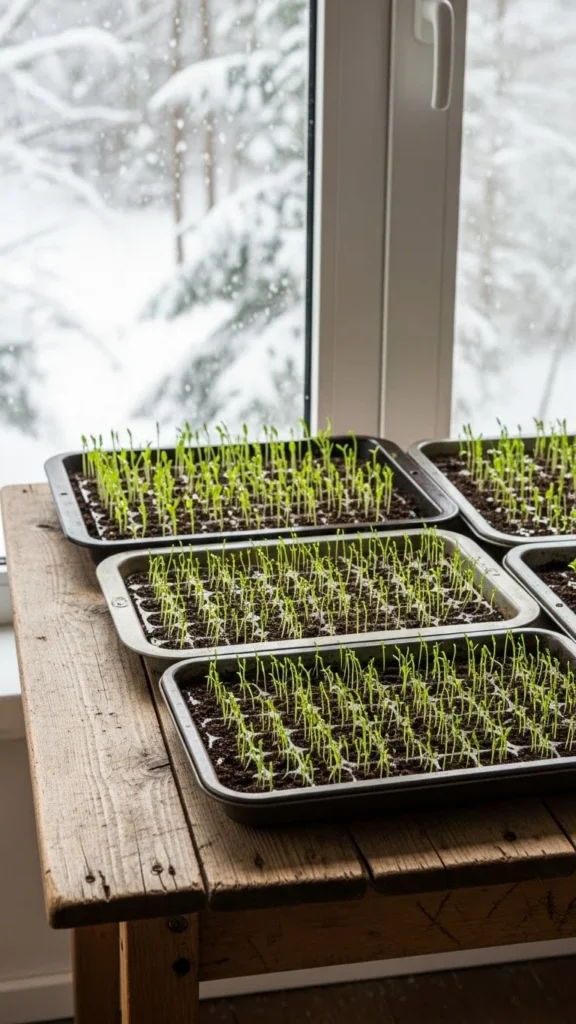
7. Start Greens in Shallow Trays for Fast Harvests
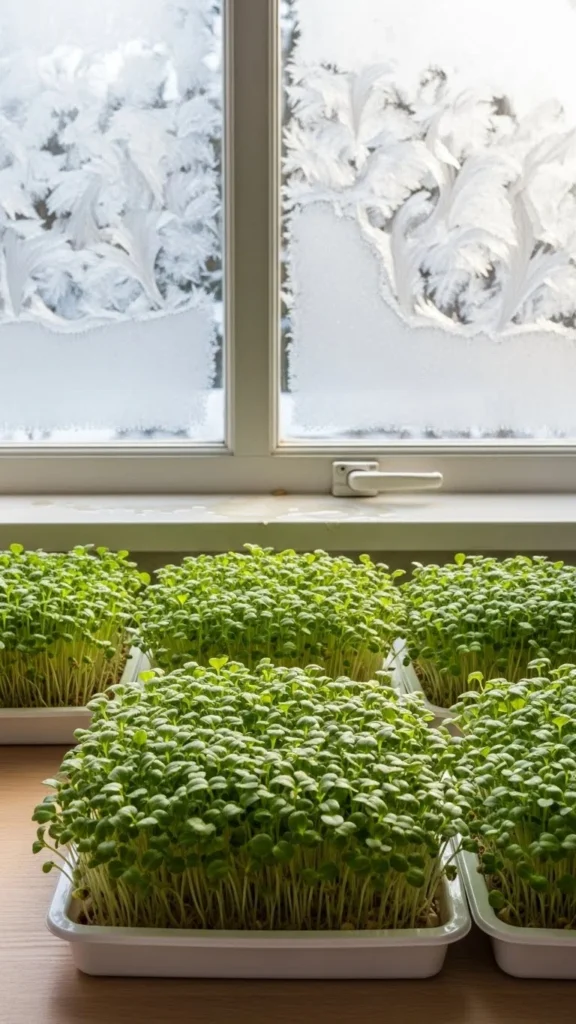
Leafy greens grow well in shallow trays even in winter. Use trays no deeper than two inches. Add soil, sprinkle seeds densely, and mist lightly. Place near a bright window or use a cheap clip-on light. You’ll see growth within days. Harvest small leaves as they appear. This method works for spinach, lettuce, and microgreens. It’s affordable and produces food quickly. Rotate two or three trays so you always have fresh greens ready.
8. Use Cardboard Tubes as Biodegradable Pots
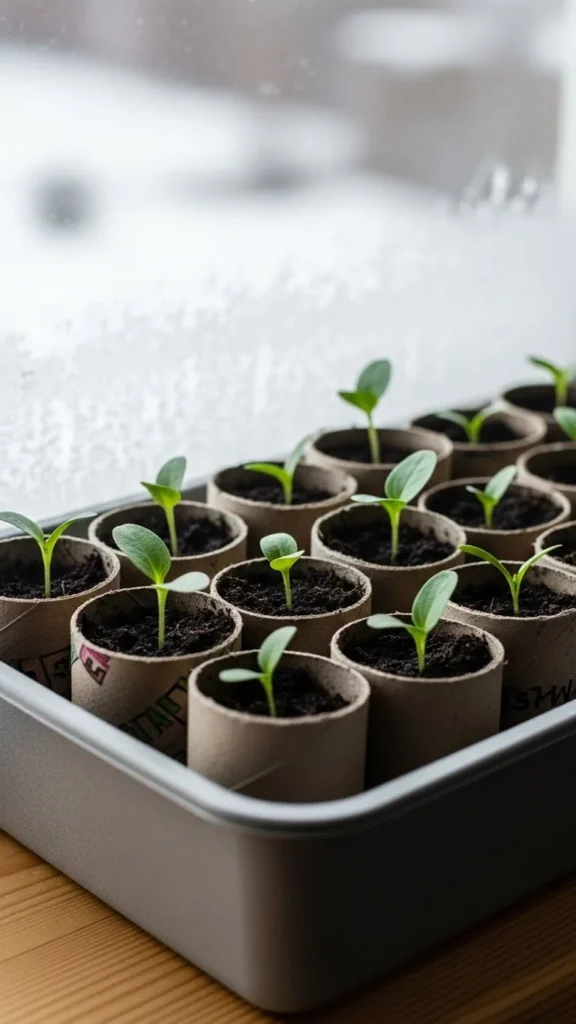
Cardboard tubes make excellent small pots. Cut them into short cylinders and place them upright in a tray. Fill them with soil and sow your seeds. The tubes hold moisture, break down slowly, and allow strong root growth. When it’s time to plant outdoors, place the entire tube in the soil. This saves time and avoids stressing young plants. Keep the tubes snug inside the tray so they don’t collapse. This idea costs nothing and gives you dozens of tiny pots for early planting.
9. Warm Soil With Black Trays
Black trays heat up faster under winter sunlight. This small temperature change helps seeds germinate more quickly. Place your trays somewhere bright but sheltered from wind. You can also set them on a dark surface like a black tile or board to increase warmth. Combine this with a clear cover for extra protection. This trick is perfect for gardeners who prefer outdoor setups and want to avoid indoor equipment.
10. Use Eggshells as Tiny Seed Cups
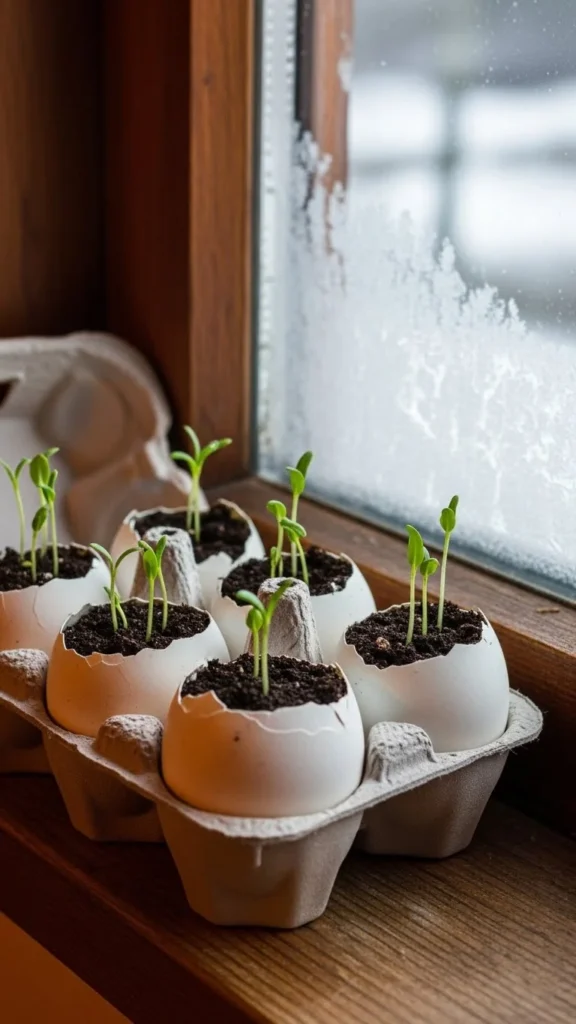
Eggshells work as tiny, nutrient-rich seed cups. Rinse them, poke a drainage hole, fill with soil, and add your seeds. Place them back into an egg carton so they stay upright. The shells break down slowly after planting and support root growth. This is a fun option for kids or anyone who wants a natural, zero-waste method. Keep the soil lightly moist and place the tray near steady light.
11. Try Deep Containers for Root Crops
Root crops such as carrots and radishes appreciate deeper containers, even in cold months. Use buckets, tall planters, or recycled tubs. Fill them with loose soil to prevent bent roots. Keep the containers in a sheltered outdoor spot or unheated greenhouse. Sow seeds thinly and let winter weather help you with moisture. You’ll get early root growth without much daily care. This also saves space in your main planting beds for spring.
12. Use Gravel Trays for Better Drainage
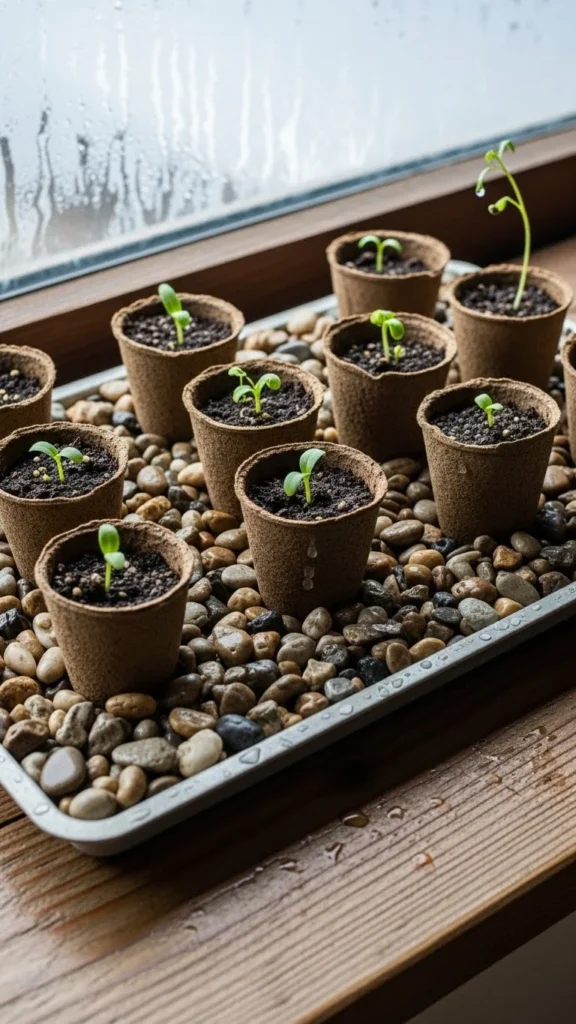
Gravel trays help control moisture in winter, when overwatering is common. Add a layer of small stones to the tray, place your pots on top, and water from below. The pots absorb moisture slowly, which prevents soggy soil. This method keeps seedlings healthy and reduces mold problems. Gravel trays also add weight so pots don’t tip over easily. It’s a simple solution that makes winter seed care more predictable.
13. Build a Quick Plastic-Sheet Tunnel
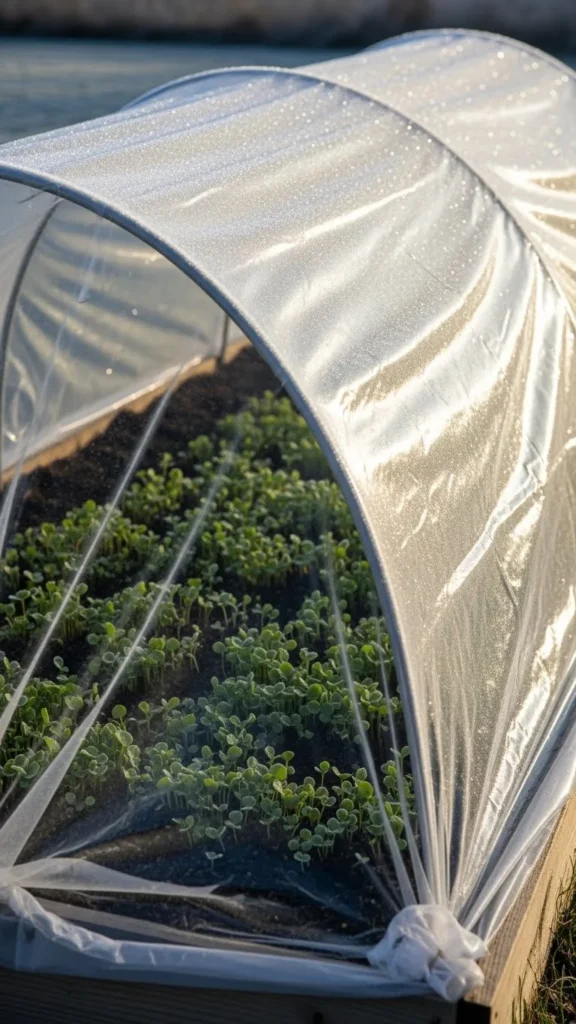
A plastic-sheet tunnel protects seeds outdoors from wind and snow. Bend wire hoops over a garden bed, stretch clear plastic across, and secure the edges with bricks or soil. Inside, the temperature stays more stable. Seeds sprout earlier, and young plants stay shielded from harsh conditions. This works well for hardy vegetables. If you want to save time, build one long tunnel and grow several rows inside it.
14. Use Heat-Retaining Stones

Dark stones absorb heat during the day and release it slowly at night. Place them around your pots or trays inside a cold frame or mini greenhouse. This natural warmth reduces temperature swings. The setup is extremely low-cost and takes only minutes. Use stones you already have in your yard. This simple idea helps seedlings stay stable during cold spells and saves time you might spend adjusting equipment.
15. Try Bottom-Watering to Reduce Mess
Bottom-watering gives seedlings consistent hydration without washing away tiny seeds. Fill a shallow basin with water and place trays inside it for a few minutes. The soil absorbs exactly what it needs. This keeps your work area tidy and reduces mold problems. It also helps seeds sprout more evenly. You’ll save time by watering multiple trays at once. Keep an eye on how quickly the soil dries and adjust as needed.
16. Use Old Baking Trays as Seed Pans
Old baking trays provide wide, shallow surfaces perfect for early seedlings. They hold warmth well, and the low edges make them easy to monitor. Add a thin layer of soil, sprinkle seeds, and mist lightly. Place a clear cover on top to hold moisture. These trays stack easily if storage space is tight. This is an affordable, practical way to start small, fast-growing plants during the cold months.
17. Create a Simple Cold Frame Outdoors
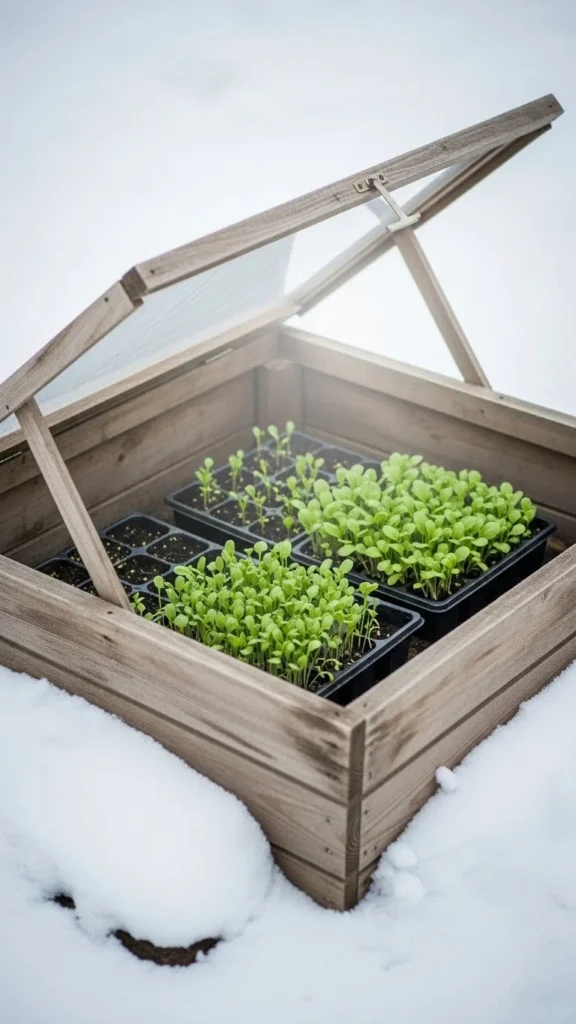
Cold frames let you start seeds outdoors without expensive materials. Use old windows, scrap wood, or a repurposed clear lid. Inside, temperatures stay steadier than open air. Seeds sprout naturally with light, moisture, and gentle protection. You can also use the cold frame to harden off seedlings later. This setup works well for leafy greens, hardy vegetables, and flowers that enjoy cool weather.
18. Start Herbs in Small Indoor Pots
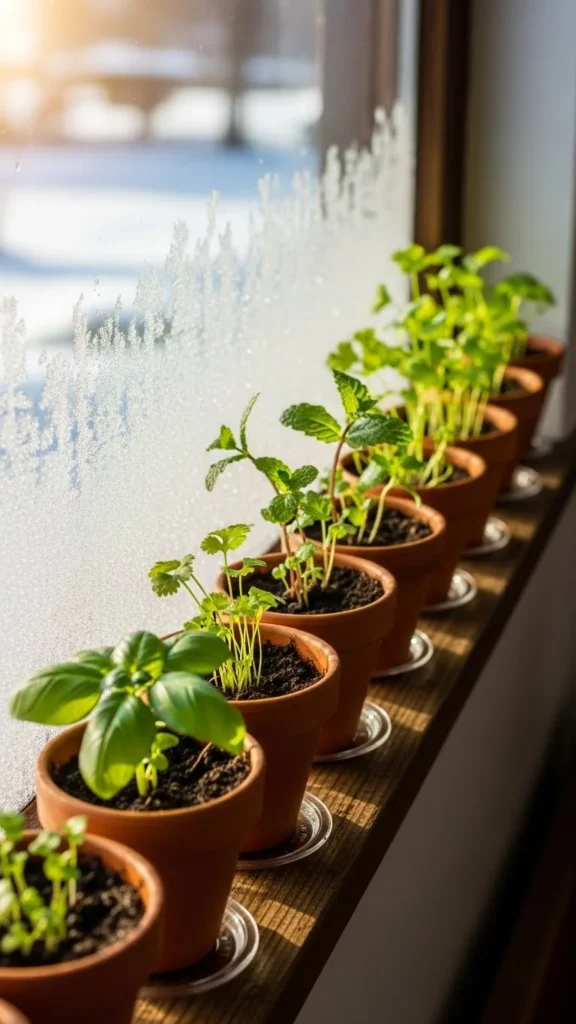
Herbs grow well during winter when given steady light. Use small pots with good drainage and fill them with light soil. Sow seeds like parsley, cilantro, or chives. Water gently and rotate pots every few days so plants grow upright. This method fits into tight spaces and makes your home smell wonderful. You’ll have fresh herbs long before spring arrives, all with very little effort.
19. Use Grow Bags for Extra Airflow
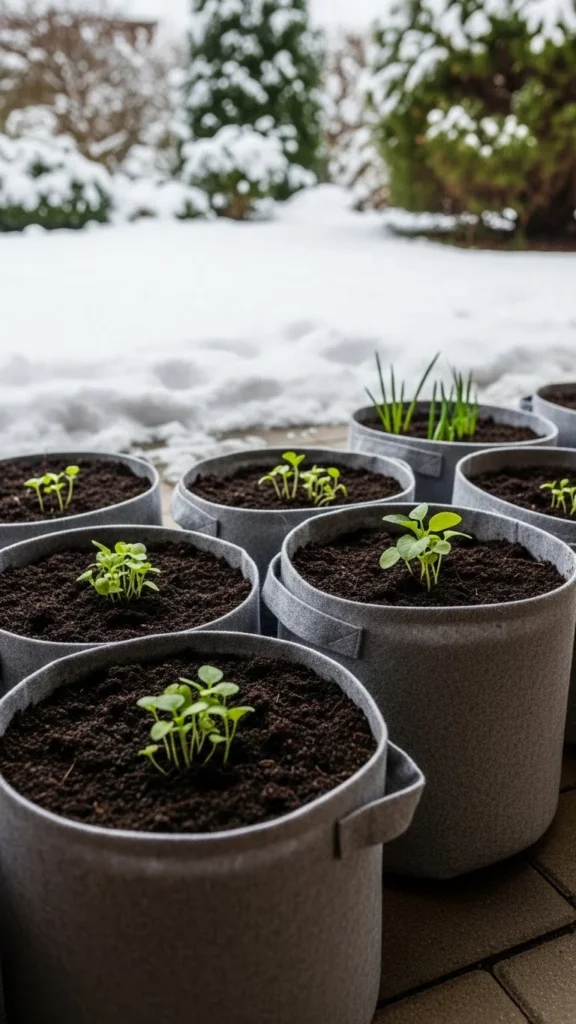
Grow bags allow roots to breathe during colder months. The fabric promotes airflow and helps soil dry evenly. Fill bags with loose soil, sow seeds, and place them in a bright, protected outdoor spot. When warmer days come, you can move the bags easily. This trick is great for small patios or balconies. The bags store flat when not in use and cost very little.
20. Repurpose Coffee Cups for Seedlings
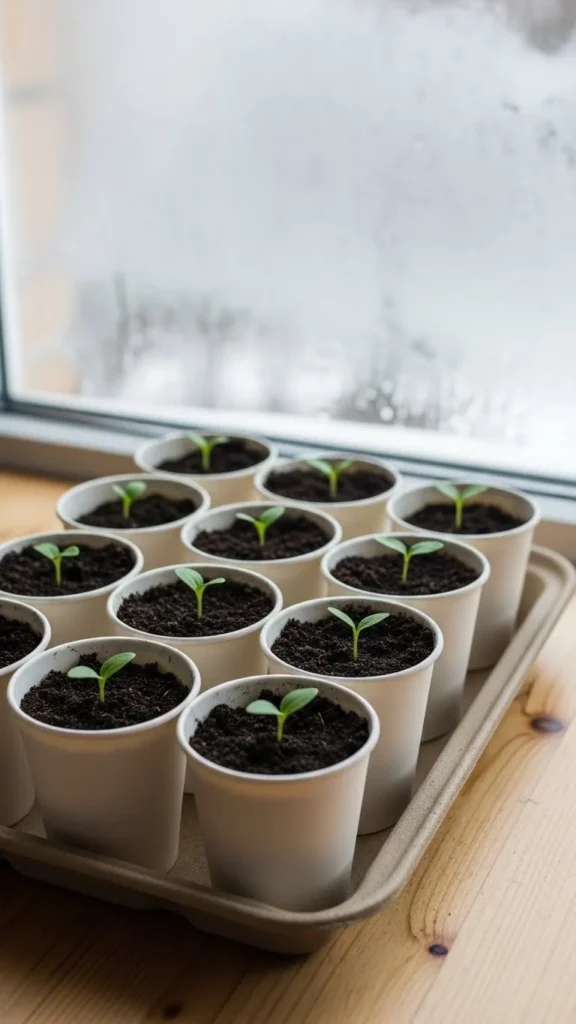
Paper coffee cups make excellent starter pots. Punch a few drainage holes, fill with soil, and add your seeds. They hold moisture well and are easy to move around. Group them inside a baking tray for stability. When it’s time to transplant, peel away the paper or plant directly if the cup is fully biodegradable. This idea helps you reuse what you already have, saving both money and prep time.
21. Mix Your Own Seed Starting Blend
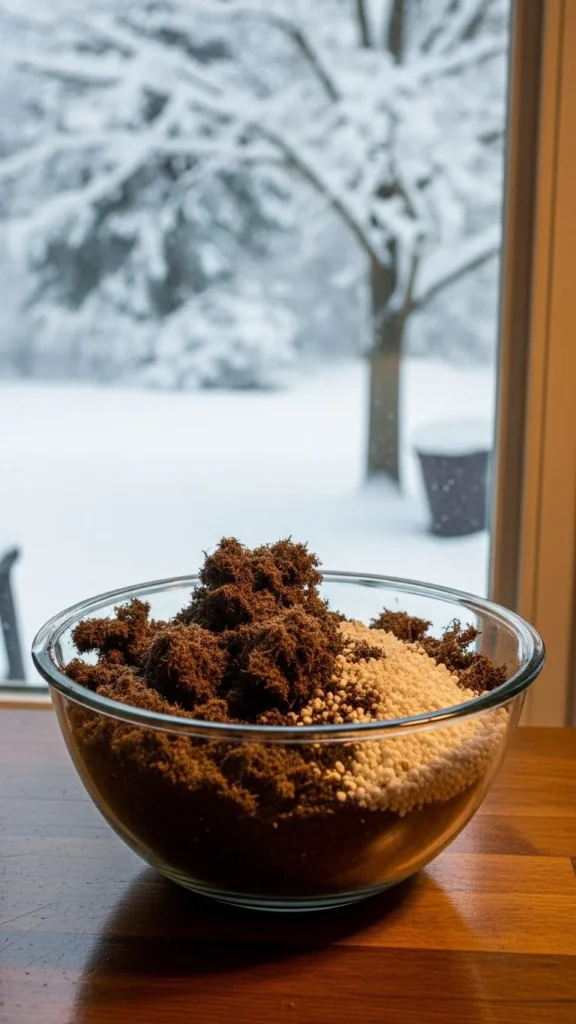
Creating your own blend gives seedlings the right environment at a low cost. Mix equal parts light soil, compost, and perlite. This combination drains well while staying soft enough for roots. Store the mix in a sealed container so it stays fresh during winter. Making your own blend saves money and ensures you always have soil ready when inspiration strikes. You can prepare a big batch in minutes.
22. Use Clip-On Lights for Tight Spaces
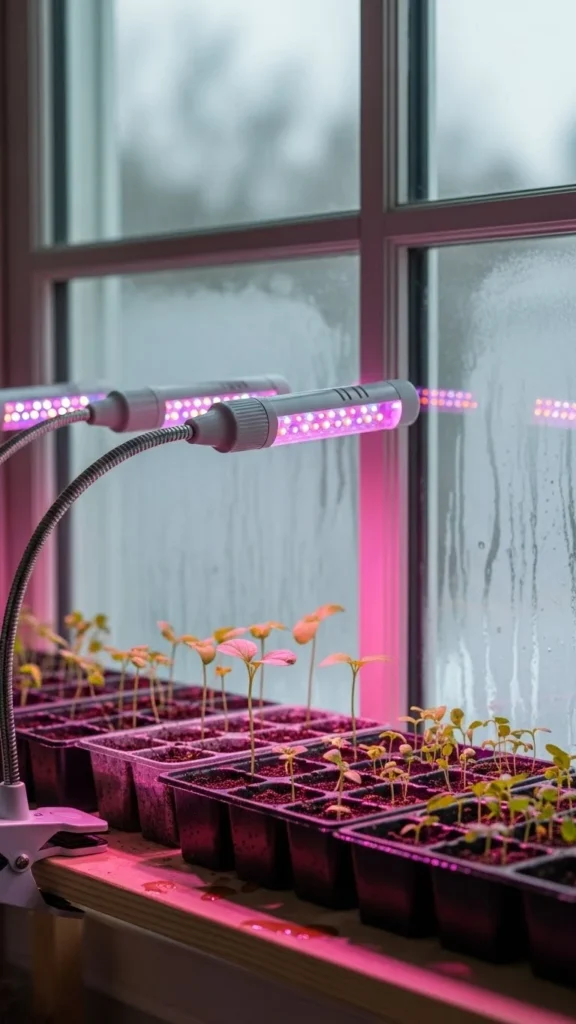
Clip-on lights work well in small rooms where full grow lights won’t fit. Attach them to shelves, countertops, or window frames. Position them close to the seedlings so the light stays effective. These lights are inexpensive and highly flexible. You can adjust the angle and height easily as seedlings grow. This setup keeps your plants healthy while saving space and time.
Conclusion
Winter seed starting doesn’t require complicated tools or big investments. A few small habits—like using recycled containers, adding steady light, and creating simple protection outdoors—help you grow strong seedlings long before spring. Try the ideas that fit your home, mix and match what works, and enjoy the satisfaction of early growth even on the coldest days.

Leave a Reply