
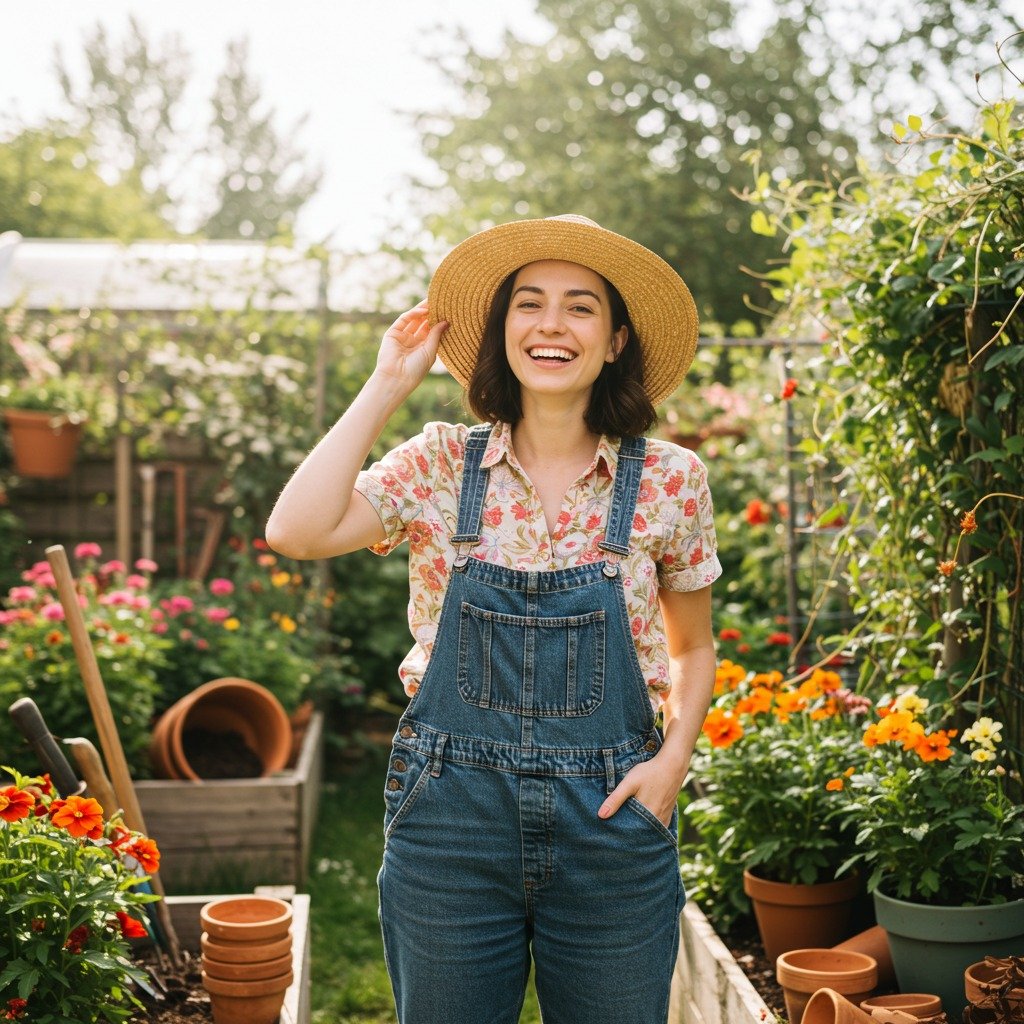
Fresh flowers can instantly brighten any room — and when they’re picked straight from your own garden, the charm doubles. Whether you’re arranging blooms for your dining table, a friend’s gift, or a weekend refresh, learning how to craft beautiful flower arrangements is easier (and more fun) than you might think.

Choose the Right Flowers for Your Arrangement
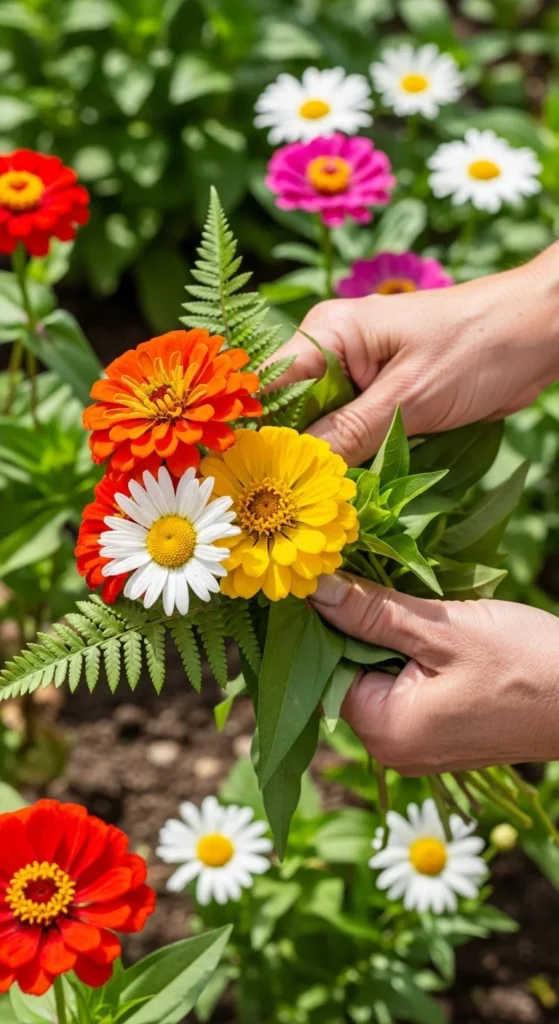
Start by selecting a mix of flowers and greenery from your garden. The secret to a stunning bouquet lies in balance — combining different shapes, sizes, and colors that complement one another.
- Focal flowers: These are the stars of the show (like roses, dahlias, or sunflowers).
- Supporting flowers: Fill in with medium blooms (such as zinnias, lisianthus, or snapdragons).
- Filler greens: Use herbs, ferns, or foliage like eucalyptus or hosta leaves to add volume.
Pro tip: Choose flowers that bloom at similar times, so you can easily gather a fresh mix for every season.
Harvest and Prepare Your Blooms
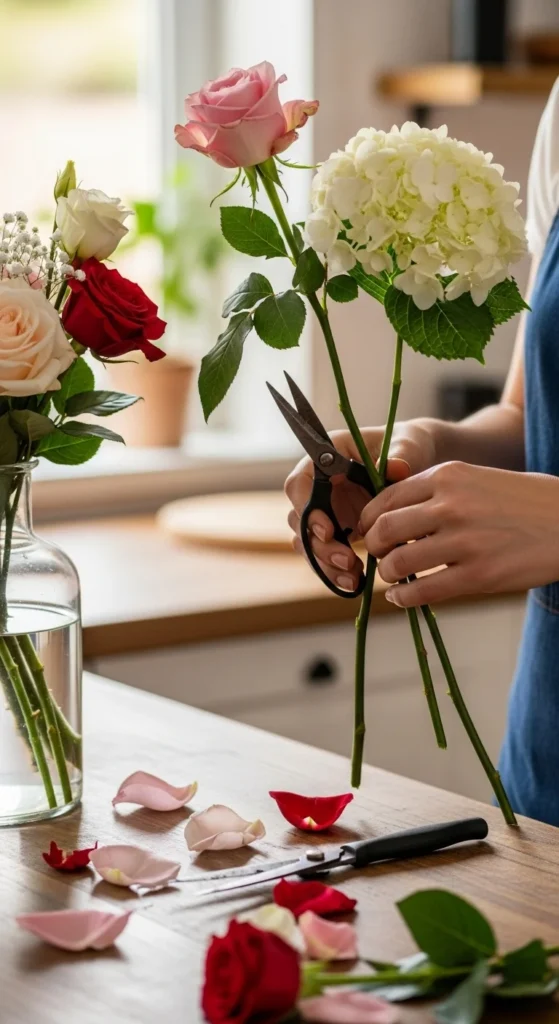
Timing is everything. Cut your flowers early in the morning or late in the afternoon when temperatures are cooler and the blooms are well-hydrated.
Steps for prepping your flowers:
- Use clean, sharp scissors or pruners to make diagonal cuts on the stems.
- Immediately place the cut flowers in a bucket of lukewarm water.
- Remove leaves below the waterline to prevent bacterial growth.
- Let them rest in water for a few hours before arranging — this helps them last longer.
Pick the Perfect Vase or Container
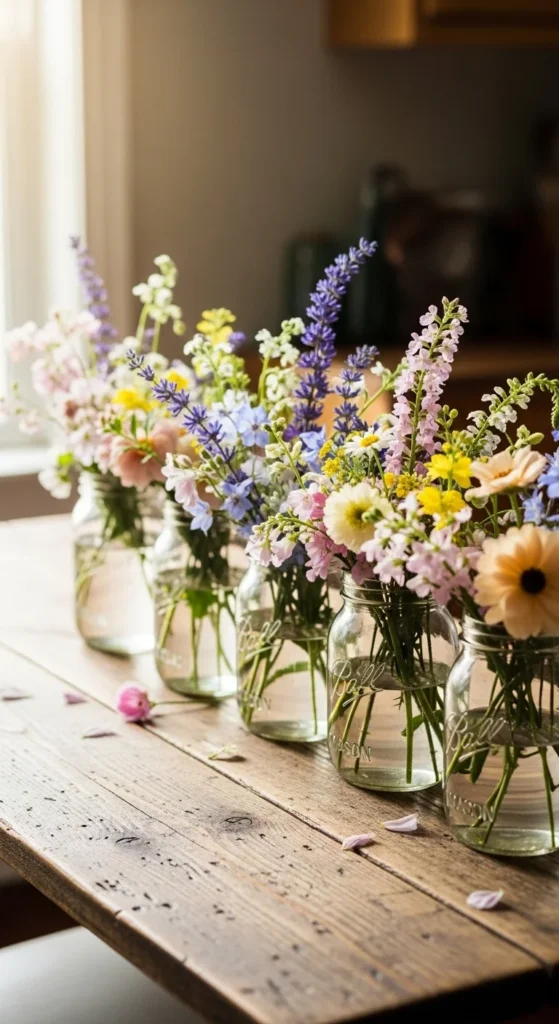
The right vase can make or break your design. You don’t need fancy glassware — simple containers like mason jars, vintage pitchers, or ceramic bowls work beautifully.
Quick vase tips:
- Match the vase size to your arrangement.
- For short blooms, go with wide-mouthed containers.
- For tall stems, choose narrow, elongated vases.
- Make sure the vase is clean before use — even tiny residues can shorten flower life.
For a rustic or cottage-core vibe, try grouping multiple small jars instead of one large bouquet.
Arrange Like a Pro: Build from the Base Up
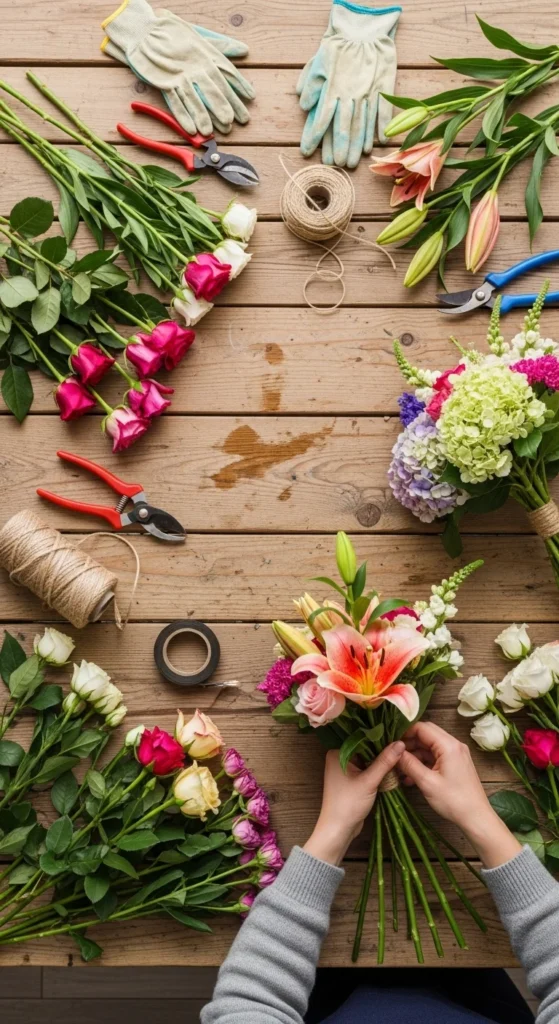
Here’s where the creativity begins! Start with a base of greenery to create structure, then add your flowers one by one.
Step-by-step guide:
- Add greens first — these create a natural framework.
- Insert focal flowers — space them evenly around the arrangement.
- Layer supporting blooms — these should fill the gaps while adding texture.
- Adjust height and shape — aim for a slightly domed or asymmetrical look for a modern touch.
Turn your vase as you work so every side looks balanced. Don’t worry about perfection — natural arrangements often look best when a little wild.
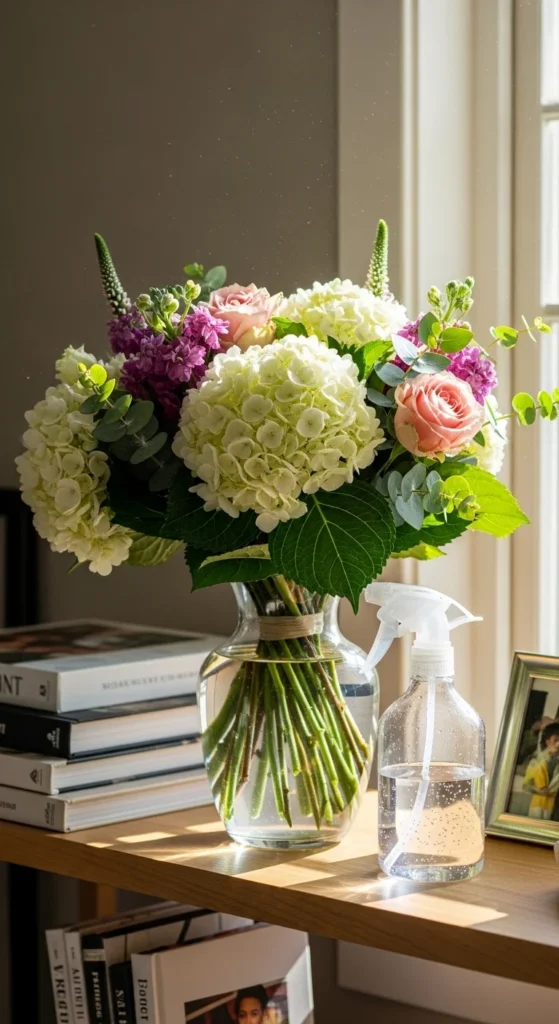
Extend the Life of Your Arrangement
You’ve created a gorgeous bouquet — now let’s keep it fresh!
- Change the water every 2–3 days.
- Trim stems slightly each time you refresh the water.
- Keep the arrangement away from direct sunlight or heating vents.
- Remove wilted blooms promptly to prevent rot.
You can also add a teaspoon of sugar and a few drops of lemon juice to the water to feed your flowers naturally.
Experiment and Enjoy Your Creations
Once you’ve mastered the basics, don’t be afraid to experiment. Mix unexpected textures like herbs, branches, or seed pods for a unique twist. Try different color schemes — monochrome arrangements for elegance, or bright multicolored ones for joy.
Creating flower arrangements is part art, part therapy — it’s your chance to bring the beauty of your garden indoors in a way that feels personal and full of life.
Final Takeaway
There’s something incredibly satisfying about displaying blooms you grew yourself. Each petal tells a story of care, patience, and creativity. So next time you stroll through your garden, grab your shears and start crafting — your home deserves that touch of natural beauty.
Save this guide for later and let your creativity bloom year-round!
Leave a Reply