
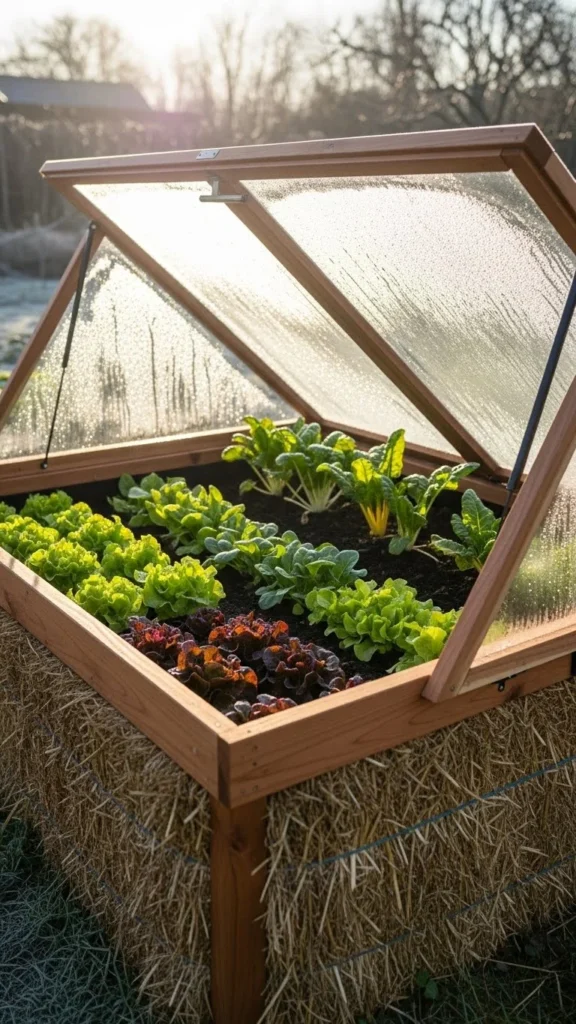
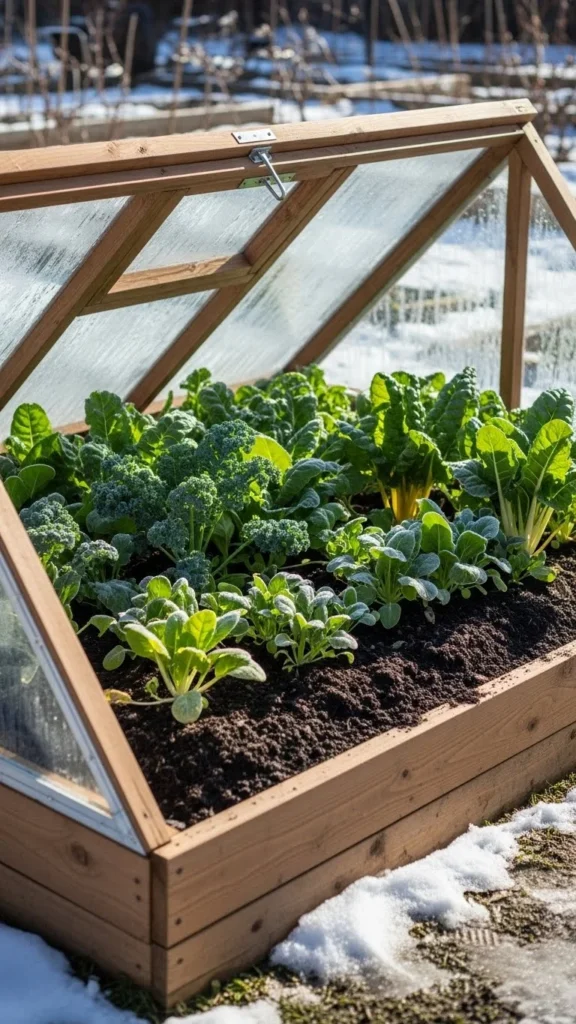
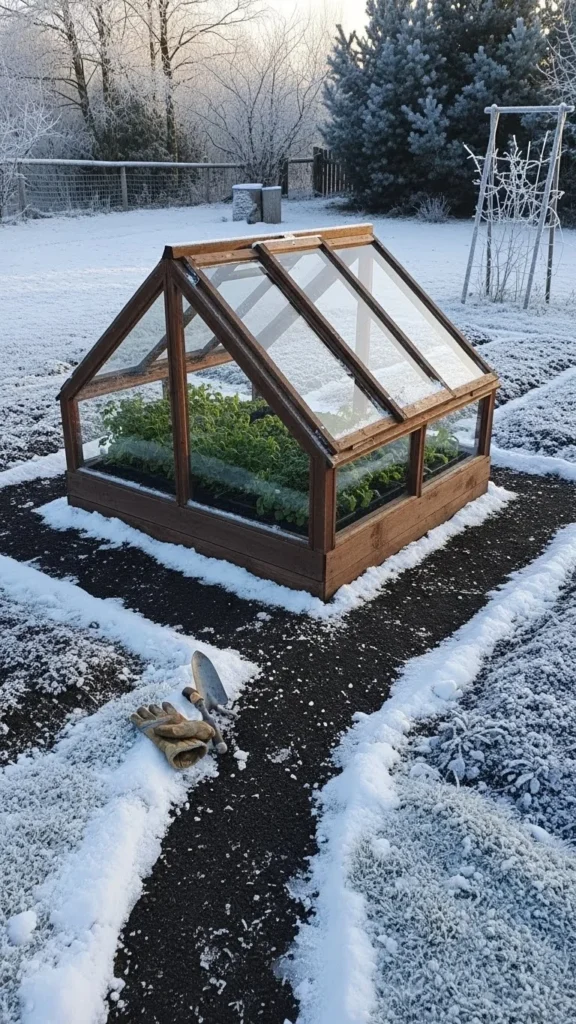
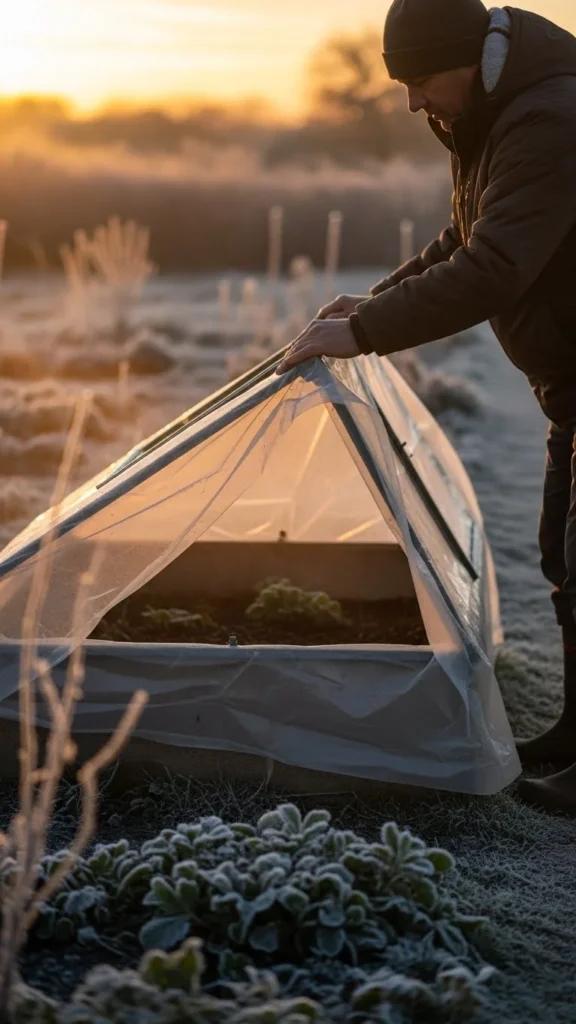
Cold frames make it possible to grow through chilly months without complicated equipment. They trap warmth, protect tender plants, and help gardeners stretch the growing season. With a few simple tricks, you can keep crops productive long after the temperature drops. This guide shares practical, low-cost ideas that fit any backyard setup and help you enjoy longer harvests with minimal effort.
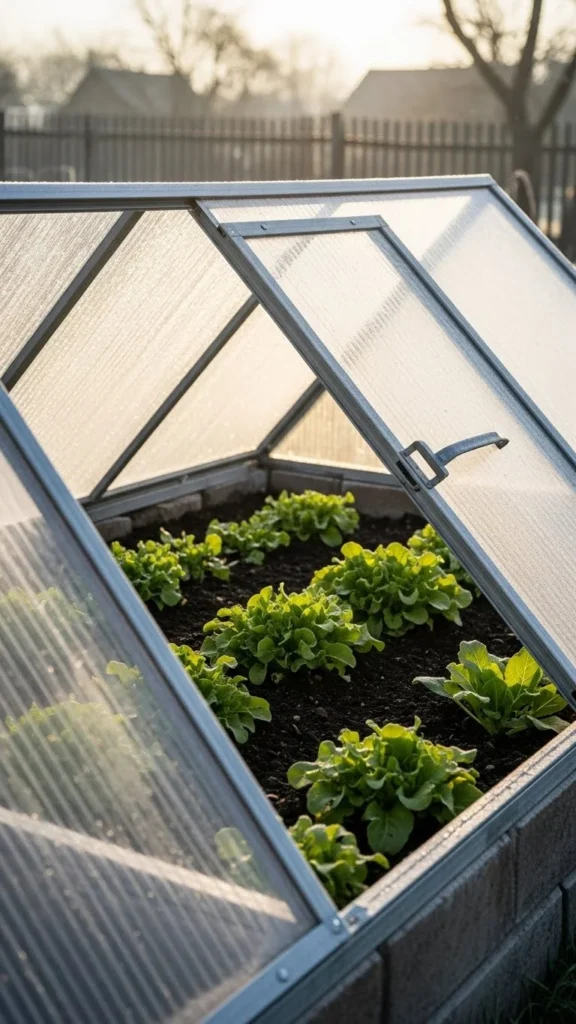
1. Use a South-Facing Location
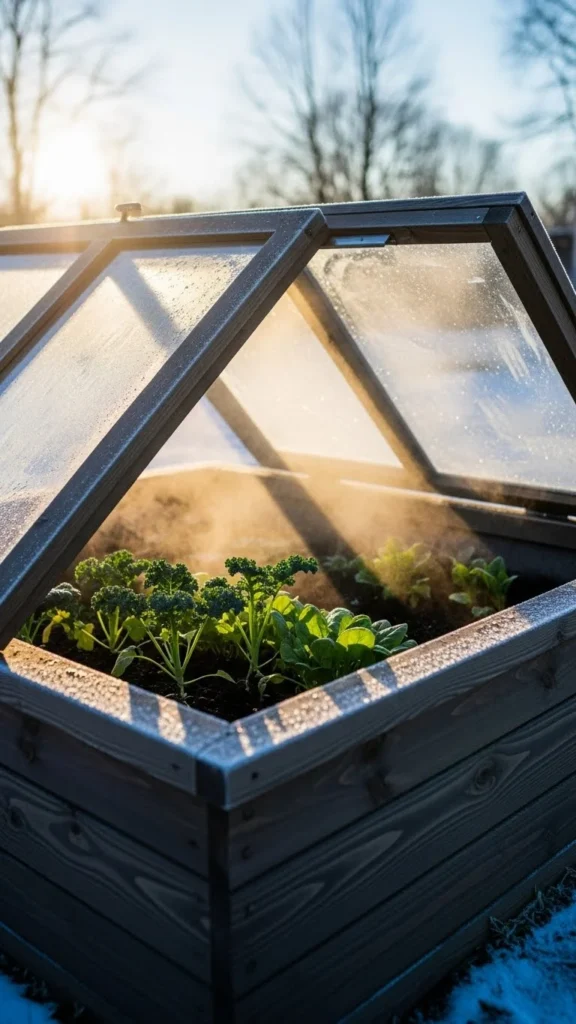
Positioning your cold frame toward the south helps gather natural heat throughout the day. Even weak winter sun warms the interior enough for leafy greens, herbs, and hardy vegetables. Try placing it near a wall that blocks harsh winds while bouncing light downward. If your yard is small, even a sunny corner works. Mark the spot and watch it over a day to see how long sunlight lasts. Use simple bricks under the back edge to tilt the lid slightly for better light capture. This takes only minutes and costs nothing. You’ll notice warmer soil and more consistent growth, which supports steady harvests. Keep the path around the frame clear so nothing blocks the light during short winter days. A south-facing setup is one of the easiest ways to extend your growing time without spending extra money.
2. Add Thermal Mass for Night Warmth
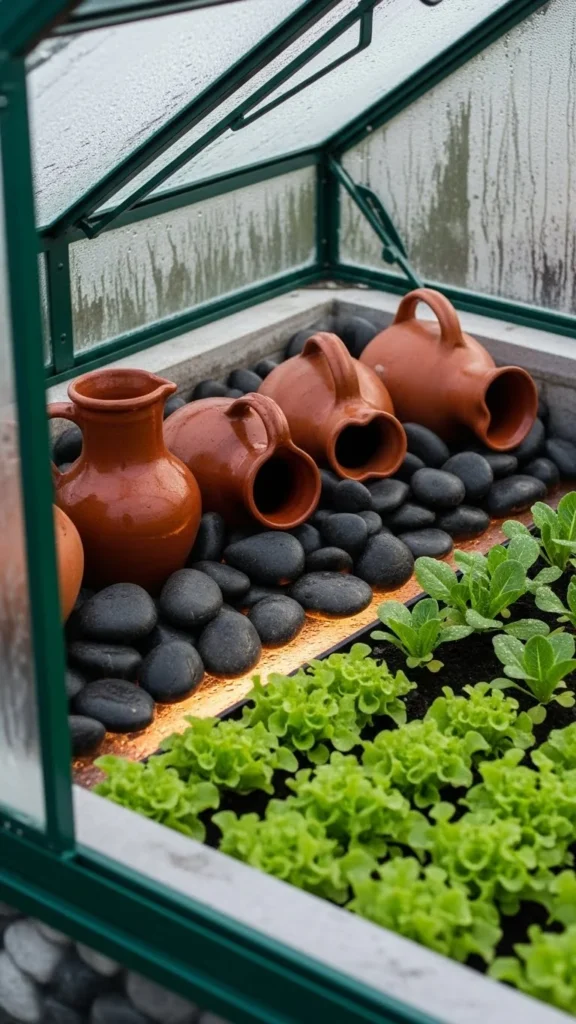
Thermal mass materials soak up heat during the day and release it at night. Simple items like dark stones, bricks, or sealed water jugs work well. Place them along the interior edges so they don’t crowd your plants. Water jugs are especially effective and practically free. Fill them, paint them dark if you want extra heat absorption, and tuck them into open spaces. This keeps temperatures steadier after sundown, which helps prevent sudden cold shock. You don’t need special tools or advanced knowledge to make this work. Just check the frame every few days and rearrange pieces as your crops grow. Many gardeners use leftover materials from home projects, making this a budget-friendly way to keep the cold frame warm through chilly nights.
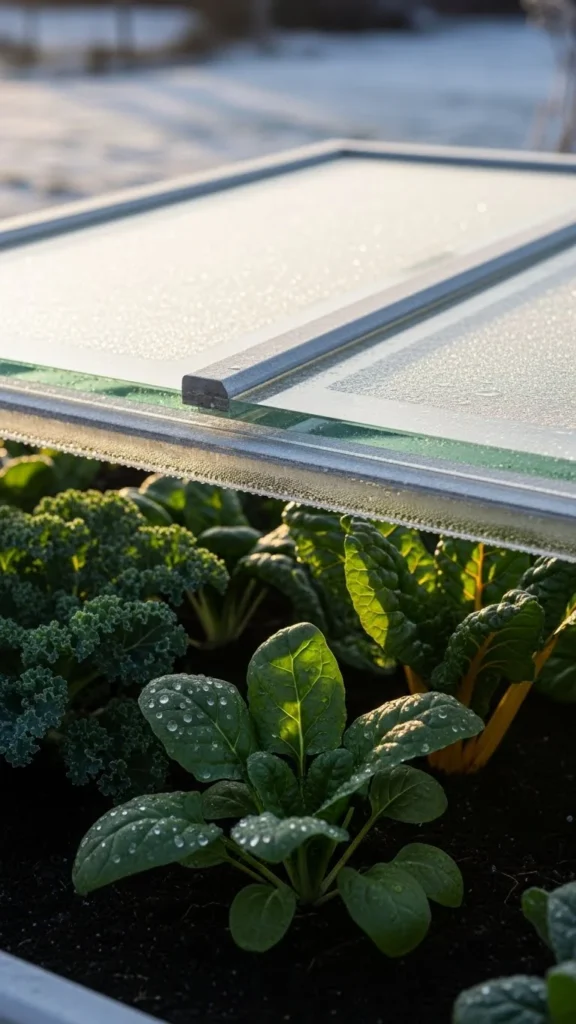
3. Vent the Frame Daily
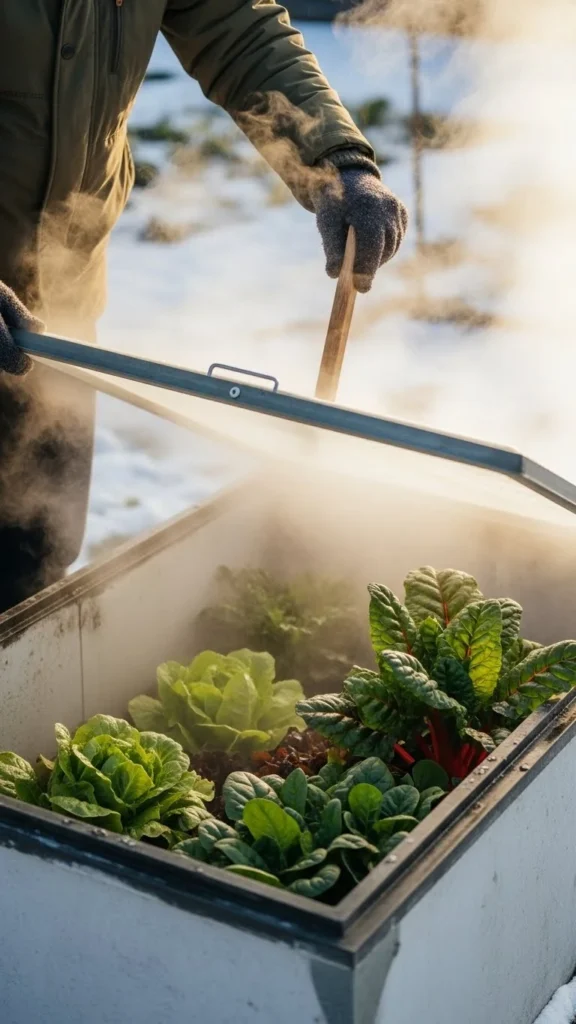
Cold frames warm quickly, even on cool days. That’s why daily venting is important. Lift the lid slightly during midday to release extra heat and moisture. Too much warmth can stress plants or cause fungal issues. You can use a simple stick, a brick, or an inexpensive hinge to prop the lid open. If you’re away from home often, consider a low-cost automatic vent opener. It works without electricity and reacts to temperature changes. Venting takes only a moment, but it helps maintain steady conditions that support long-term growth. Check the weather before closing the lid at night to trap the final warmth of the day. A regular venting routine keeps the interior climate healthy and balanced.
4. Insulate the North Side
The north side of a cold frame receives very little light and often loses heat fastest. Adding insulation keeps valuable warmth inside. Straw bales, scrap wood, thick cardboard, or even old blankets folded safely behind the frame work well. This small barrier protects against night chill and wind exposure. Insulating only the north side still allows sunlight to reach plants from the south. It also helps keep soil temperatures more stable during sudden weather changes. Use materials you already have to avoid extra costs. Replace cardboard or blankets if they get wet, and check straw occasionally for moisture. This simple setup supports stronger plants and longer harvest periods.
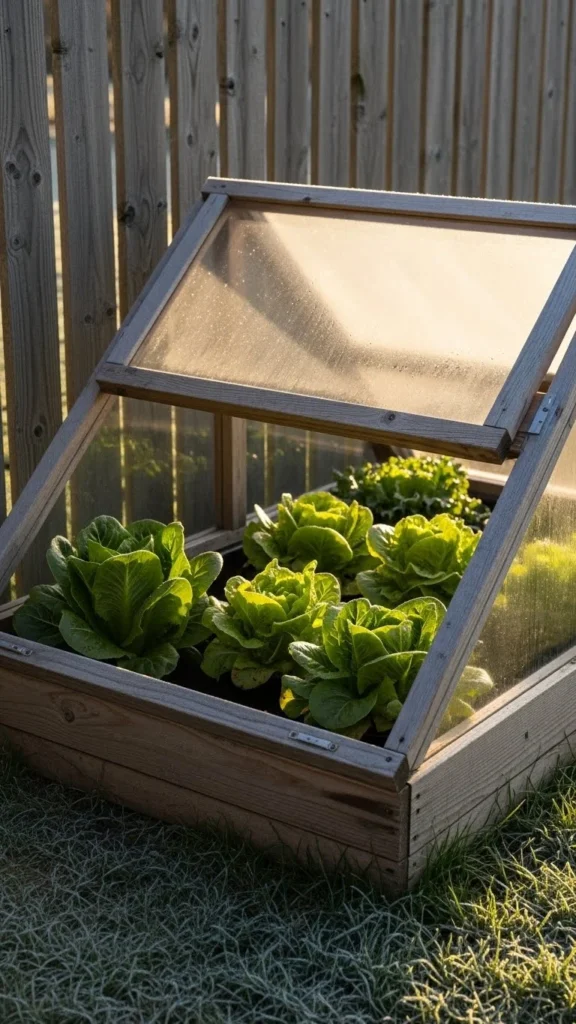
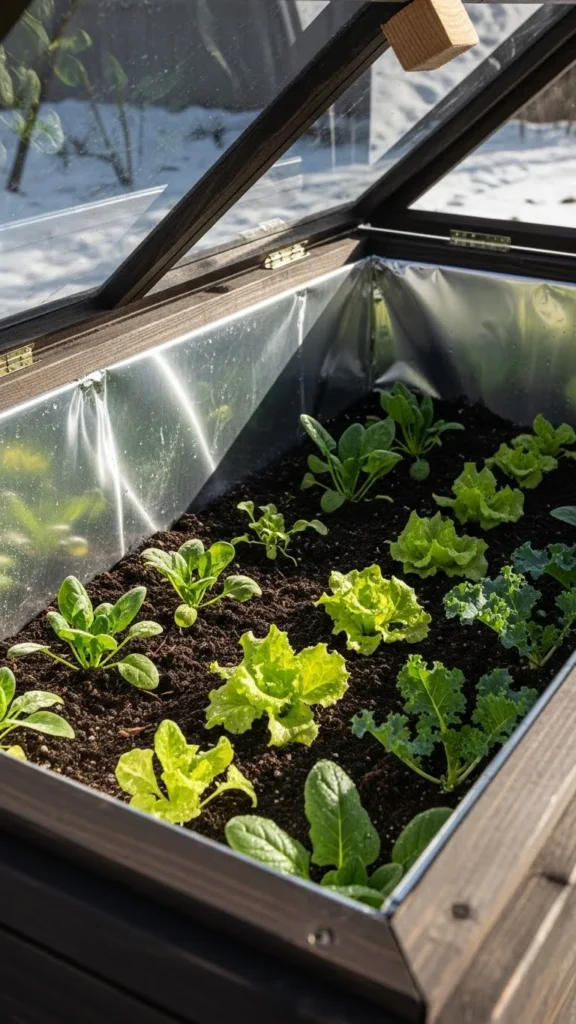
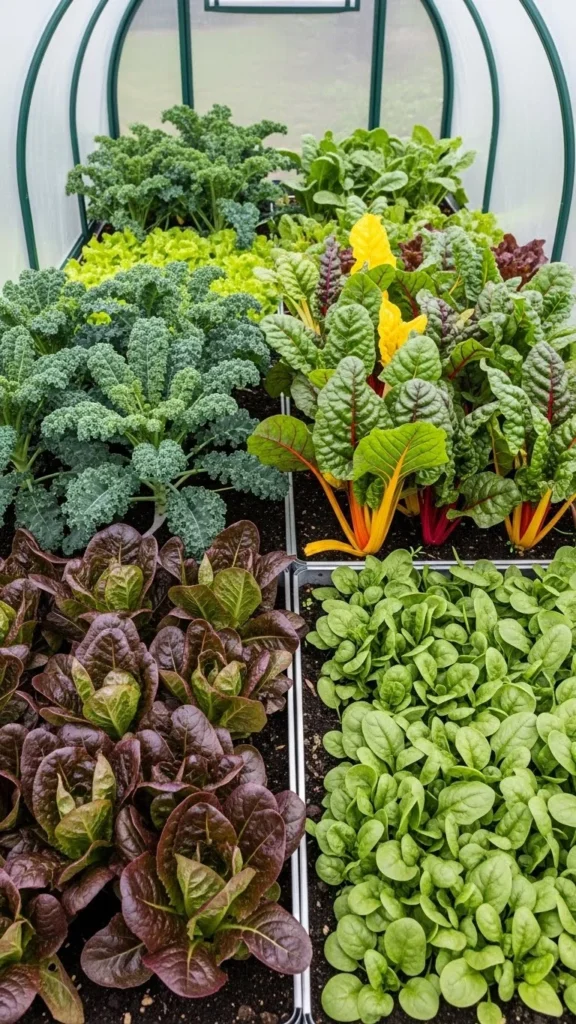
5. Grow Cold-Hardy Greens
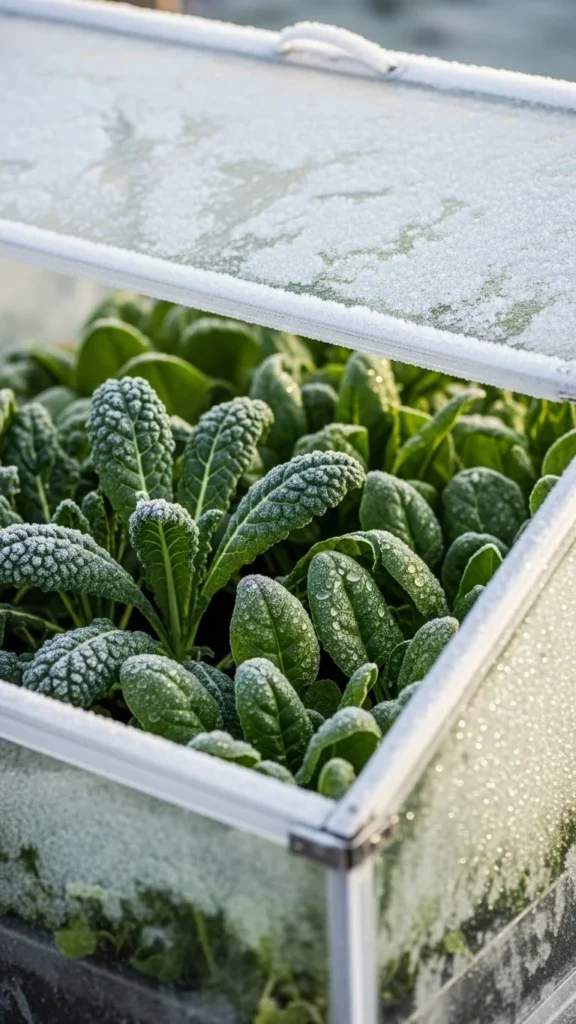
Cold frames shine when paired with hardy crops. Spinach, kale, mache, mustard greens, and green onions keep producing even with chilly nights. These plants don’t mind low temperatures and often grow sweeter in cool weather. You don’t need special varieties, but winter-hardy strains grow best. Plant them close together to maximize heat retention and moisture. If you already have seedlings in your garden, transfer a few into the frame to stretch your yield. Seeds are inexpensive, and small starter trays help you plan staggered planting so you always have something ready to harvest. With hardy greens, your cold frame becomes a dependable supply of crisp produce throughout the season.
6. Use Recycled Windows for the Lid
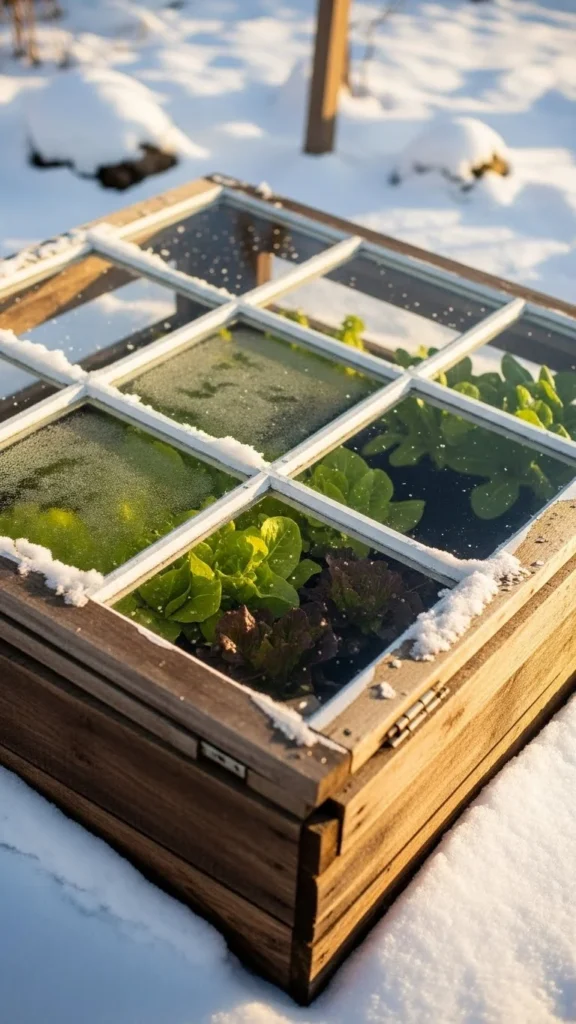
Old windows make sturdy, clear lids for cold frames. Many people find them free from renovation sites or community groups. Choose one with intact glass and a frame that opens smoothly. Build your cold frame base from scrap lumber, bricks, or even stacked stone. The window acts as the perfect sunlight collector. If the glass is heavy, add simple hinges so lifting is easier. You can weather-strip the edges with leftover foam to help trap warmth. This do-it-yourself approach lowers construction costs while giving old materials new life. Just check for peeling paint if the window is very old and sand lightly before using. It’s a simple, affordable way to create a durable cold frame.
7. Add a Soil Thermometer
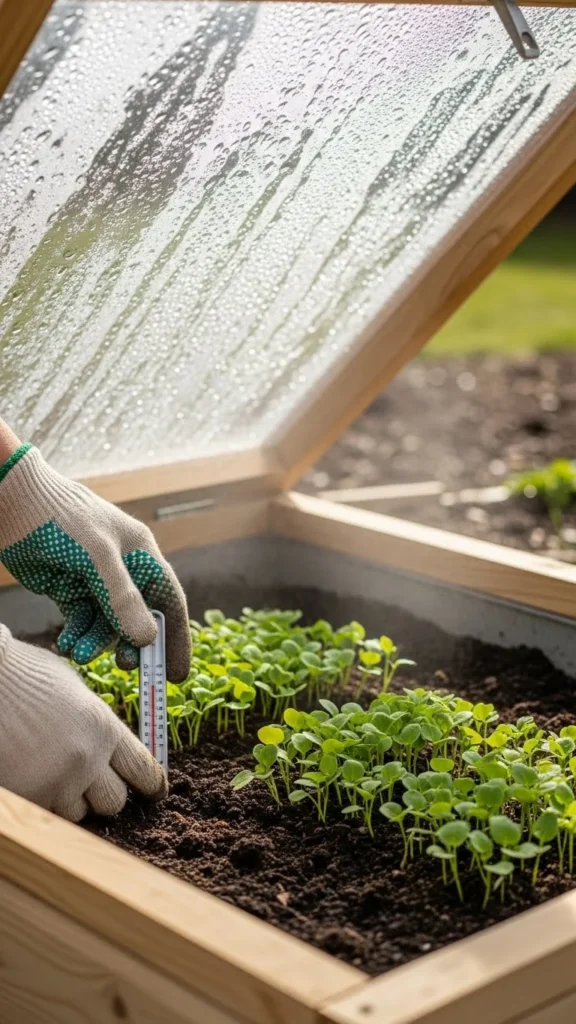
A soil thermometer helps you understand what’s happening beneath the surface. Cold frames warm soil faster than open garden beds, which encourages better root development. A simple thermometer shows whether the ground is warm enough for germination or transplanting. Many cost only a few dollars and last for years. Checking it daily gives you a clear read on temperature changes. If readings drop too low, add insulation or thermal mass. If they run high, vent the lid. This small tool removes guesswork and helps you decide when to plant, water, or ventilate. It’s an easy addition that supports consistent results.
8. Keep the Soil Moist but Not Wet
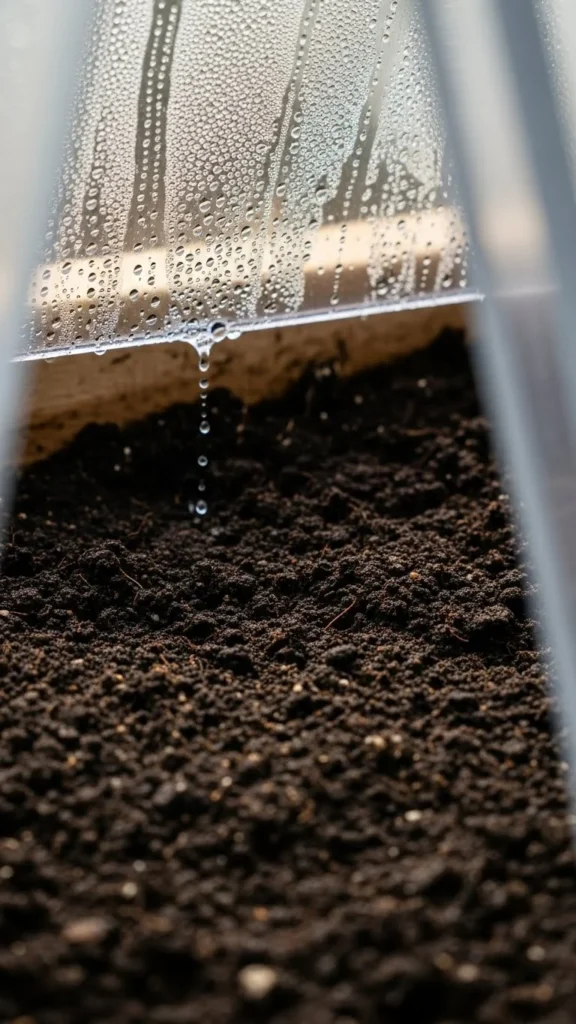
Cold-frame soil dries slower because the lid traps moisture. Watering lightly keeps plants healthy without waterlogging roots. Stick your finger into the soil to check for dryness before watering. If the top inch is dry, add a gentle sprinkle. Use a small watering can instead of a hose to avoid sudden temperature changes. Cold water directly from an outdoor spigot can shock roots during winter, so let water sit indoors for an hour before using it. Overwatering is common in enclosed spaces, so keep sessions brief. Balanced moisture helps prevent disease and supports steady plant growth with minimal effort.
9. Protect Seedlings with Shade Cloth on Bright Days
Even in winter, sunlight can heat a cold frame quickly. A simple shade cloth moderates temperatures on bright days. Drape it loosely over the lid and secure it with bricks or clips. This reduces the risk of plants overheating. Thin cloth works best because it lets light through while softening harsh rays. If you don’t have shade cloth, use an old sheer curtain or mesh fabric. Add it in the mid-morning and remove it in the late afternoon. These small adjustments protect tender seedlings from heat stress. It’s an easy, nearly free solution that keeps conditions steady.
10. Line the Interior with Reflective Material
Reflective surfaces help distribute light more evenly inside a cold frame. Foil insulation, shiny plastic, or even reflective car shades can brighten darker corners. This helps reduce leggy growth and encourages fuller leaves. Cut panels to fit the inner walls and secure them with clips or tape. They don’t need to be perfect—just stable enough to stay in place. This upgrade is especially helpful during short winter days when light levels drop. It’s an affordable way to give plants more light without adding electricity. Replace panels as needed or remove them in summer when sunlight is stronger.
11. Create a Double-Layer Lid
A double-layer lid traps more heat than a single sheet. You can build one from two acrylic panels or reuse old storm windows. Leave a small gap between the layers to hold insulating air. This makes your cold frame warmer at night and more stable during cold snaps. It’s a helpful choice for regions with harsh winters. Even if you’re not comfortable building one, you can simulate the effect by placing a removable sheet of plastic under your main lid. This lightweight option adds warmth without making the structure too heavy. Double-layer setups create a calmer environment for plants with only a small cost.
12. Raise the Soil Level
Raised soil warms quicker and drains better. If your cold frame sits low, add compost or potting mix to lift the surface. Plants gain a slight advantage as they sit closer to the lid where warmth gathers. This helps seedlings emerge faster and reduces the chance of soggy soil. Use whatever mix you already have, blending garden soil with compost for better texture. You can mound the soil at the center and slope it gently toward the edges. This small height difference can create a more comfortable environment for your plants. It’s a simple adjustment that requires little effort.
13. Add a Simple Weather Strip Seal
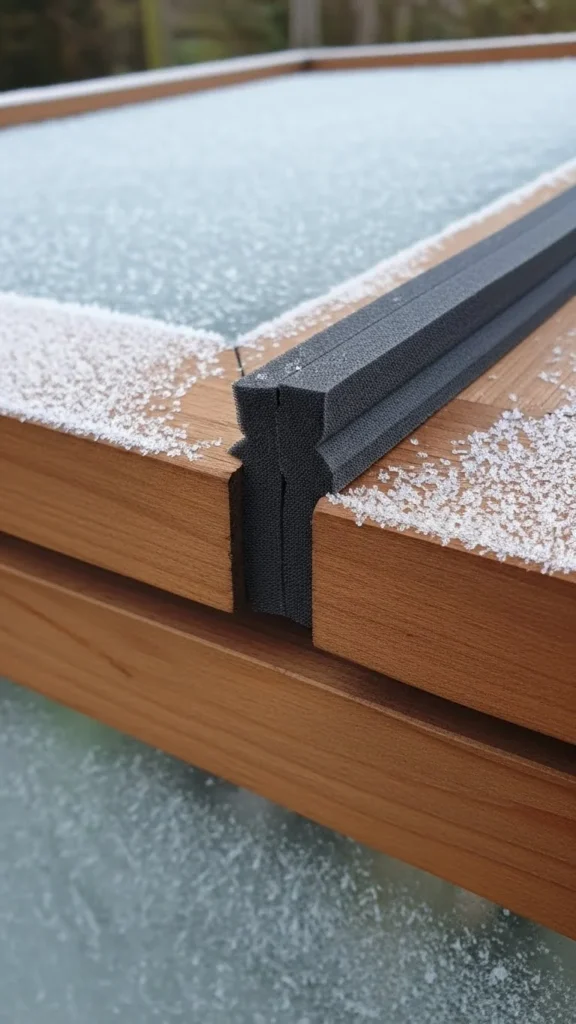
Cold air slips through tiny cracks, which cools the interior. Adding weather stripping helps seal those gaps. Foam strips cost little and press easily into place along the lid frame. You don’t need perfect precision. Even an approximate seal reduces heat loss. This is especially helpful during windy nights. Check the seal every few weeks and replace it if it loosens. Many gardeners also use old towels or fabric rolls as temporary seals during extra cold periods. This small fix keeps the cold frame warmer without changing its structure.
14. Rotate Crops for Steady Harvests
Rotating what you plant inside your cold frame helps prevent pest cycles and keeps soil healthy. Grow quick crops like radishes or spinach first. Then follow with slower greens like chard or kale. This rhythm gives you a steady supply of food over many weeks. You don’t need a large space. Even small cold frames can support rotation with careful timing. Use simple notes on a notepad or phone to track planting dates. Keeping the soil active also helps regulate temperature inside the frame. Rotating crops keeps your harvest consistent without complex planning.
15. Use Row Covers Inside the Cold Frame
For very cold nights, row covers add an extra buffer. Lightweight fabric drapes gently over plants and holds warmth close to the soil. Think of it as a small blanket inside a sheltered room. You can clip the fabric to simple wire hoops or lay it loosely over the plants. This double-layer effect works well in areas with unpredictable weather. Row covers cost little and last several seasons. Remove them during warm spells so plants don’t overheat. This technique is helpful when you want to protect tender greens without buying complex heating tools.
16. Keep a Small Vent Gap During Warm Spells
Warm winter days can surprise you. Even when the air outside feels chilly, the cold-frame interior may heat quickly. Leaving a small gap prevents overheating. You only need a half-inch opening to let warm air escape. Use a stick or clip to hold the lid in place. Check back in the afternoon to see if the gap should be widened. This small practice supports steady temperatures that help plants stay healthy. It adds no cost and takes little time.
17. Add Bricks for Better Heat Retention
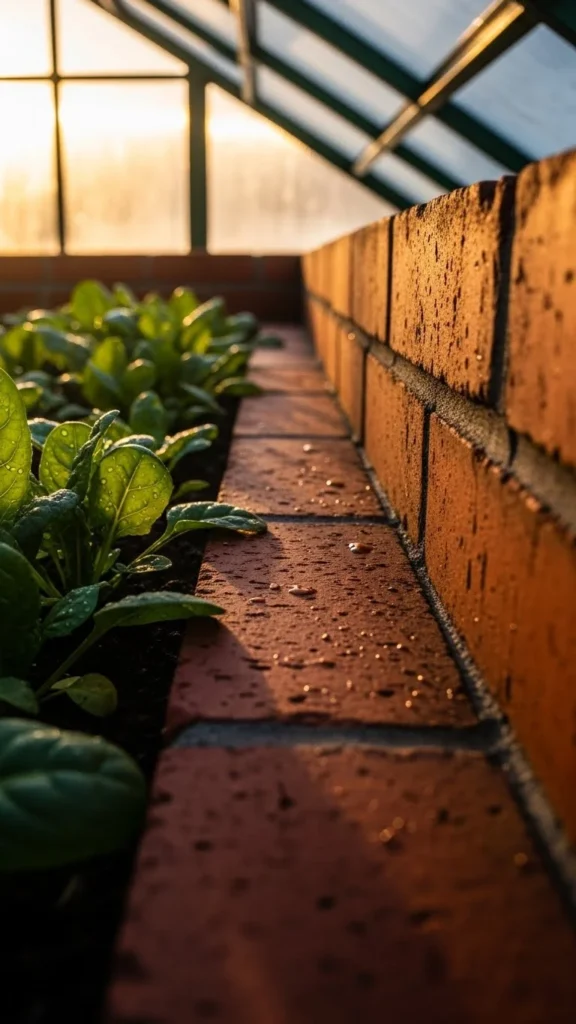
Bricks absorb daytime warmth and release it gradually after sundown. They also help secure the frame during windy weather. Line the interior edges or build a partial wall at the back. Bricks are often free or inexpensive, and they fit easily into any layout. If they get wet, they still function well. This low-tech trick supports stable temperatures with materials you may already have. Bricks also help anchor lightweight lids, preventing them from lifting on breezy days.
18. Use Mulch Around Plant Bases
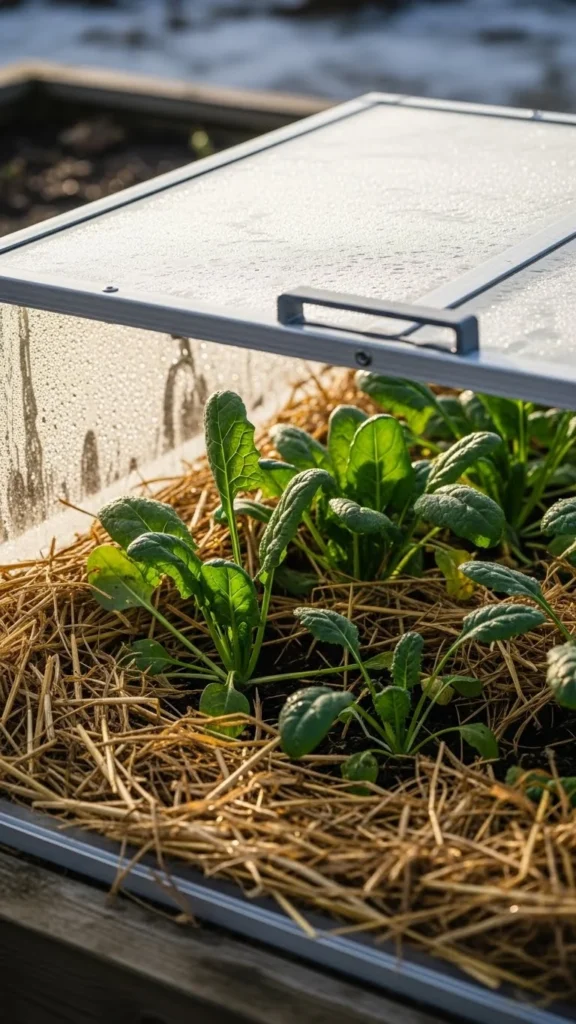
Mulch helps hold warmth in the soil and protects plant roots. Straw, dried leaves, or small wood chips work well. Spread a thin layer around plant bases, leaving a bit of space near the stems. This simple step helps regulate moisture and slow down evaporation. Mulch is easy to gather from your yard or local supplies, making it budget-friendly. Use only dry materials so moisture doesn’t build up. Refresh it every few weeks to keep it clean and functional. Mulch supports healthy growth during cold months with very little effort.
19. Grow Herbs in Small Pots Inside the Frame
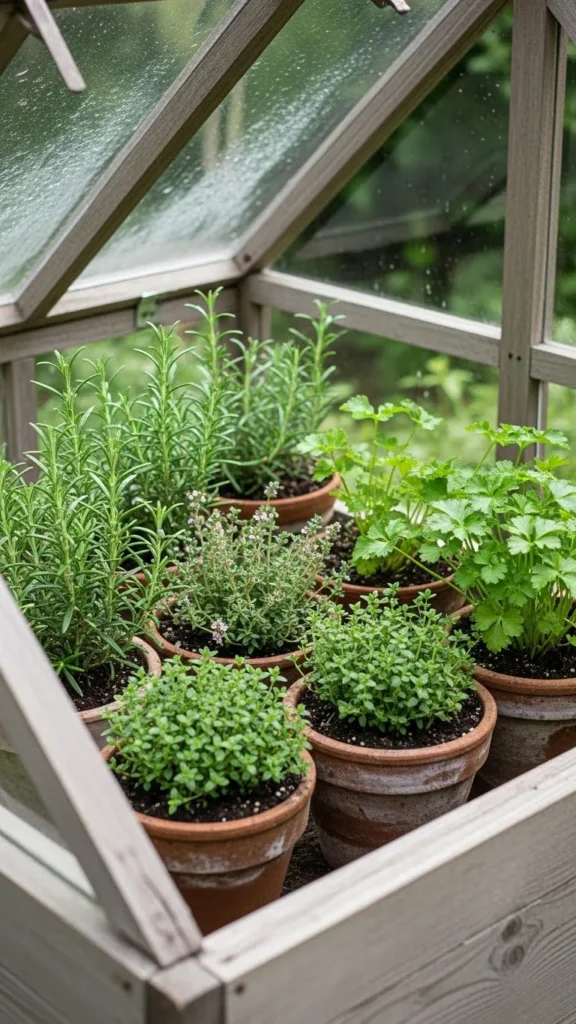
Herbs appreciate the slightly warmer environment of a cold frame. Keeping them in pots makes it simple to rearrange them based on light and space. Rosemary, thyme, parsley, cilantro, and chives do well through cool weather. Use lightweight potting soil so roots drain well. Small pots warm faster than ground soil, giving herbs a head start. If a very cold night is expected, you can move the pots indoors for extra protection. This approach works well for gardeners with small yards or limited bed space. It provides a steady supply of fragrant herbs all season.
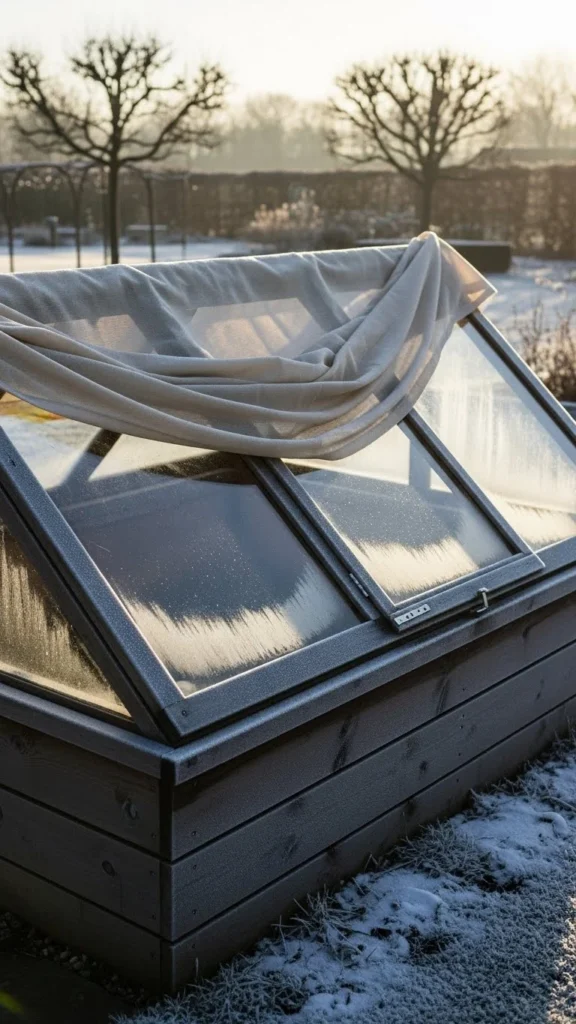
20. Use Old Blankets on Extra-Cold Nights
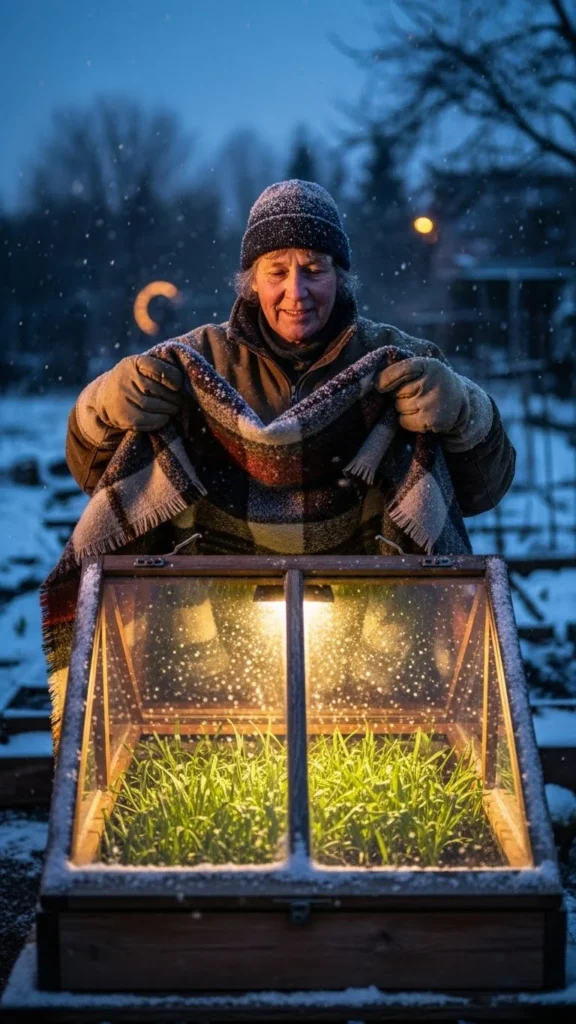
When a harsh cold snap arrives, household blankets add temporary protection. Drape them over the lid in the evening and remove them in the morning. The blanket traps heat without limiting the frame’s structure. Avoid heavy materials that might stress the lid. If snow or ice is expected, use lighter cloths that won’t absorb too much moisture. This quick fix helps protect your crops on nights when temperatures dip suddenly. It’s a free and easy safety measure that supports steady growth.
21. Elevate Seed Trays for Even Warmth
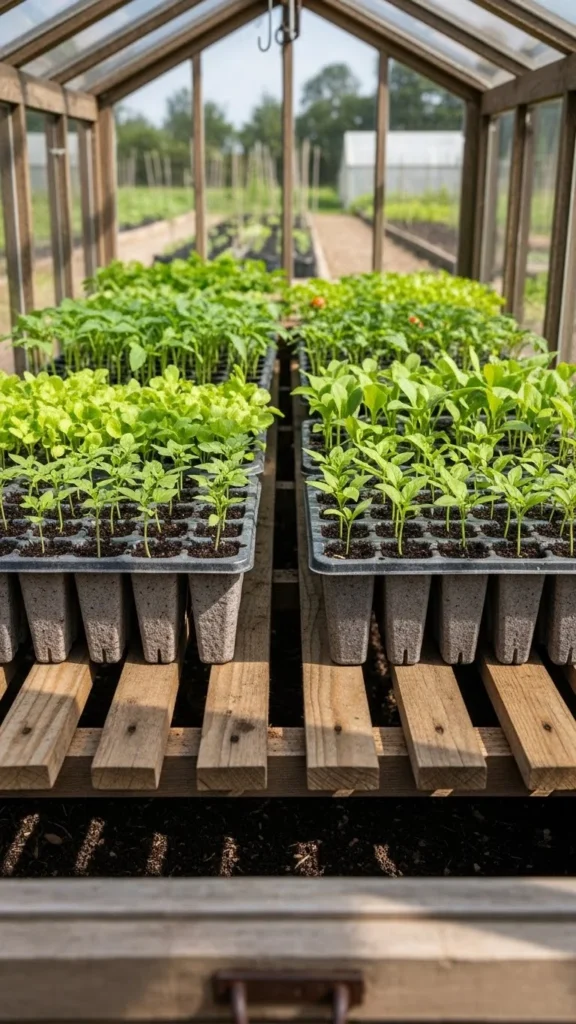
Raising seed trays helps air circulate around them, preventing cold pockets. Wooden slats, bricks, or old tiles work well as platforms. This improves drainage and keeps seedlings from sitting in damp soil. Elevated trays also warm quicker in sunlight. Start your next round of crops inside the frame while others grow nearby. This allows you to harvest continuously through the season. Trays are inexpensive and easy to rotate, making this method practical for small gardens. It’s a simple way to maintain healthy seedlings during cooler months.
22. Add Handles for Easy Lid Lifting
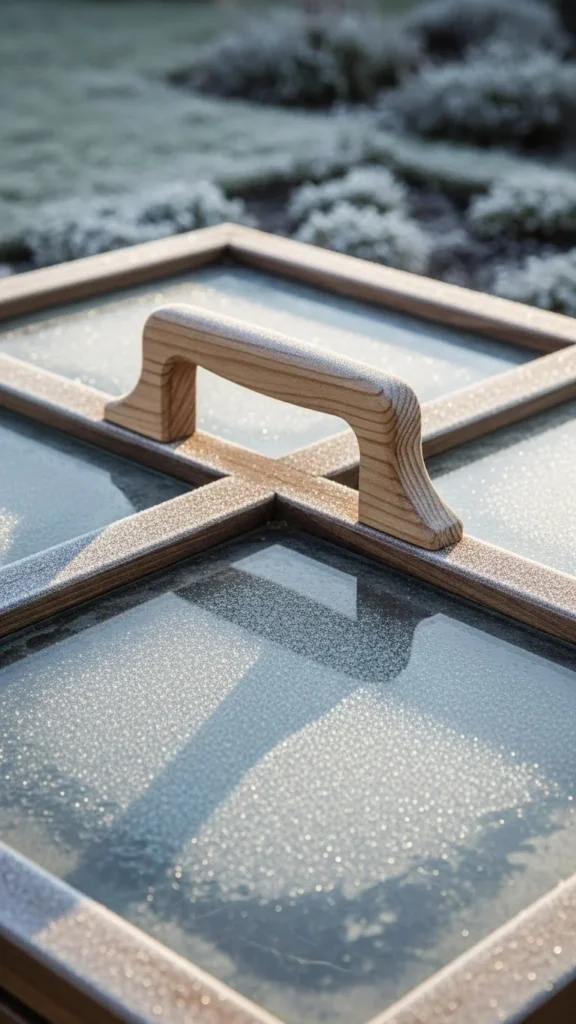
Cold-frame lids get slippery in winter. Adding a basic handle makes daily venting easier. Use a scrap piece of wood or a small cabinet handle. Attach it with weather-resistant screws. This small upgrade saves time and prevents sudden lid drops. It also makes lifting safer when frost forms on the surface. Many gardeners add two handles for better grip. This simple addition requires minimal tools and helps you care for the frame comfortably each day.
23. Keep a Clear Path Around the Frame
Keeping the surrounding area clear improves sunlight exposure and makes maintenance quicker. Remove snow, fallen leaves, or debris that might block light or airflow. A tidy path also prevents slips when checking the cold frame in icy weather. This habit supports healthy plants and gives you better visibility of the interior. It’s a free practice that many gardeners overlook, yet it plays an important role in keeping the cold frame productive throughout the season.
24. Add a Simple Thermometer on the Lid
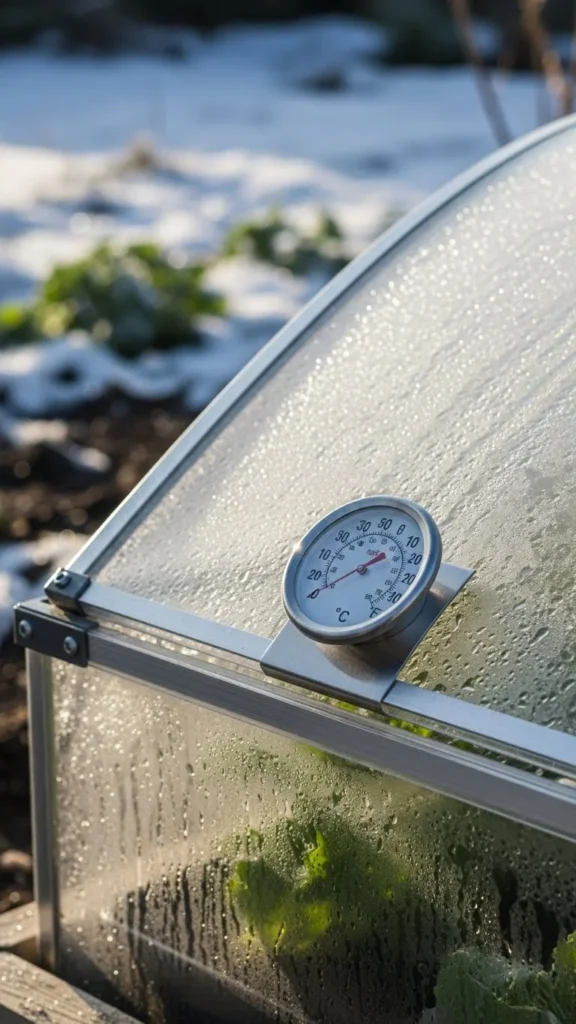
Tracking temperature helps you decide when to vent, water, or insulate. An inexpensive outdoor thermometer attached near the lid gives you quick readings. Check it during different times of day to learn how your cold frame behaves. If temperatures rise too fast, crack the lid open. If they drop often, add insulation. This tool offers helpful feedback without any complexity. It’s a practical way to guide your daily decisions and keep your cold-frame crops thriving.
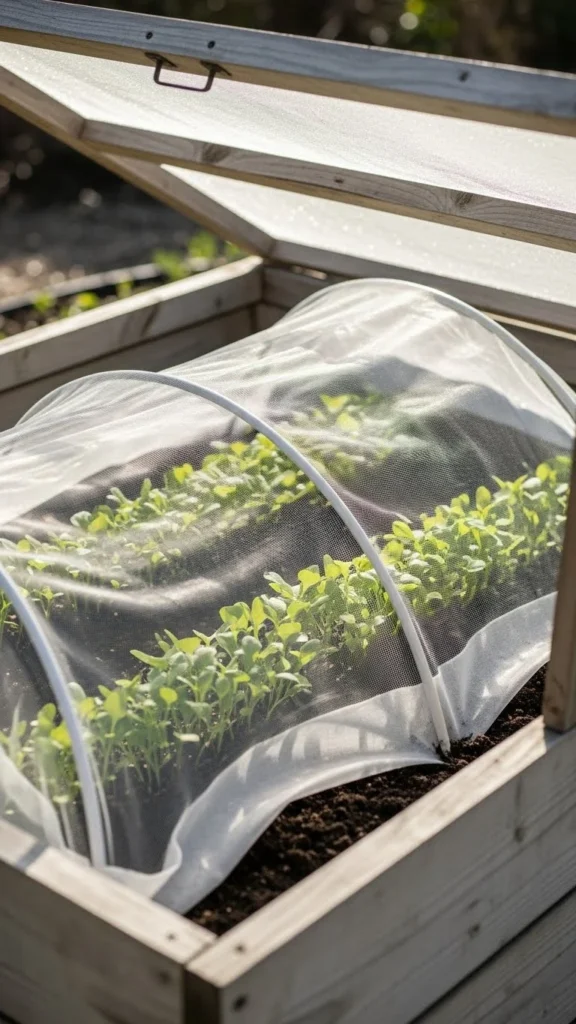
25. Build Mini Cold Frames Inside the Main Frame
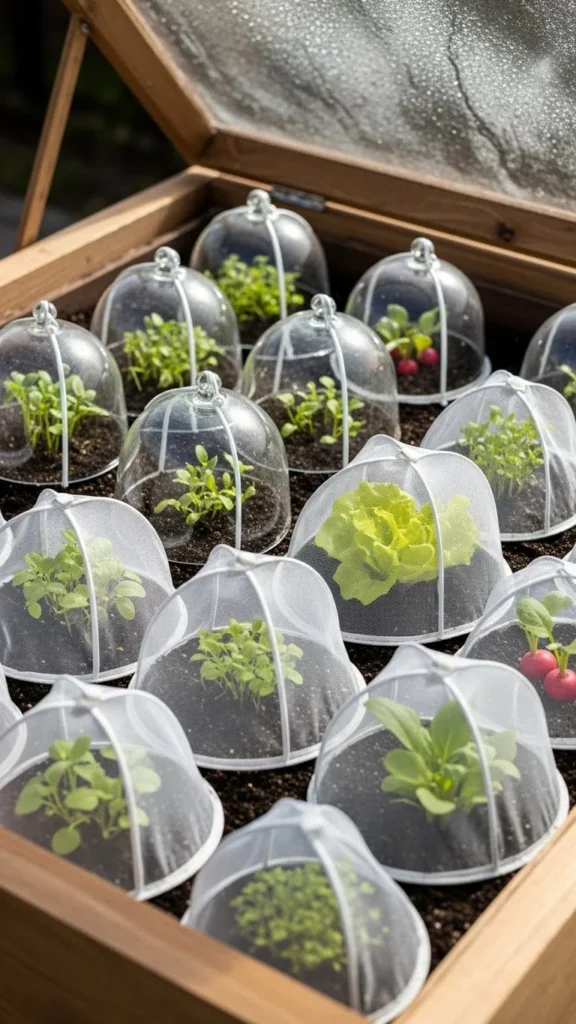
Layering protection helps crops survive difficult weather. Small covers like cloches or plastic domes create micro environments within the main frame. This double layer works especially well for tender seedlings or late-winter plantings. You can make your own covers from cut plastic bottles or clear containers. They cost little and store easily when not in use. Place them over plants on the coldest nights and remove them during warm spells. This method gives delicate crops extra support with almost no expense.
26. Use Reusable Plastic Sheets for Extra Protection
Clear plastic sheets add a quick layer of insulation. Drape them over the lid and secure the edges with clips or stones. The trapped air warms slightly and helps protect your crops. Use this technique during sudden weather changes or when snow is expected. Plastic sheets are inexpensive, easy to fold, and simple to reuse. They add valuable warmth without changing the structure of your cold frame. This final layer helps maintain consistent growing conditions even during the coldest periods.
Conclusion
Cold frames extend the gardening season with simple materials and everyday habits. With the right placement, steady ventilation, smart insulation, and thoughtful crop choices, you can enjoy fresh harvests far beyond the usual frost dates. Each idea in this guide is easy to try, affordable, and adaptable to any garden size. Start with a few tricks that fit your setup, and your cold frame will quickly become one of your most reliable tools for year-round growing.

Leave a Reply