
Composting turns everyday kitchen waste into nutrient-rich gold for your plants. It’s the most natural way to recycle organic matter, reduce landfill waste, and feed your garden soil. Whether you’re new to gardening or already nurturing a small backyard plot, these composting tips will help you make healthy compost that supports strong, vibrant plants—all with minimal effort and cost.
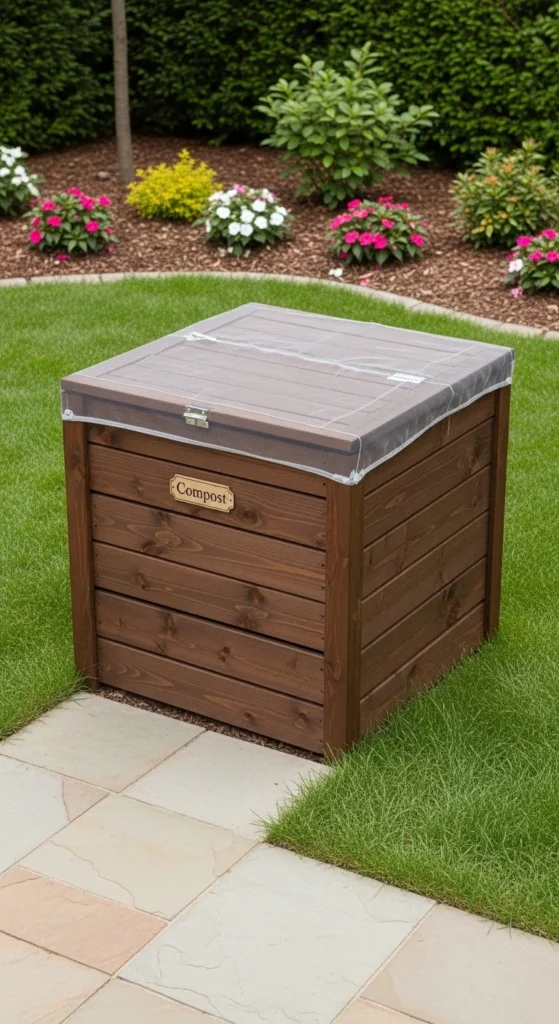
1. Start with the Right Compost Bin
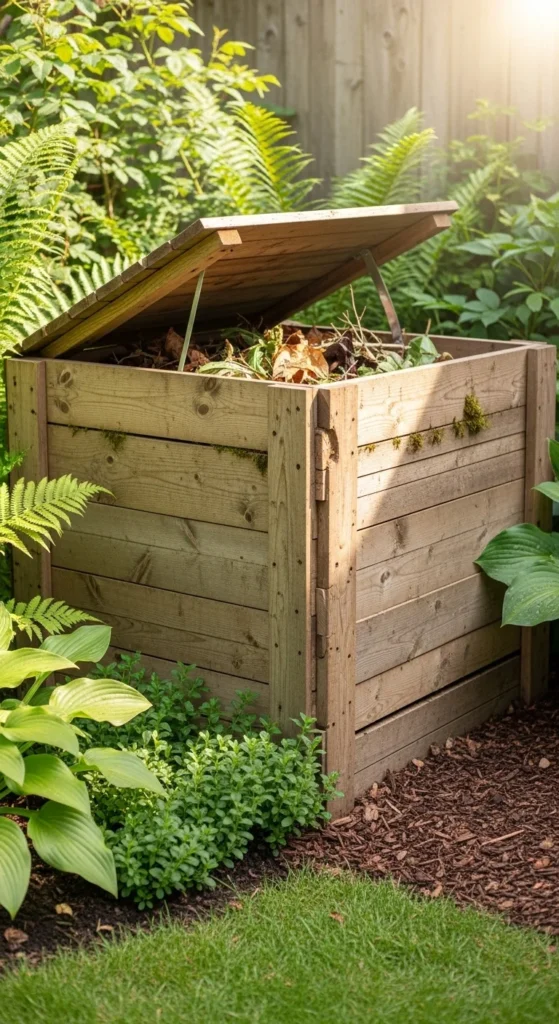
Choose a bin that fits your space and habits. If you have a big backyard, a large wooden or wire-frame bin works perfectly. For smaller spaces, a compact plastic tumbler or even a DIY crate lined with mesh is enough.
Place it in a sunny but not scorching area—somewhere with good airflow and easy access for adding scraps.
Don’t overthink fancy designs. The key is convenience. A bin you can easily open, turn, and reach means you’ll use it more often.
Tip: Repurpose old pallets or barrels to make your own bin for free.
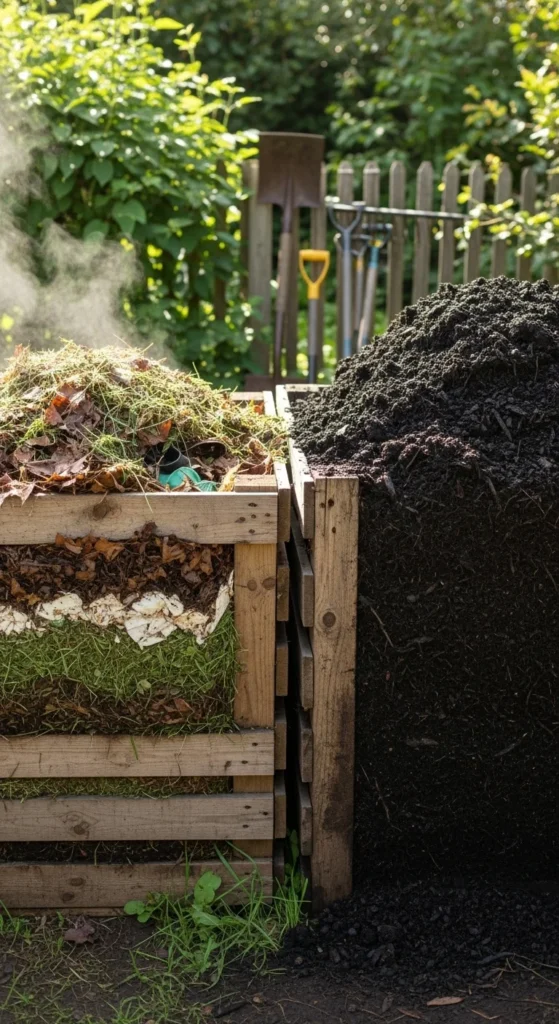
2. Balance Greens and Browns
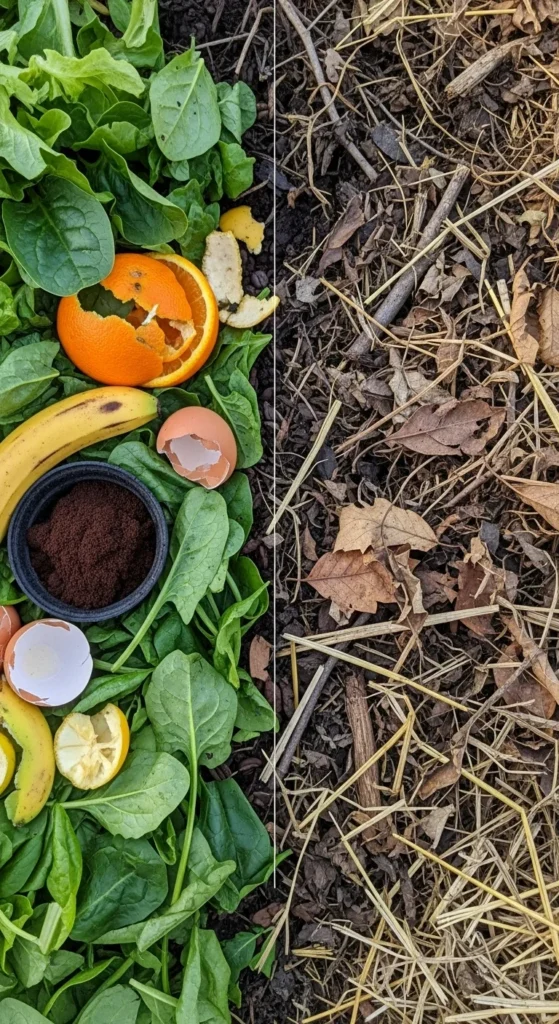
Composting works best when you mix “greens” (nitrogen-rich) and “browns” (carbon-rich) materials. Greens include fruit peels, grass clippings, and veggie scraps. Browns are dry leaves, twigs, or shredded paper.
A good ratio is 2 parts browns to 1 part greens. Too many greens can cause odor, while too many browns slow decomposition.
Keep a bucket or basket for each, so you can layer them properly when adding new materials.
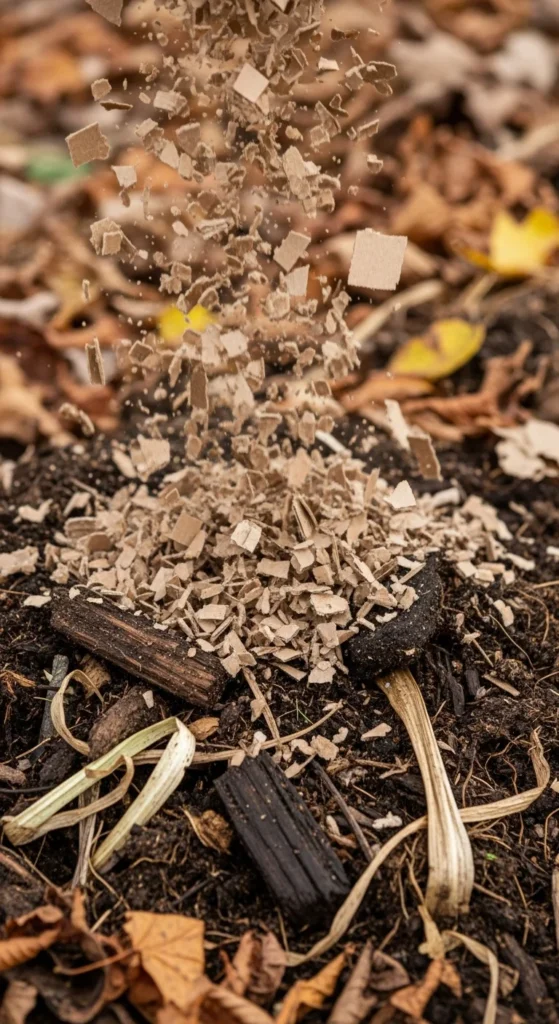
3. Chop or Shred Materials
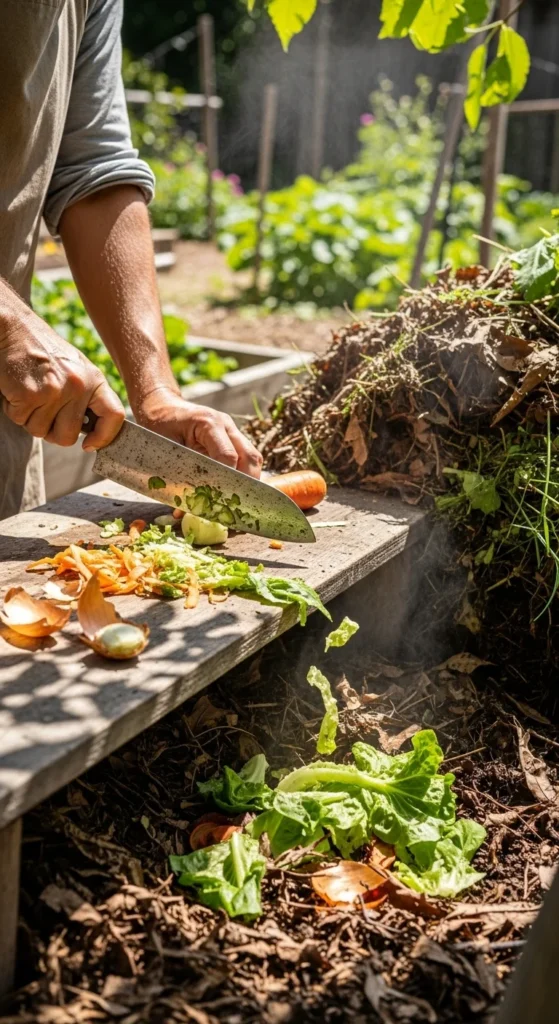
Smaller pieces break down faster. Before tossing in those melon rinds or twigs, chop or shred them.
It takes only a few seconds but can cut weeks off the composting process.
If you have a lot of garden debris, run a mower over dry leaves to shred them quickly.
The more surface area you create, the easier it is for microbes to get to work.
4. Keep It Moist but Not Wet
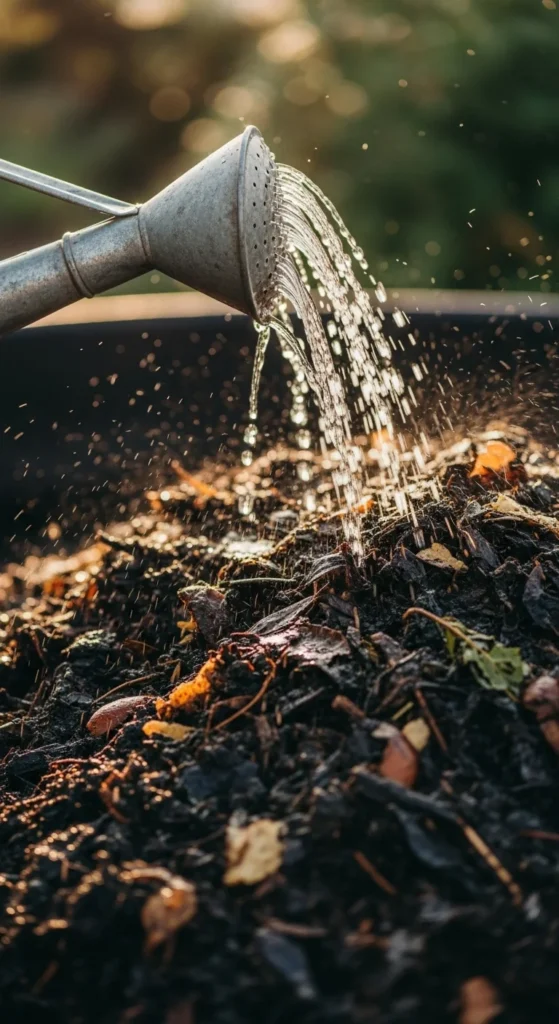
Compost needs moisture for decomposition but too much water slows it down.
Aim for the feel of a wrung-out sponge. If it’s too dry, sprinkle some water. If too soggy, add more dry leaves or cardboard.
Regularly check moisture every few days—especially in hot or rainy weather.
A cover or tarp can help keep balance when rain is heavy.
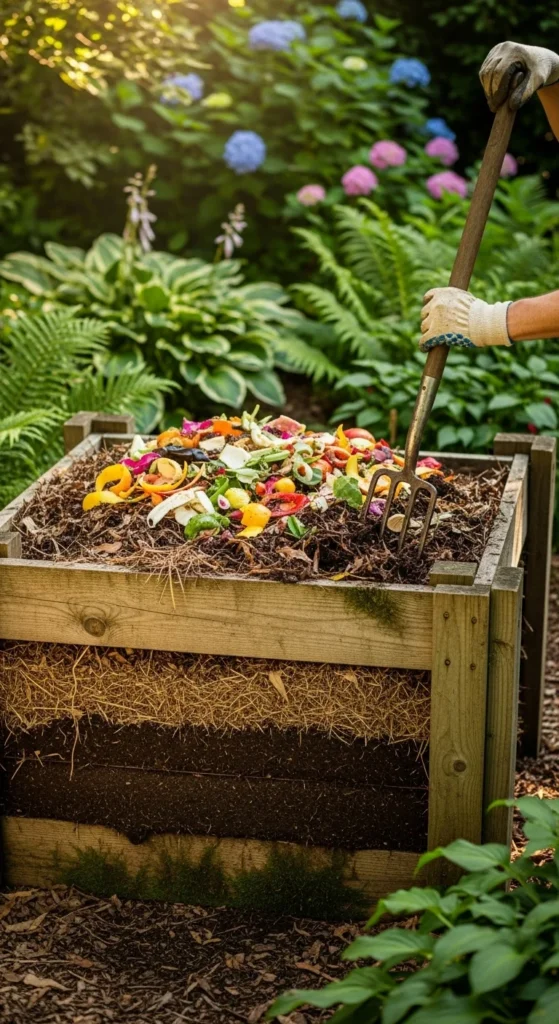
5. Turn the Pile Regularly
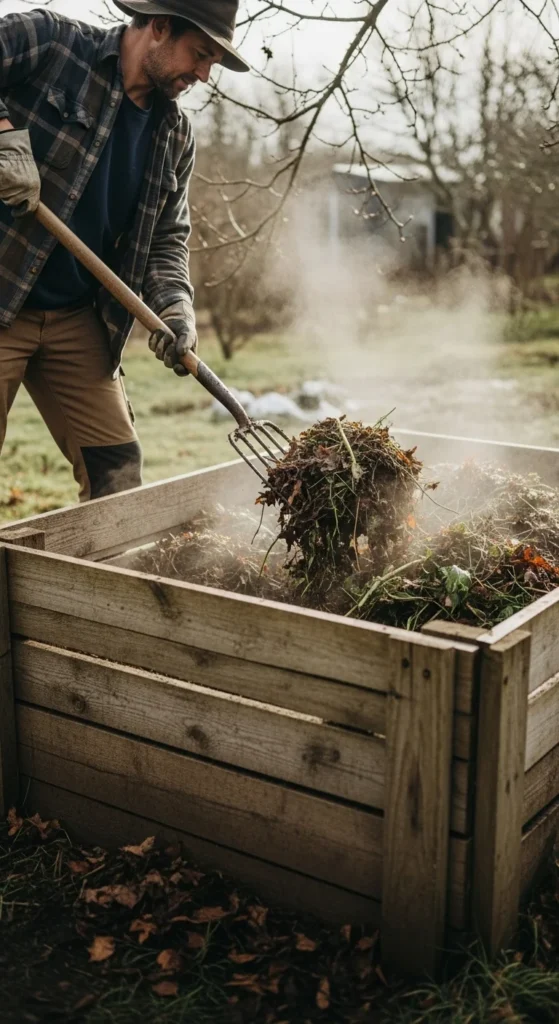
Turning adds oxygen—fuel for the bacteria breaking down your waste.
Once every one to two weeks is enough. Use a fork or shovel to mix outer and inner layers.
If you’re short on time, rotate the pile in sections instead of all at once.
A compost tumbler makes this easier and faster.
6. Avoid Meat, Dairy, and Oily Foods
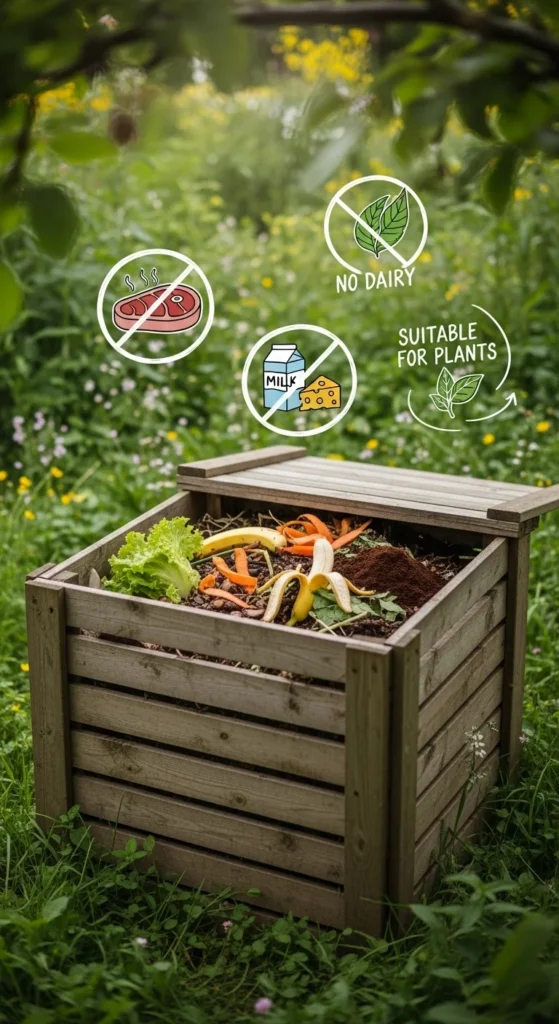
Stick to plant-based scraps only. Meat, bones, and dairy attract pests and slow decay.
Oily or cooked foods can also create bad smells.
Instead, focus on fruit, veggies, coffee grounds, tea leaves, and eggshells.
If you want to compost food waste like fish or meat, try a Bokashi bin indoors—it’s odor-controlled and faster.
7. Add a Layer of Soil Occasionally
A thin layer of soil adds microbes and organisms that speed up decomposition.
It also helps cover new waste, keeping pests away.
You can also sprinkle finished compost or garden soil between layers to activate fresh material.
It’s an easy, free way to keep the process healthy and odor-free.
8. Use a Compost Thermometer
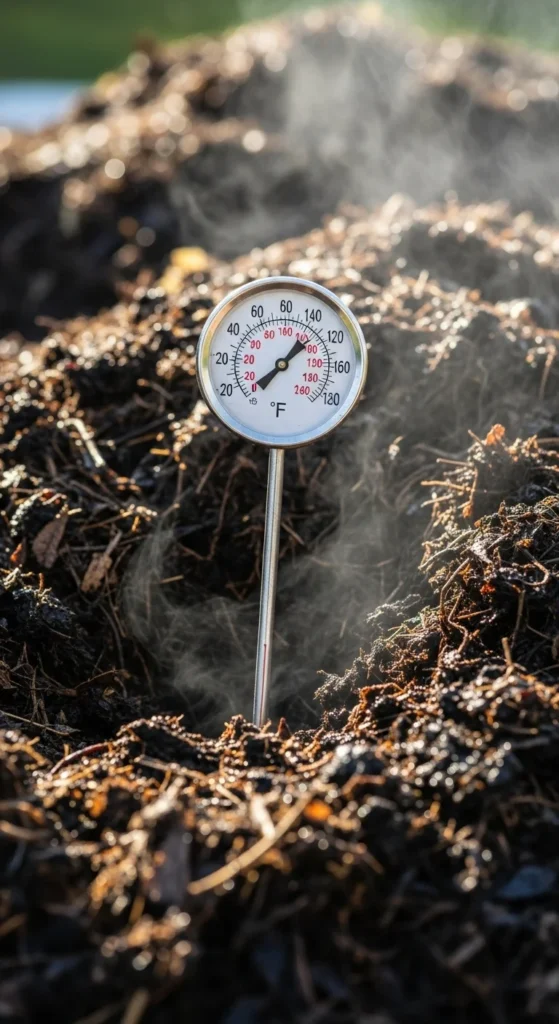
Temperature tells you if your compost is “cooking.”
Healthy piles heat up to 130–160°F (55–70°C) as bacteria work.
If it’s too cold, add more greens or turn the pile for oxygen.
If it’s too hot, add browns to cool it down slightly.
A cheap compost thermometer helps you track progress accurately.
9. Layer Materials for Better Breakdown
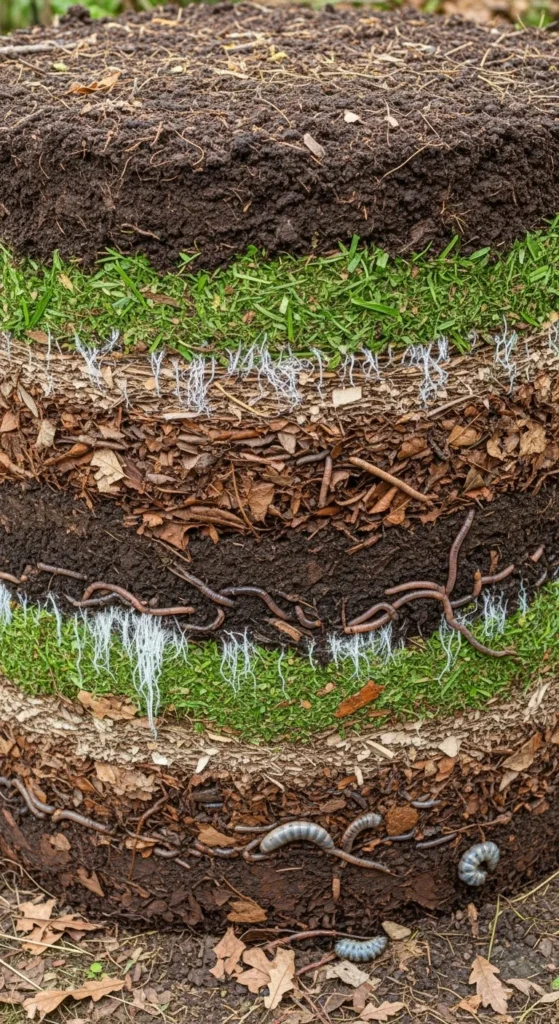
When building a pile, think of it as a layered recipe.
Start with coarse browns at the bottom for airflow.
Then alternate greens and browns like lasagna.
Top it off with a layer of soil or compost to trap odor.
This method helps air circulate and keeps things decomposing smoothly.
10. Keep a Compost Pail Indoors
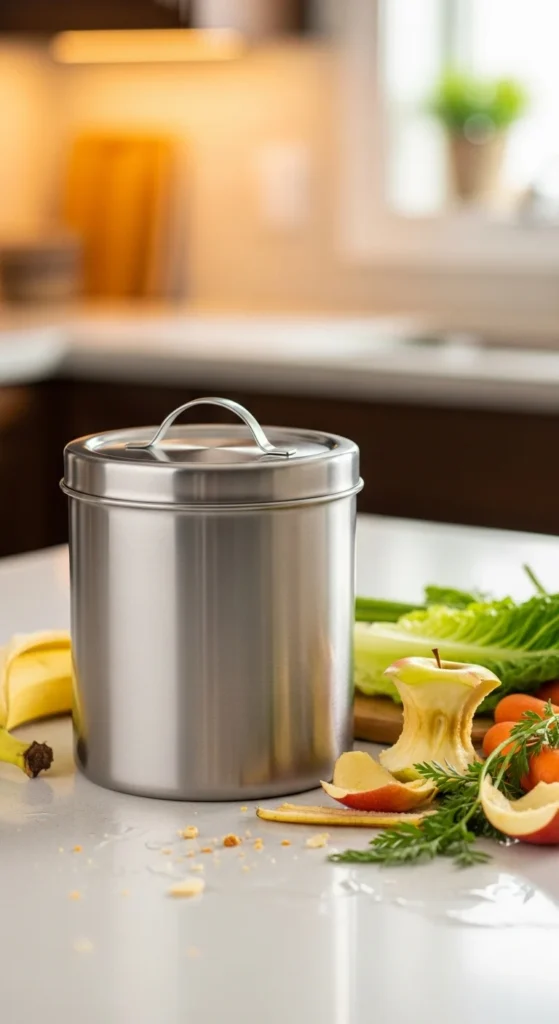
Make composting part of daily life with a countertop pail.
Collect kitchen scraps throughout the day, then empty them outdoors every few days.
Choose one with a charcoal filter to control odor.
This simple routine keeps your compost flowing steadily and prevents food waste buildup indoors.
11. Add Coffee Grounds and Tea Leaves
Used coffee and tea are compost gold. They’re rich in nitrogen and add valuable texture.
Tear open tea bags (if biodegradable) and toss them in.
Mix coffee grounds lightly into the pile to avoid clumping.
Even paper coffee filters are compost-safe.
They help create soft, crumbly compost for garden beds.
12. Shred Paper and Cardboard
Paper and cardboard are carbon-rich and help balance wet scraps.
Avoid glossy or colored paper—stick to plain brown and white.
Shred them into small pieces to speed up decay.
If you have lots of deliveries, reuse packaging boxes this way instead of tossing them out.
13. Keep Pests Away Naturally
Cover new scraps with soil or leaves after adding them.
Use bins with lids or wire mesh bases to block rodents.
Avoid putting food too close to the surface.
If pests appear, sprinkle citrus peels or use a mesh screen.
Good airflow and dryness also discourage them.
14. Try Cold vs. Hot Composting
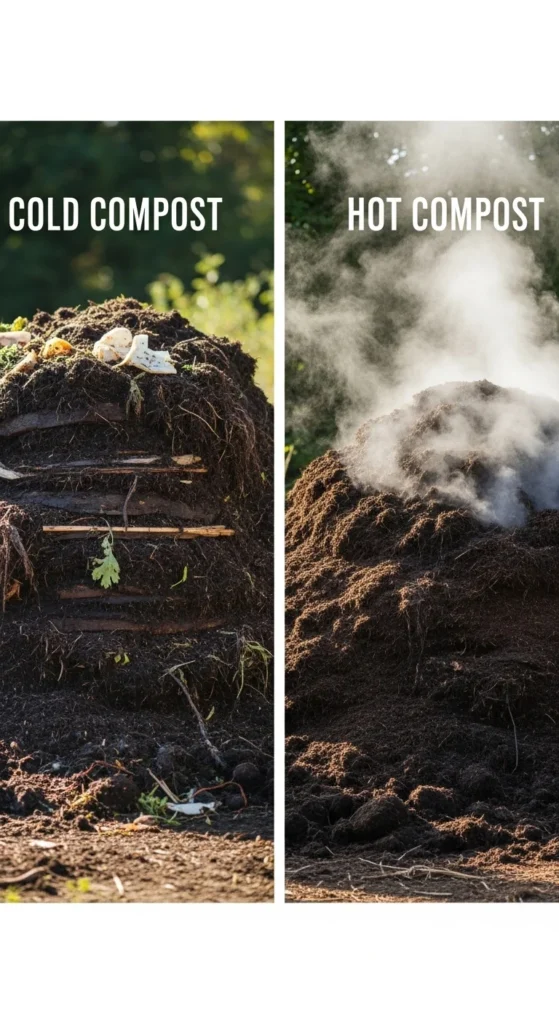
Cold composting means adding waste and waiting—it takes months but needs little effort.
Hot composting involves maintaining heat and turning regularly—it’s faster but requires more attention.
Pick what suits your schedule.
Even a lazy pile will eventually turn into good compost if kept moist and balanced.
15. Add Worms for Faster Results
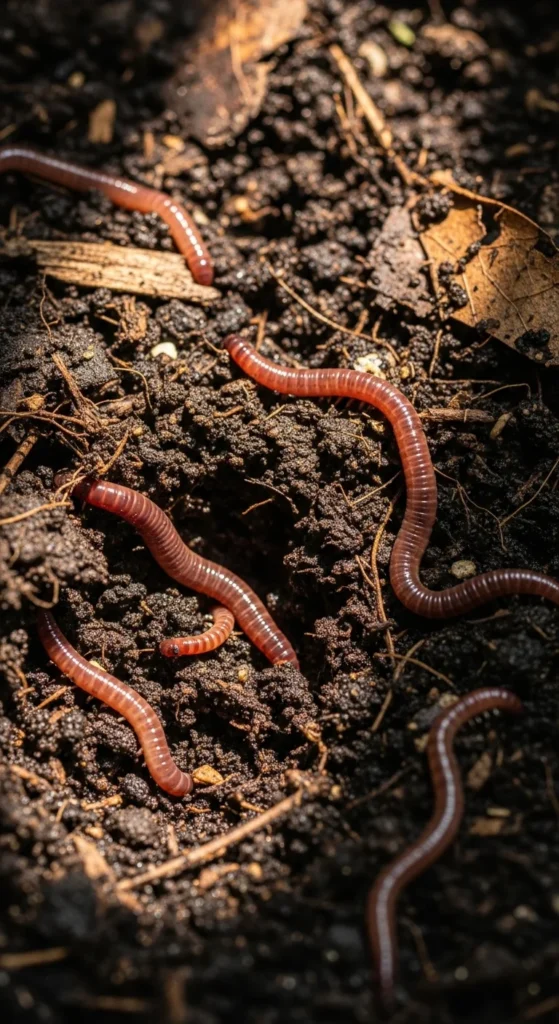
Worms are nature’s composting champions.
Add red wigglers to your bin for vermicomposting.
They eat through scraps quickly and produce nutrient-rich worm castings.
Keep the bin moist and shaded—worms don’t like direct sunlight.
They’ll multiply naturally and keep your compost alive year-round.
16. Use a Second Bin for Finished Compost
Once your first pile matures, start a second bin.
This lets you harvest finished compost without disturbing the active pile.
Label them “active” and “ready.”
You’ll always have one pile cooking while another feeds your garden.
17. Cover the Compost Pile
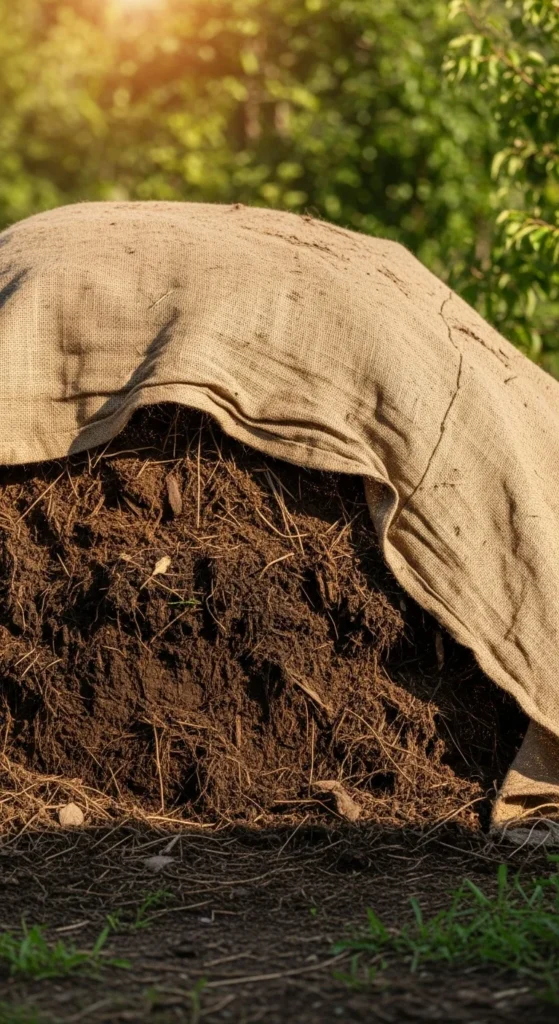
A simple cover keeps rain from soaking your compost and helps retain heat.
Use burlap, old carpet, or a tarp—anything breathable.
Covers also block fruit flies and prevent odors.
It’s a small habit that makes composting cleaner and more efficient.
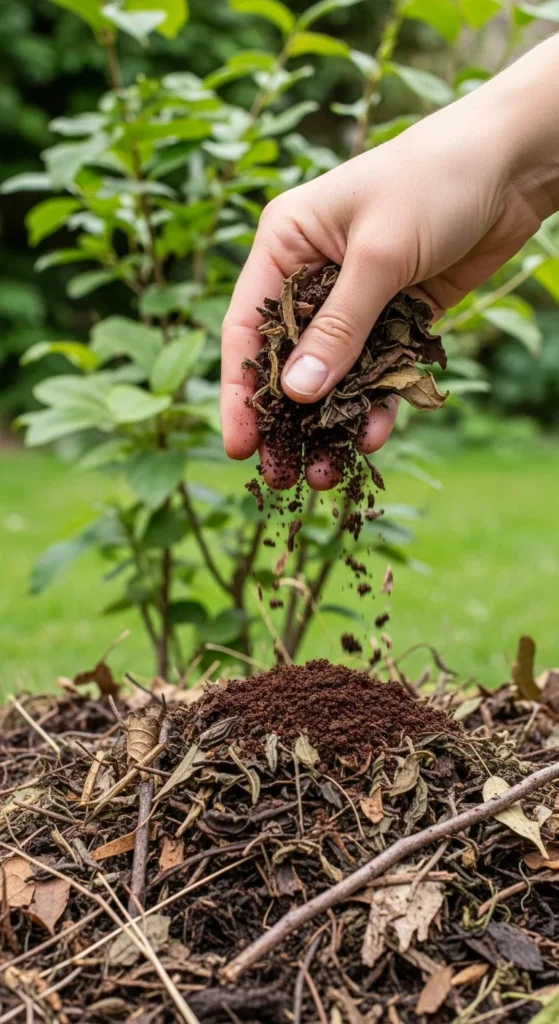
18. Add Finished Compost Back as Starter
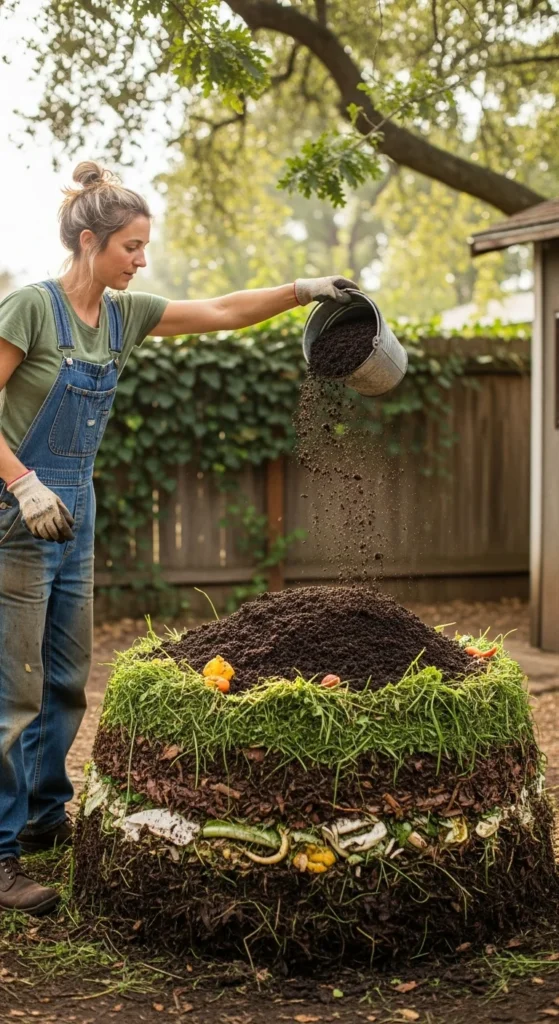
Old compost acts like a starter culture.
It’s rich in active bacteria that speed up new piles.
Sprinkle a few shovels of finished compost whenever you begin a fresh layer.
This keeps decomposition steady and reliable.
19. Watch for Odors—They Signal Problems
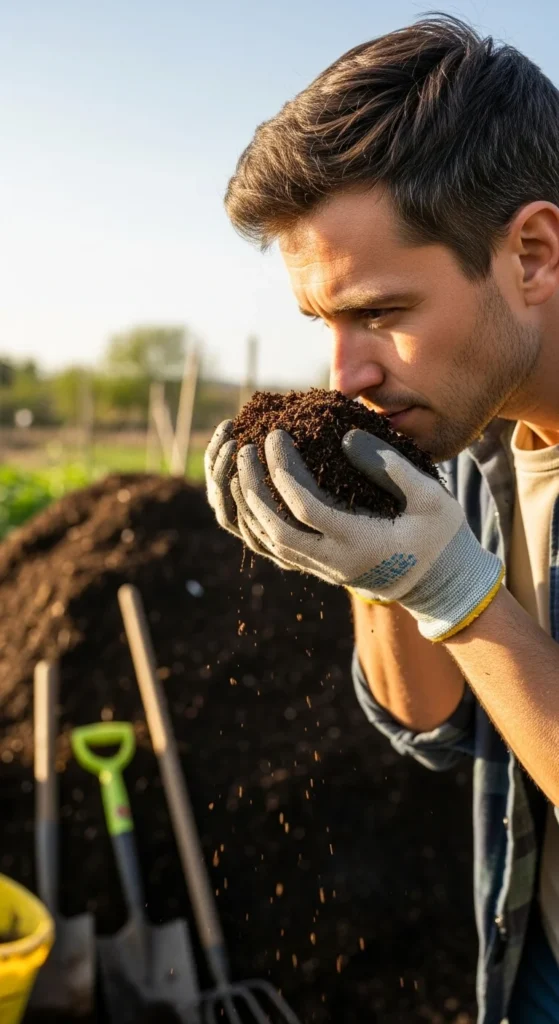
Healthy compost smells earthy, not sour.
Bad odor means too many greens or excess moisture.
Fix it by turning the pile and adding more browns.
Odor control is simple if you stay consistent with mixing and layering.
20. Compost Year-Round
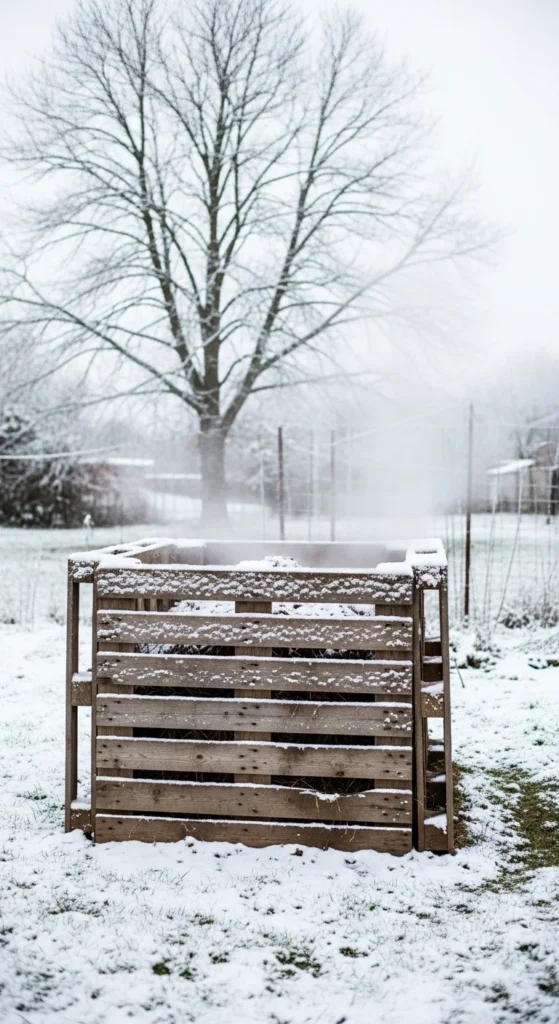
Composting doesn’t stop in winter.
Microbes slow down but keep working beneath the surface.
Keep your bin insulated with straw or cardboard around it.
Continue adding scraps in moderation, and turn it occasionally.
Spring will reward you with rich compost ready for planting.
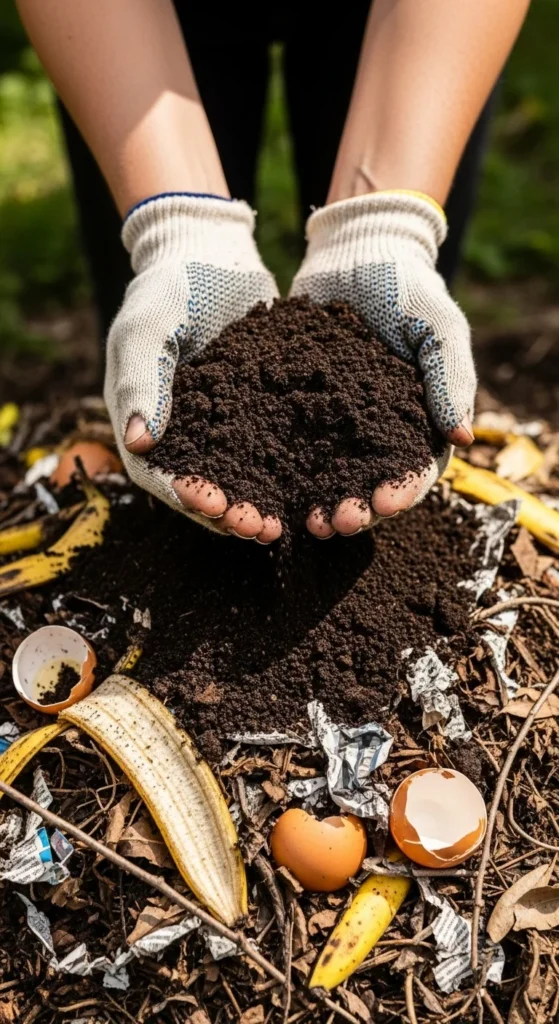
21. Harvest at the Right Time
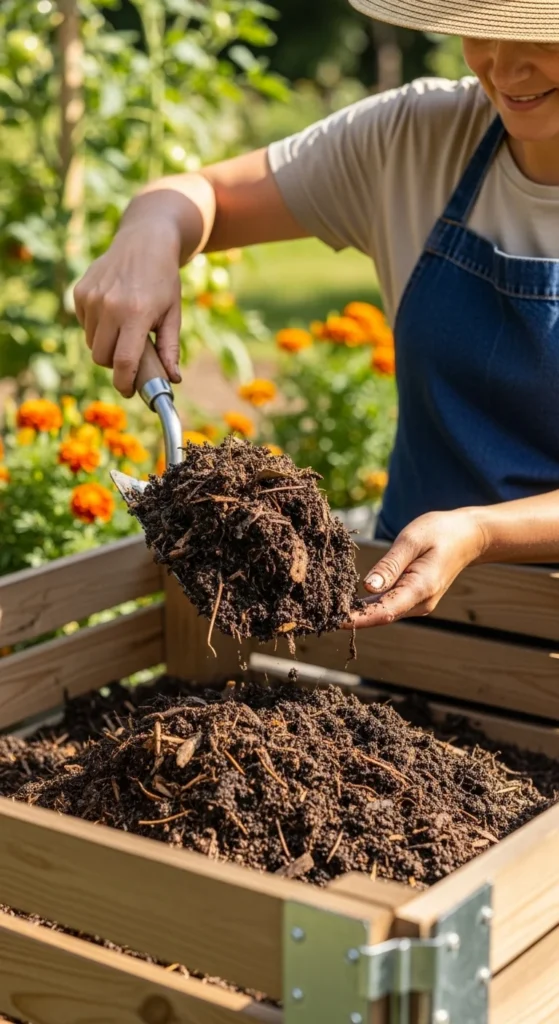
Your compost is ready when it’s dark, crumbly, and smells like soil.
There should be no visible food scraps left.
Sift it to separate large bits, then use those bits to start your next batch.
Ready compost enriches soil for flowers, herbs, and veggies alike.
22. Use Compost in Multiple Ways
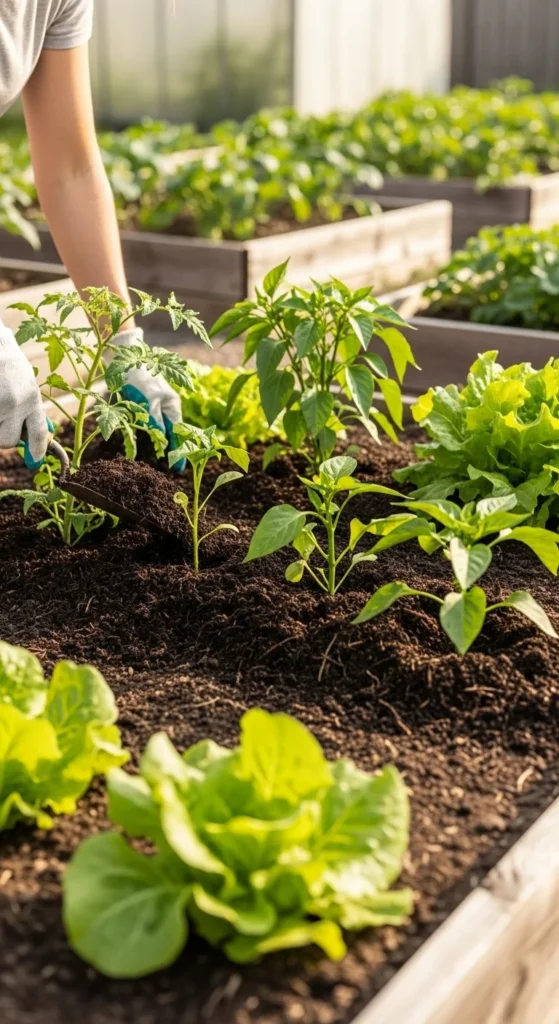
Compost isn’t just for garden beds.
Mix it into potting soil, sprinkle it around trees, or brew compost tea for liquid feeding.
You can also use it as mulch to protect soil moisture.
Once you start using your own compost, your garden’s health will visibly improve.
Conclusion
Composting is simple, affordable, and endlessly rewarding.
With just a few minutes each week, you can turn waste into life-giving soil food that powers every part of your garden.
Start small, stay consistent, and enjoy watching your plants thrive on the natural goodness you create.

Leave a Reply