
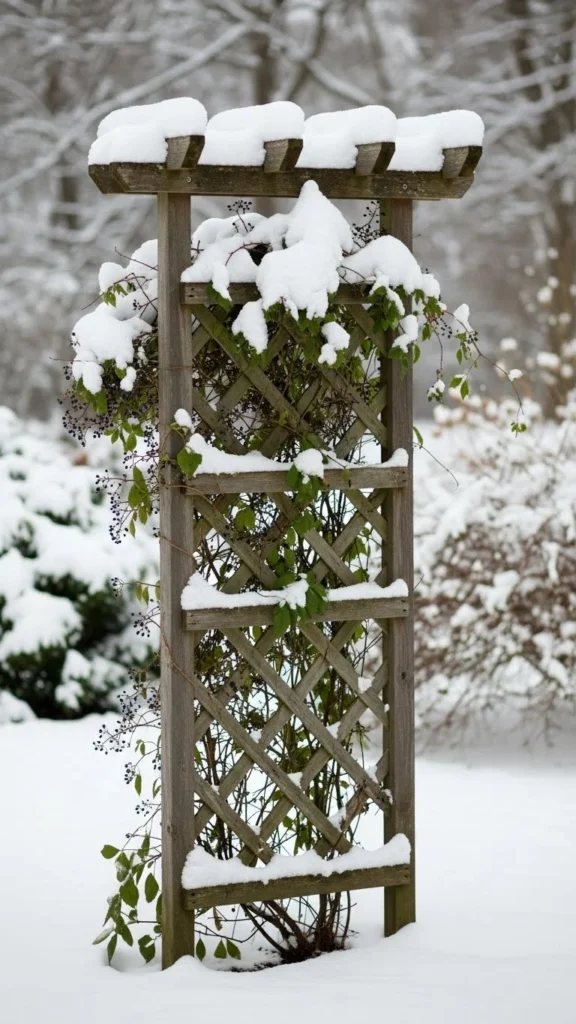
Winter doesn’t have to mean snapped posts and sagging vines. With the right plan, a few smart materials, and cold-weather know-how, you can build a trellis that shrugs off heavy snow and stands tall until spring. This guide walks you through the process step by step—no guesswork, no flimsy fixes—just a sturdy structure you’ll trust all season long.
Why Snow Destroys Most Trellises (and How to Outsmart It)
Snow isn’t just cold—it’s heavy. Wet snow can weigh several pounds per square foot, and when it piles up on flat rails or weak joints, gravity takes over.
Common failure points include:
- Thin wood slats that bend under weight
- Shallow posts that shift during freeze–thaw cycles
- Wide horizontal bars that catch snow like shelves
The solution isn’t complicated. You’re aiming for three things:
- Strong vertical support
- Smart angles that shed snow
- Materials that don’t crack when temperatures drop
Once you design with those in mind, everything else falls into place.
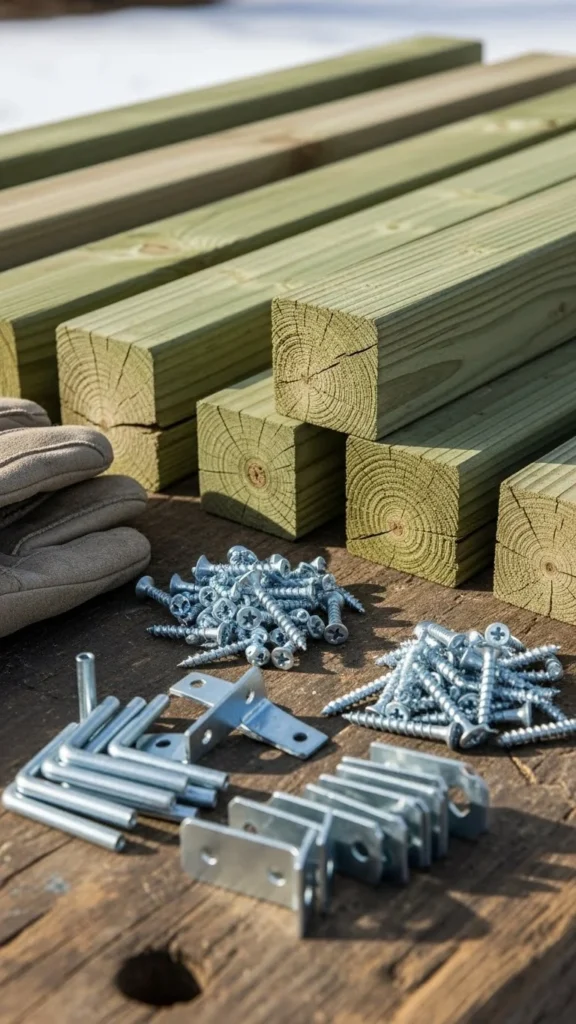
Choose the Right Materials for Cold and Weight
Before cutting or digging, get picky about materials. Winter is not the time for shortcuts.
Best options for snow-proof trellises:
- Pressure-treated lumber (rated for ground contact)
- Cedar or larch for natural rot resistance
- Galvanized steel or metal panels for modern gardens
- Exterior-grade screws and bolts (not nails)
Avoid thin lattice panels sold for decoration only. They look great in summer but fail fast in winter.
Design a Shape That Lets Snow Slide Off
Shape matters more than most people realize. Flat tops collect snow. Angles let it fall.
Snow-smart design tips:
- Use arched or peaked tops instead of flat rails
- Angle crossbars slightly downward
- Keep spacing tight so vines don’t sag under snow
A simple A-frame or arched trellis instantly improves winter performance. Even a slight slope can make a big difference during a heavy storm.
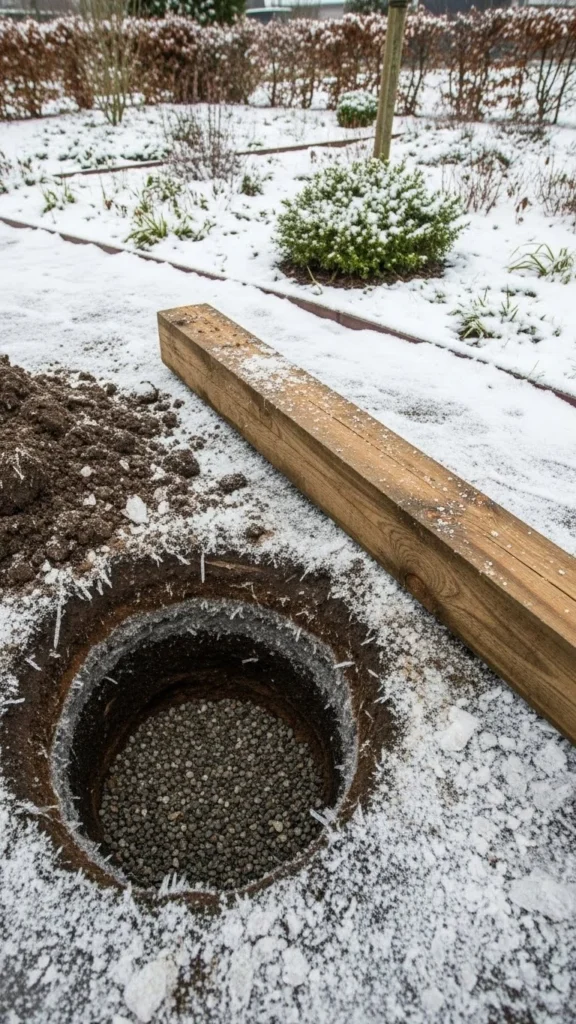
Set Posts Deep Enough to Beat Frost Heave
This is where many builds fail. If your posts aren’t deep enough, freezing soil will push them up and tilt the entire structure.
Follow this rule:
- Set posts below the frost line (usually 60–90 cm, depending on location)
Steps that help:
- Dig wider at the bottom of the hole
- Add compacted gravel for drainage
- Use post anchors or concrete where needed
Reinforce Joints Where Stress Builds Up
Snow load transfers force to joints first. Strong connections keep everything upright.
Upgrade your joints by:
- Using metal brackets or corner braces
- Doubling up screws at stress points
- Avoiding simple butt joints on load-bearing rails
Think of joints as hinges under pressure. Reinforcing them early prevents mid-winter repairs when the ground is frozen solid.
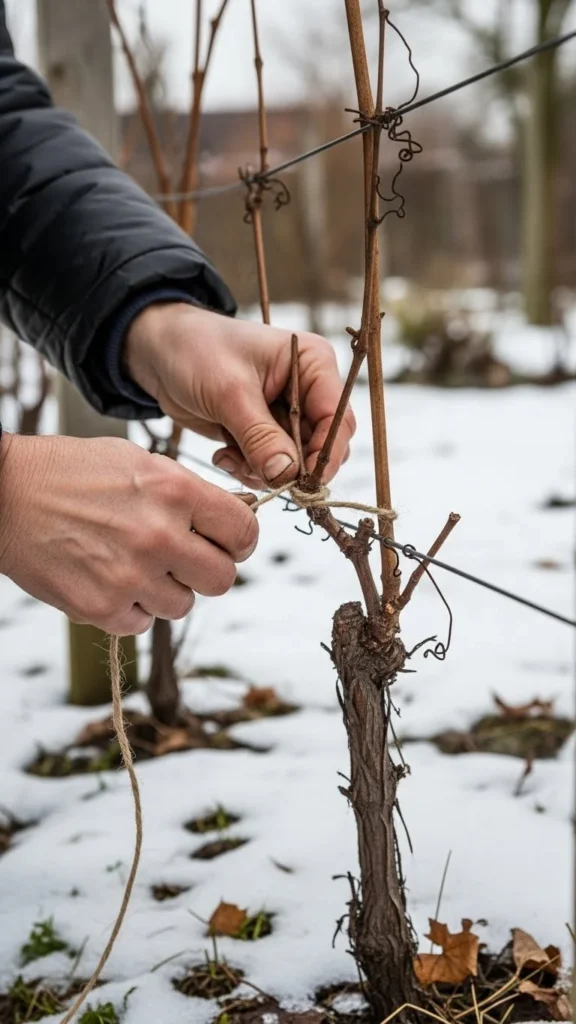
Space and Train Plants to Reduce Winter Strain
Plants matter too. Overgrown vines trap snow and act like sails in wind.
Before winter:
- Prune back excess growth
- Tie remaining vines close to the structure
- Remove weak or dead stems
This reduces drag and keeps weight centered on the trellis instead of pulling outward.
Add Bracing for Extra Insurance
If your area gets deep snow, diagonal bracing is worth the effort.
Simple options:
- One diagonal brace per side
- Ground anchors with tension wire
- Cross-bracing on taller structures
These additions don’t change the look much, but they dramatically improve stability.
Maintain It Once a Year (It’s Quick)
A snow-proof trellis isn’t maintenance-free, but upkeep is minimal.
Each autumn:
- Tighten bolts and screws
- Check posts for movement
- Replace worn ties
Ten minutes of prep can save hours of rebuilding in spring.
Final Takeaway
A strong winter trellis isn’t about overbuilding—it’s about building smart. Deep posts, angled design, reinforced joints, and thoughtful plant management make all the difference. Once you’ve built one that survives a real winter, you’ll never go back to flimsy panels again.
Save this guide for later and build it once—the right way.

Leave a Reply