
When winter hits, fresh greens can feel harder to come by. Grocery store produce looks tired, prices creep up, and gardens sit frozen. That’s where microgreens shine. These tiny plants grow fast, thrive indoors, and deliver a burst of fresh flavor right when you need it most.
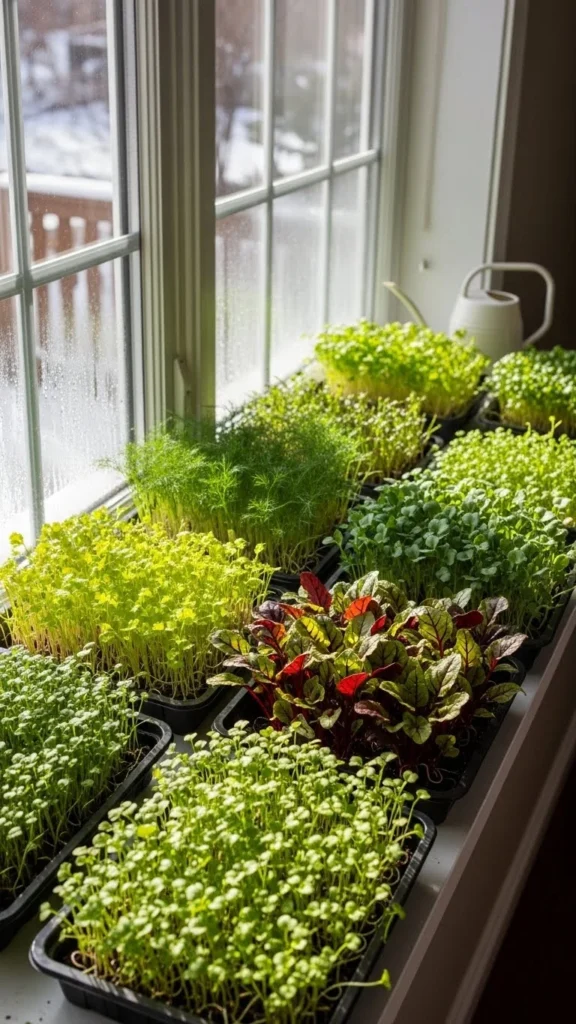
Growing microgreens in winter is simple, affordable, and incredibly satisfying. You don’t need a garden, fancy equipment, or much time. With a few trays and seeds, you can harvest nutrient-rich greens in as little as 7–14 days.
Let’s break it down step by step.
What Are Microgreens (and Why Grow Them in Winter)?
Microgreens are young vegetable and herb seedlings harvested just after their first true leaves appear. They may be small, but they pack serious punch.
Why they’re perfect for winter:
- Grow indoors, no sunlight required
- Ready to harvest fast
- Take up very little space
- Add fresh crunch to winter meals
Popular winter-friendly microgreens include:
- Radish
- Broccoli
- Pea shoots
- Sunflower
- Kale
- Mustard greens
They grow well at room temperature and don’t mind shorter winter days.
What You Need to Get Started
You can keep this setup simple or upgrade over time. Beginners can start with items they already have at home.
Basic supplies:
- Shallow trays or containers (with drainage holes)
- A solid tray underneath to catch water
- Organic potting mix or seed-starting soil
- Microgreen seeds (labeled for microgreens)
- Spray bottle or gentle watering can
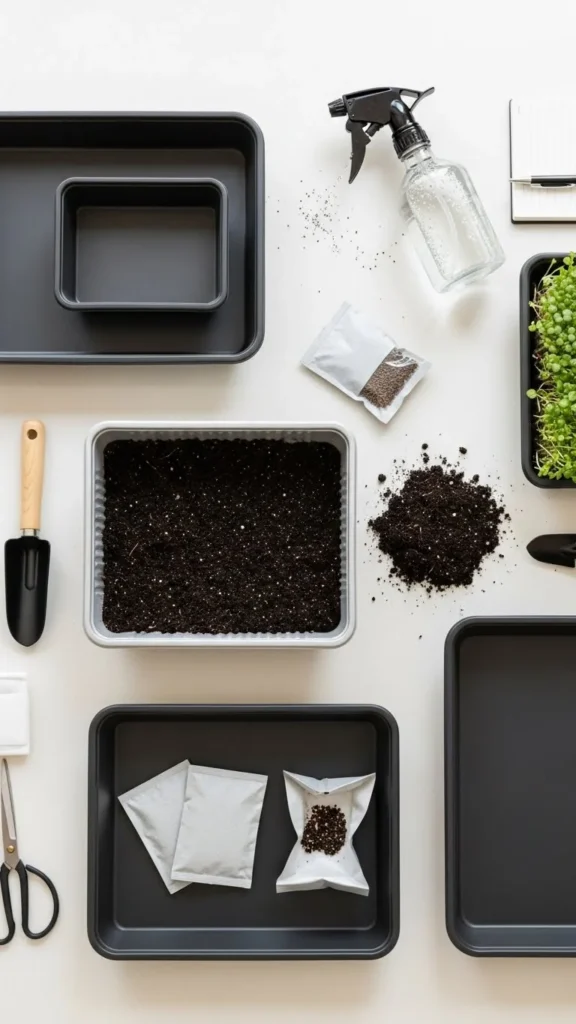
Helpful but optional:
- Grow lights (especially if your home is dark)
- Kitchen scale (for even seeding)
- Small fan for airflow
How to Plant Winter Microgreens (Step by Step)
This process is quick and repeatable, which makes it perfect for busy winter days.
1. Fill Your Tray
- Add soil about 1–1.5 inches deep
- Lightly press it down, but don’t compact it
- Moisten the soil evenly
2. Sprinkle Seeds Generously
- Spread seeds evenly across the surface
- Microgreens like to grow close together
- Don’t bury seeds deeply, most just sit on top

3. Mist and Cover
- Mist seeds with water
- Cover tray with another tray or lid
- This creates darkness and helps seeds sprout evenly
Keep covered for 2–4 days, checking daily for moisture.
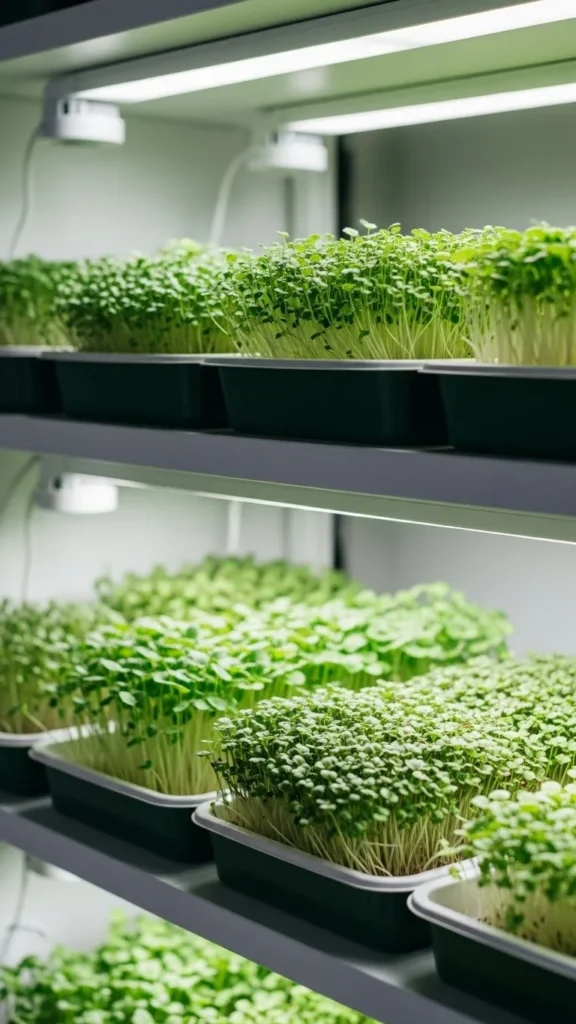
Light, Temperature, and Daily Care
Once sprouts push up, it’s time to uncover them.
Light
- Place trays near a bright window or under grow lights
- Aim for 12–16 hours of light daily
- Rotate trays if using window light
Temperature
- Ideal range: 60–75°F (15–24°C)
- Avoid placing trays near cold drafts or heaters
Watering
- Bottom watering works best
- Pour water into the bottom tray and let soil absorb it
- Avoid soaking leaves to prevent mold
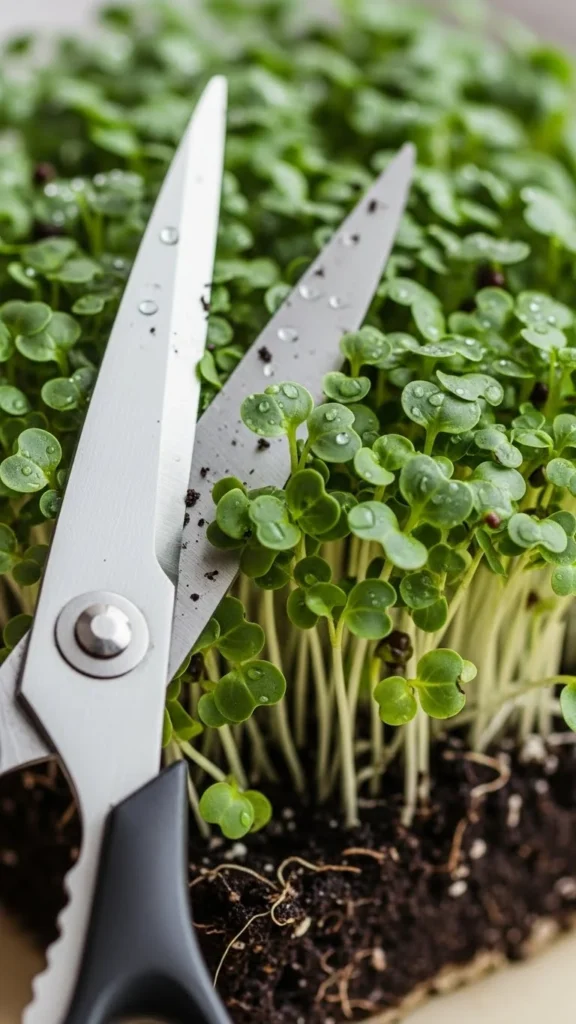
When and How to Harvest Microgreens
Most microgreens are ready in 7–14 days.
You’ll know they’re ready when:
- They’re 2–4 inches tall
- First true leaves appear
- Color looks vibrant and fresh
Harvesting tips:
- Use clean scissors
- Cut just above the soil line
- Harvest only what you need, if possible
After harvesting:
- Rinse gently
- Pat dry
- Store in a container lined with paper towel
- Use within a few days for best flavor
Easy Ways to Use Microgreens All Winter
Microgreens fit into almost any winter meal.
Simple ideas:
- Sprinkle over soups and stews
- Add to sandwiches or wraps
- Mix into salads for extra crunch
- Top eggs or grain bowls
- Blend into smoothies for a fresh boost
They add color, texture, and freshness when winter meals feel heavy.
Common Winter Growing Mistakes to Avoid
A few small adjustments can make a big difference.
Watch out for:
- Overwatering (leads to mold)
- Poor airflow
- Not enough light
- Using old or untreated seeds
If you see mold:
- Increase airflow
- Water less
- Remove affected areas immediately
Why Winter Microgreens Are Worth It
Growing microgreens in winter reconnects you with fresh food during the coldest months. It’s a small habit with big rewards.
You get:
- Fast results
- Fresh nutrition anytime
- A cozy indoor gardening routine
- Bright green color in a gray season
Once you grow your first tray, it’s hard to stop.
Save this guide and start your first winter microgreen tray today. Your future meals will thank you.

Leave a Reply