
Keeping seedlings alive during sudden cold snaps can feel intimidating—but it doesn’t have to be. With a few easy, budget-friendly tricks, you can guard those tender greens from frost damage and keep your garden on track for spring.

Below, you’ll find simple steps anyone can follow—no fancy equipment required.
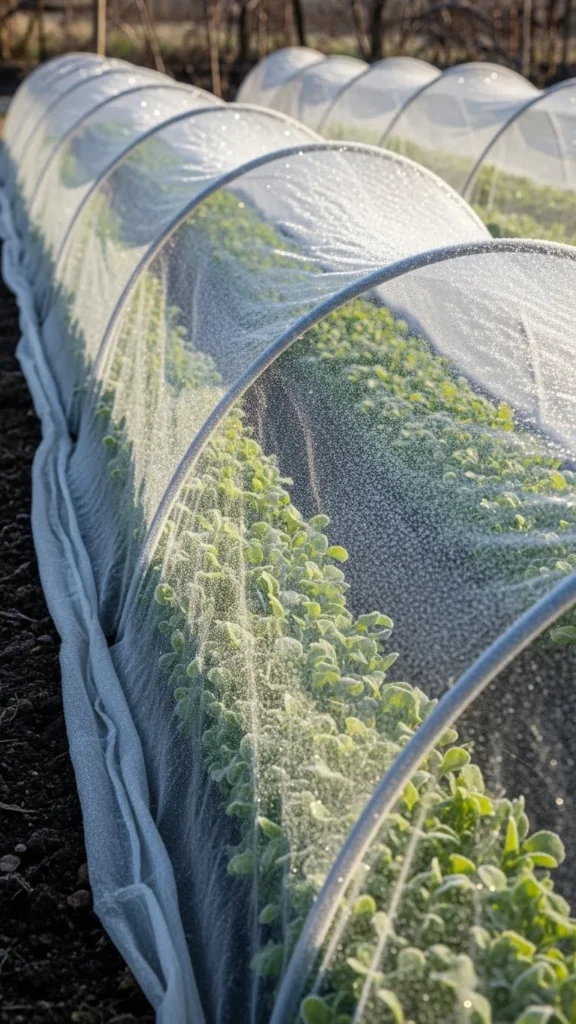
Create Warm Microclimates With Everyday Covers
When frost shows up unexpectedly, covering your seedlings is one of the fastest ways to protect them.
You can use materials you already have at home:
- Old bedsheets
- Lightweight blankets
- Frost cloth
- Clear plastic bins or bowls
Gently drape the cover over your seedlings before nightfall. The goal is to trap some of the daytime warmth around the plants. Just don’t let the cover touch delicate leaves—use sticks, hoops, or even upside-down pots as supports.
In the morning, uncover them once temperatures rise. This prevents condensation and keeps fungi from developing.
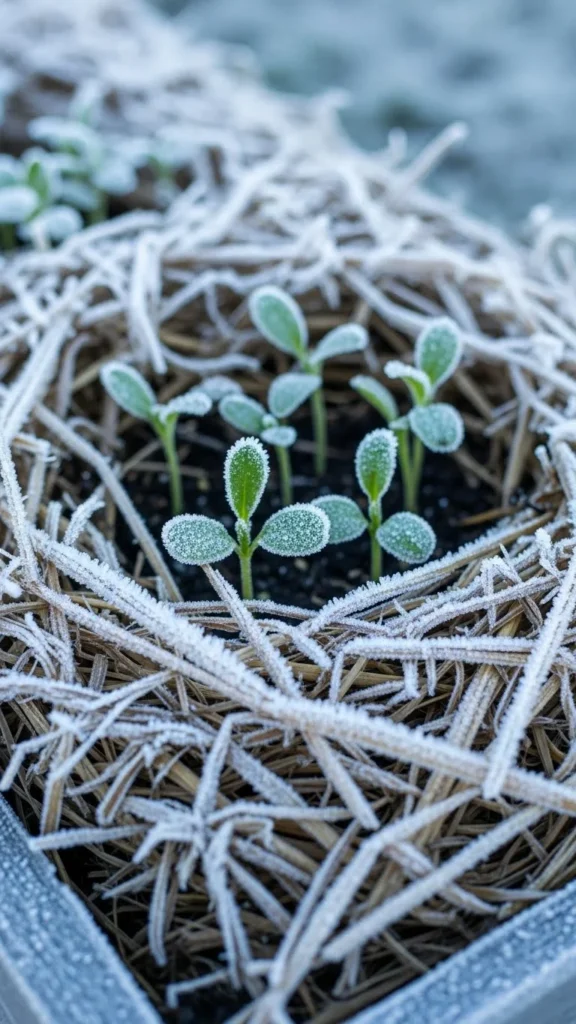
Use Mulch to Insulate Seedling Roots
Mulch is like a cozy blanket for your soil—helping regulate temperature and keep roots warm even when the air turns icy.
Some great mulch options for frost protection include:
- Straw
- Pine needles
- Shredded leaves
- Wood chips
Spread a light layer around the base of your seedlings. Avoid burying the stems—just insulate the soil surface. Mulching also helps retain moisture, which keeps roots more stable during cold nights.
Trap Heat Using Water-Filled Containers
Water is surprisingly effective at storing warmth during the day and releasing it at night.
Place a few containers filled with water around your seedlings. Options include:
- Milk jugs
- Mason jars
- Large plastic bottles
These containers absorb heat from the sun throughout the day. When temperatures drop, they slowly release that warmth—creating a gentle heat bubble around your plants.
This trick is especially helpful in raised beds or small garden plots where cold air settles quickly.
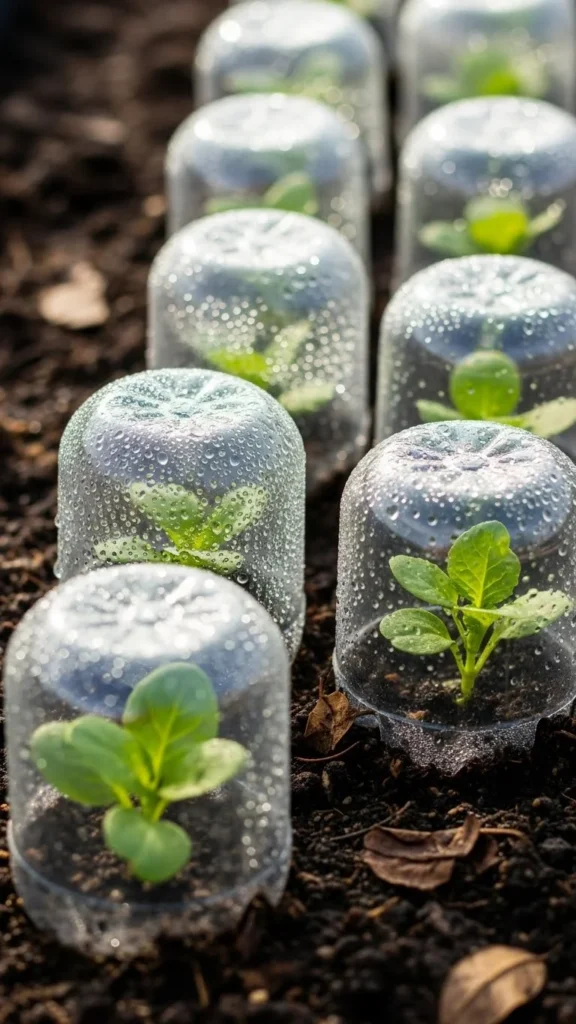
Make DIY Cloches From Recycled Materials
Cloches act like mini greenhouses and are great for shielding seedlings from frost, wind, and sudden temperature swings.
You can create your own in minutes:
- Cut the bottom off a clear plastic bottle.
- Press it gently into the soil around the seedling.
- Remove the lid during warm afternoons for airflow.
These cloches trap warmth, protect from frost, and prevent young plants from being crushed by snow flurries.
Water in the Afternoon for Added Protection
It may sound strange, but slightly moist soil holds heat better than dry soil. Watering your seedlings a few hours before sunset can help stabilize nighttime temperatures around the roots.
Just avoid overwatering—aim for damp, not soaked.
Pair this with mulch or row covers for even better frost protection.
Move Container Seedlings Indoors or Closer to Walls
If your seedlings are in pots or starter trays, you have an easy advantage: mobility.
Move them to:
- A garage
- A covered porch
- A sunny windowsill
- Near a brick or stone wall that radiates stored heat
Walls made of stone, brick, or concrete release warmth slowly overnight, helping buffer the cold.
This trick works exceptionally well during surprise spring frosts.
Try Cold Frames for Reliable, Reusable Protection
Cold frames are simple structures—basically a box with a transparent lid—that protect seedlings while allowing sunlight in.
You can build one from:
- Scrap wood
- Old window panes
- Clear polycarbonate sheets
Cold frames are perfect when you’re growing lots of seedlings and want something sturdier than individual cloches. They create a stable, insulated environment that keeps your plants happy all spring long.
Check the Forecast and Act Early
Frost protection works best when you prepare ahead of time. Keep a close eye on nighttime lows and watch for phrases like “clear night,” “light freeze,” or “radiational cooling,” which often signal frost risks.
Have your covers, mulch, and containers ready so you can act quickly when temperatures dip.
Final Takeaway
Protecting seedlings from frost doesn’t have to be complicated. With simple covers, mulch, DIY cloches, and a little planning, you can keep those tender sprouts thriving even when temperatures surprise you.
Save this guide for later—your seedlings will thank you!

Leave a Reply