
Winter might seem like a harsh time to begin gardening, but it’s actually one of the smartest seasons to get seeds started. If you want hardy plants, earlier blooms, and stronger spring growth, winter sowing is a game-changer. This outdoor method uses natural cold cycles to toughen up your seedlings—no fancy greenhouse required.
Let’s walk through easy, budget-friendly steps to kick off your winter seed-starting success.
Why Winter Sowing Works So Well
Winter sowing mimics nature’s rhythm. Seeds rest outdoors, soaking up moisture and experiencing temperature shifts. When spring warmth arrives, they sprout right on time—stronger and more resilient.
Benefits you’ll love:
- No indoor grow lights or heating mats
- No space needed inside the house
- No risk of leggy, weak seedlings
- Naturally timed germination
- Minimal watering thanks to winter moisture
It’s truly a low-effort, high-reward gardening trick.
Choose the Right Containers
You don’t need special equipment. Everyday items work perfectly.
Cut the tops of plastic milk jugs, water bottles, or large clamshell containers. Leave the bottom intact to hold soil and moisture. These DIY mini greenhouses trap warmth while allowing air to circulate.
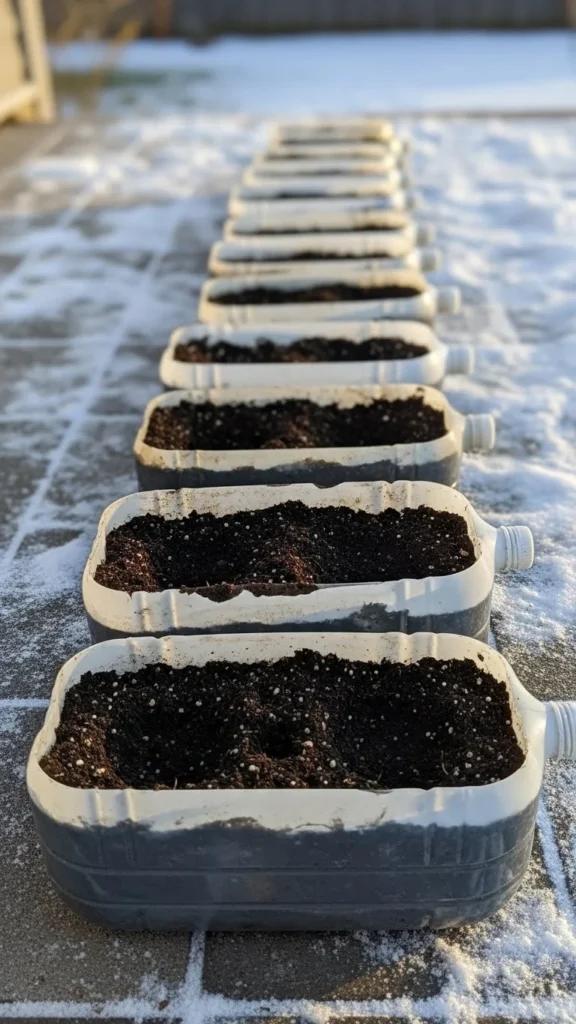
Tips for preparing containers:
- Add drainage holes in the bottom
- Slice a three-sided “lid” on top to create a flap
- Use duct tape to close the container after sowing
- Remove labels so sunlight can get through
Your containers don’t have to be pretty—they just need to let in light and hold soil.
Pick the Best Winter-Friendly Seeds
Not every seed loves cold soil, but many thrive in it. The best winter sowing seeds are hardy, slow to sprout, or naturally require chilling.
Great seed choices include:
- Perennials (lavender, coneflower, lupine)
- Cold-tolerant herbs (thyme, sage, chives)
- Leafy greens (kale, spinach, arugula)
- Root veggies (carrots, radishes, beets)
- Wildflowers that reseed naturally
These seeds sprout at the perfect moment—when spring temperatures rise.
Fill and Sow With a Light Touch
Use a fluffy potting mix, not heavy garden soil. Moist, not muddy, is the goal.
Fill containers with 3–4 inches of soil. Sprinkle seeds across the surface, then lightly press or cover them based on packet instructions.
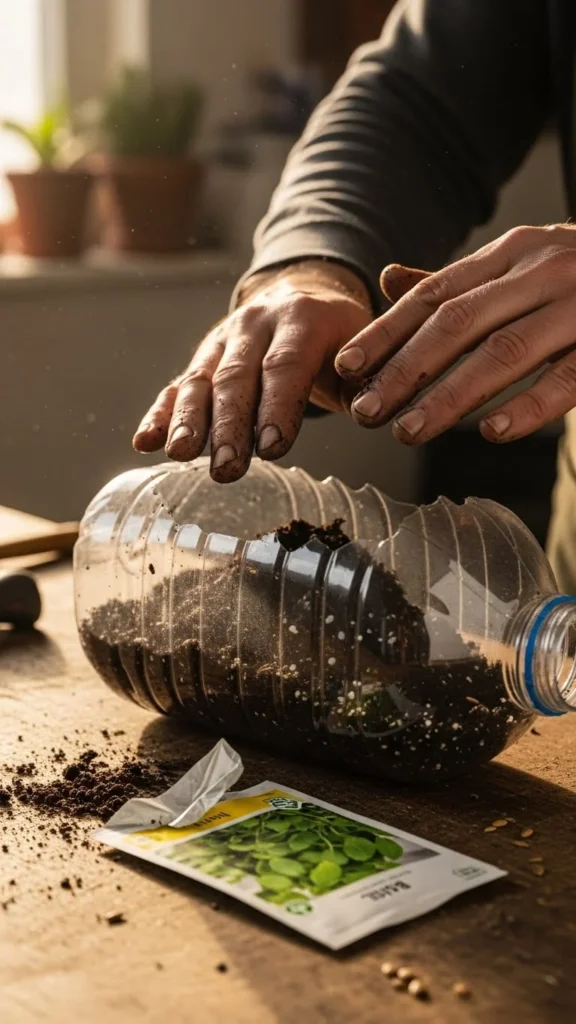
Keep it simple:
- Don’t overwater—moist soil is enough
- Space seeds lightly to prevent overcrowding
- Add a plant label so you don’t forget what’s growing
Once the seeds are tucked in, close the container and tape it shut.
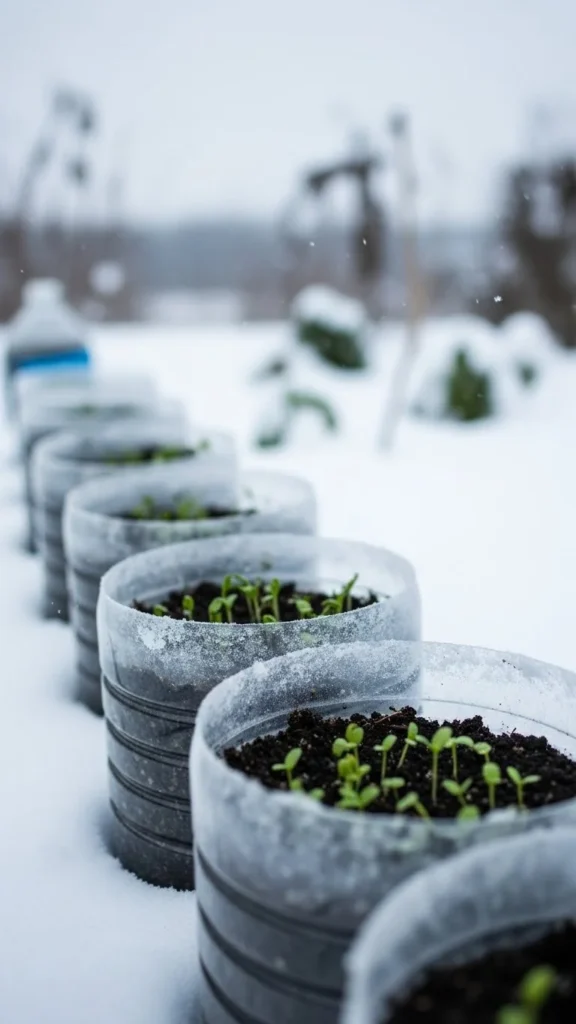
Set Your Containers Outside and Let Nature Work
Place your containers in an open outdoor spot where they’ll receive sun, snow, and rain. This natural moisture is all your seeds need until spring.
The freeze–thaw cycle breaks seed dormancy. When spring arrives, seedlings burst to life in perfect timing.
Outdoor placement tips:
- Choose a sunny area
- Keep them off the ground using crates or a small table
- Make sure lids have a small vent hole for airflow
You won’t need to water them unless you’re having an unusually dry winter.
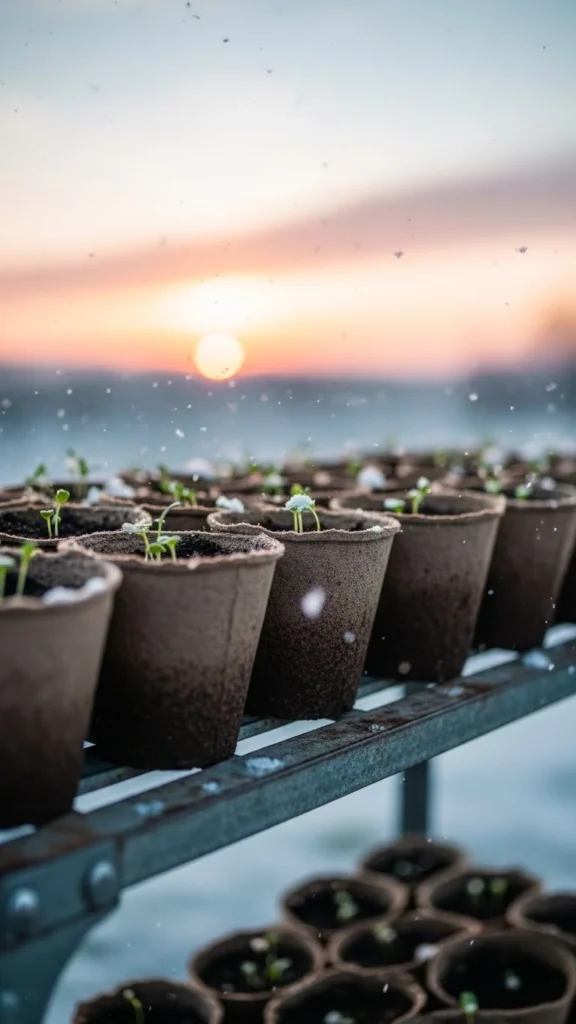
Caring for Your Seedlings in Early Spring
Once you notice sprouts, open the lids slightly during warm days to prevent overheating. At night, close them again to protect from frost.
Early spring care checklist:
- Vent containers daily when daytime temps rise
- Keep soil slightly moist by misting only when needed
- Protect sprouts from strong wind by placing containers near a wall or fence
This gradual exposure makes seedlings tougher and ready for transplanting.
Transplanting Your Winter Seedlings
When the soil outside warms and seedlings grow a few sets of true leaves, it’s time to plant them out.
Steps to transplant successfully:
- Harden off by fully opening lids for a week
- Gently loosen roots before removing from the container
- Plant on a cloudy day or late afternoon to reduce stress
- Water well after transplanting
Your plants will already be accustomed to outdoor conditions, so they adjust quickly.

Final Tips for Winter Sowing Success
- Label every container clearly
- Start sowing between late December and early March
- Avoid watering unless containers look dry
- Recycle and reuse containers each year
This method is simple, forgiving, and perfect for all skill levels.
Winter sowing is one of the easiest ways to grow strong, healthy seedlings without any stress. Once you try it, you’ll wonder why you didn’t start sooner.
Save this guide so your garden gets a head start every winter!

Leave a Reply