
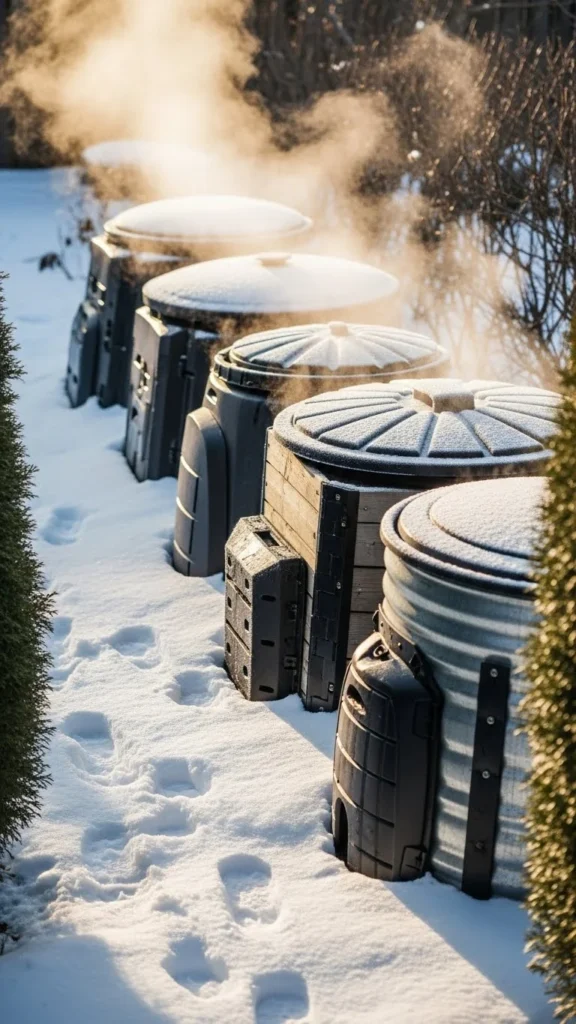
Winter composting is absolutely possible when you use the right bin. Cold weather slows decomposition, but a sturdy, insulated setup keeps your scraps breaking down all season. This list gives you simple, practical bin ideas that fit any budget and yard size. You’ll find easy DIY builds, compact options for small spaces, and clever systems that hold heat even during freezing weeks.
1. Insulated Plastic Barrel Bin
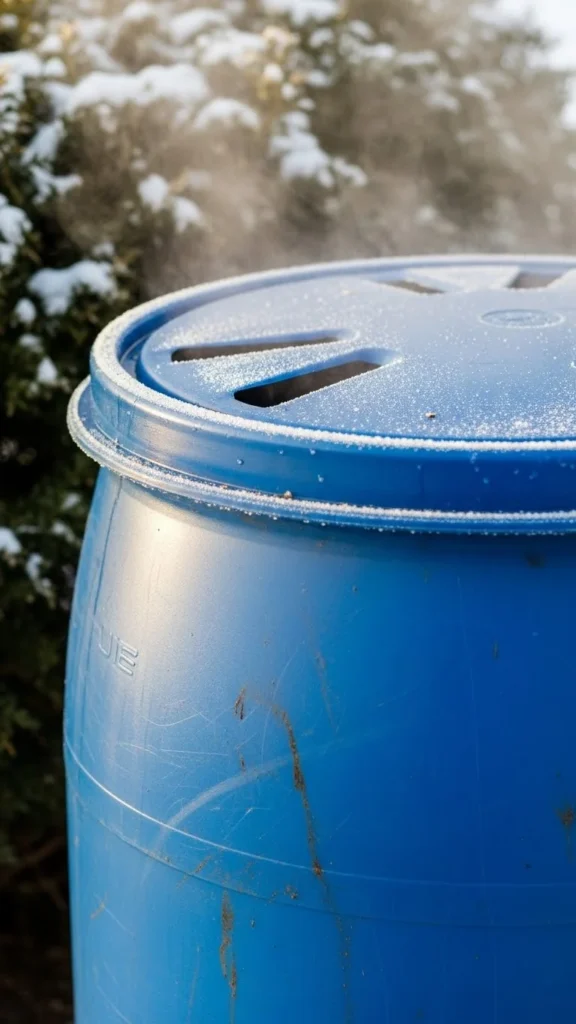
A plastic barrel is one of the easiest ways to compost through winter. The thick sides hold warmth, and the round shape keeps snow from settling too long. Drill small holes around the top and bottom for airflow. Add a tight lid to keep out moisture. Place the barrel near a sunny wall where it can warm up during short winter afternoons.
Use layered browns like shredded leaves to trap heat around your scraps. If you want an even warmer setup, wrap the barrel with leftover bubble wrap or an old moving blanket. Many people find this helps maintain steady activity with little fuss. Add scraps in small batches so the core stays warm. Keep a second bucket indoors to collect kitchen waste until the weather is milder.
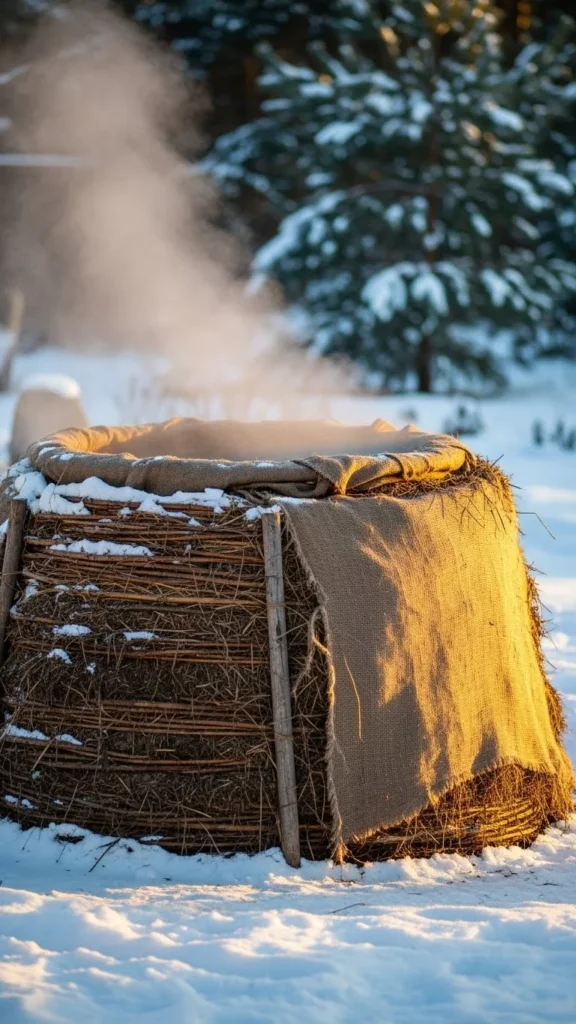
2. Straw-Bale Enclosed Bin
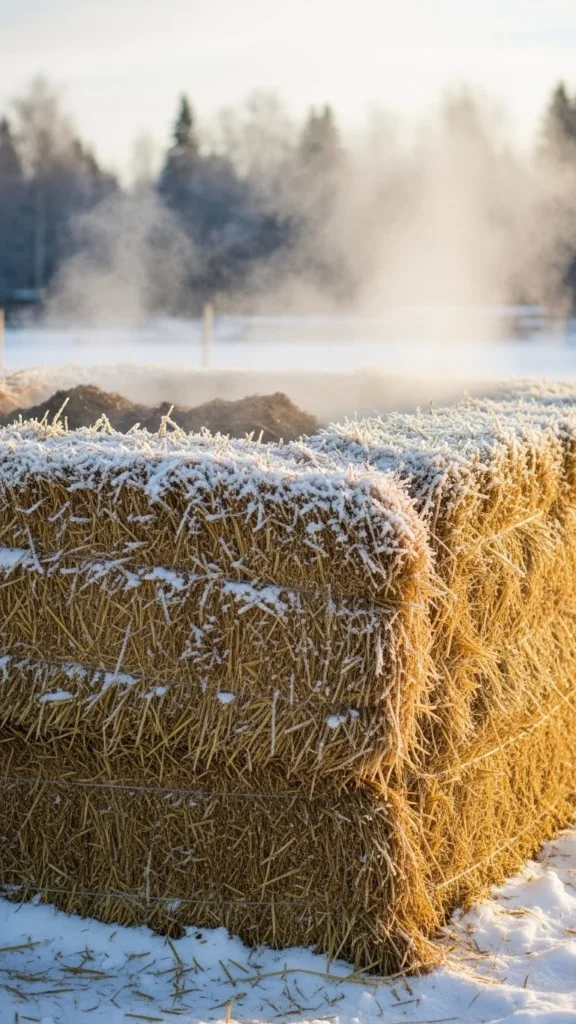
Straw bales create a natural insulated wall that works surprisingly well in cold weather. This bin is simple to assemble and affordable, especially if you reuse bales from fall decorations. Arrange the bales in a square or U-shape and pile your composting materials in the middle. The straw traps warmth while allowing enough airflow to keep the pile active.
If your area gets heavy snow, press a tarp or old plywood sheet on top for coverage. Add extra browns such as cardboard or dried leaves to help the inner temperature rise. When the season ends, the straw itself becomes part of your compost. This setup is perfect for gardeners who want something temporary but still effective.
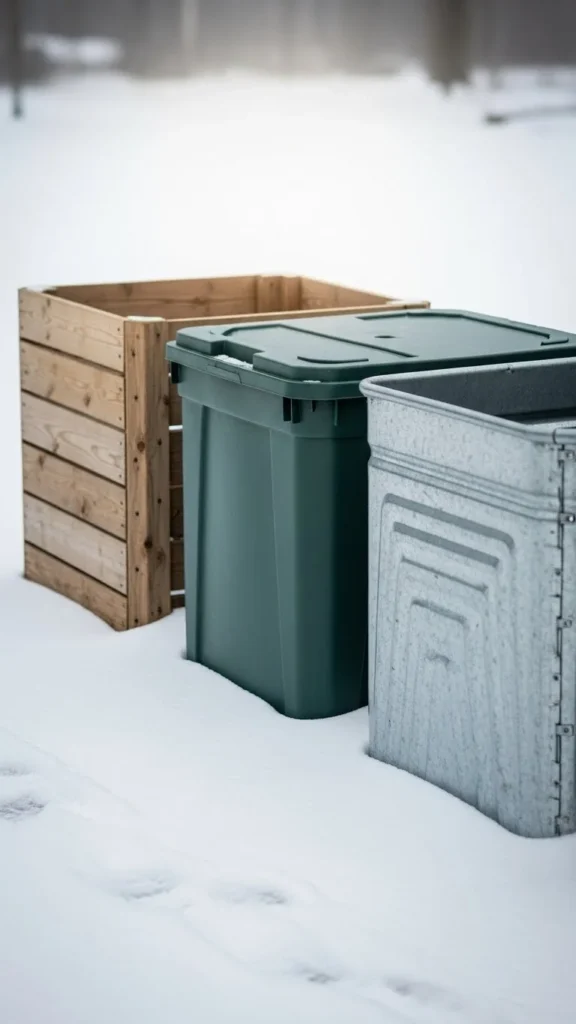
3. Wooden Pallet Winter Bin
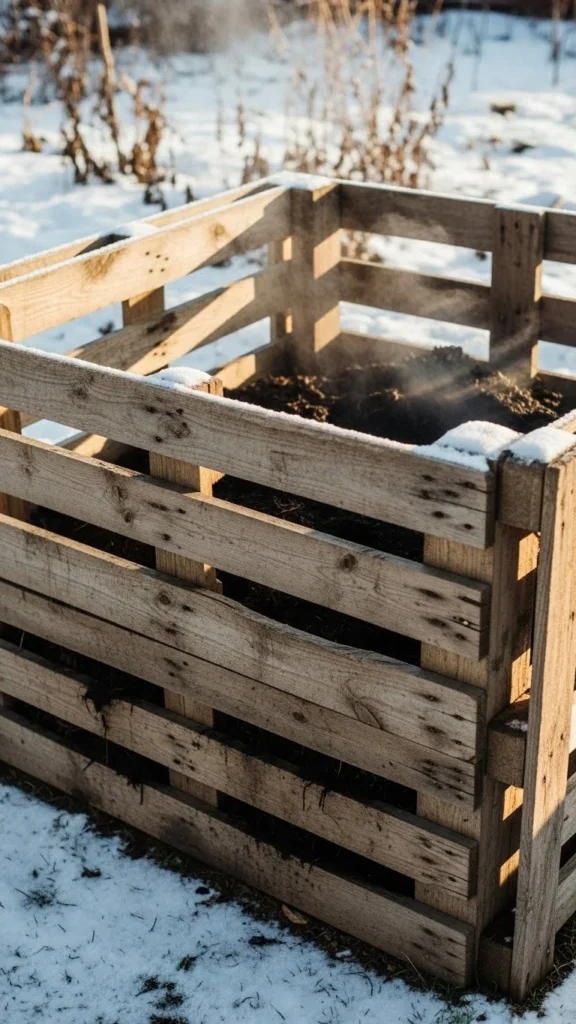
Wooden pallets make a simple, sturdy compost bin that works year-round. In winter, their gaps provide just enough airflow without letting cold freeze the pile completely. Use three pallets for the sides and a fourth as a loose lid. Add cardboard along the inner walls for extra insulation.
A pallet bin works best when you fill it quickly. A fuller bin generates more internal warmth. Add kitchen scraps, shredded paper, and leaves in alternating layers. If you live in extremely cold regions, wrap the outside with burlap or an old tarp to help trap warmth. This setup is low-cost, easy to maintain, and ideal for larger yards.
4. Double-Walled Plastic Compost Bin

A double-walled bin can stay warm even during deep freezes. The layers trap heat and protect your food scraps from slowing down too much. Look for a dark-colored model because it absorbs sunlight better in winter.
Place it on bare soil so worms can still reach the bottom. Add lots of carbon-rich materials to help the inner temperature stay high. When adding new scraps, bury them deep inside rather than leaving them on top. The combination of dark plastic and trapped air makes this type a reliable winter workhorse.
5. DIY Rubber Tote Compost Bin
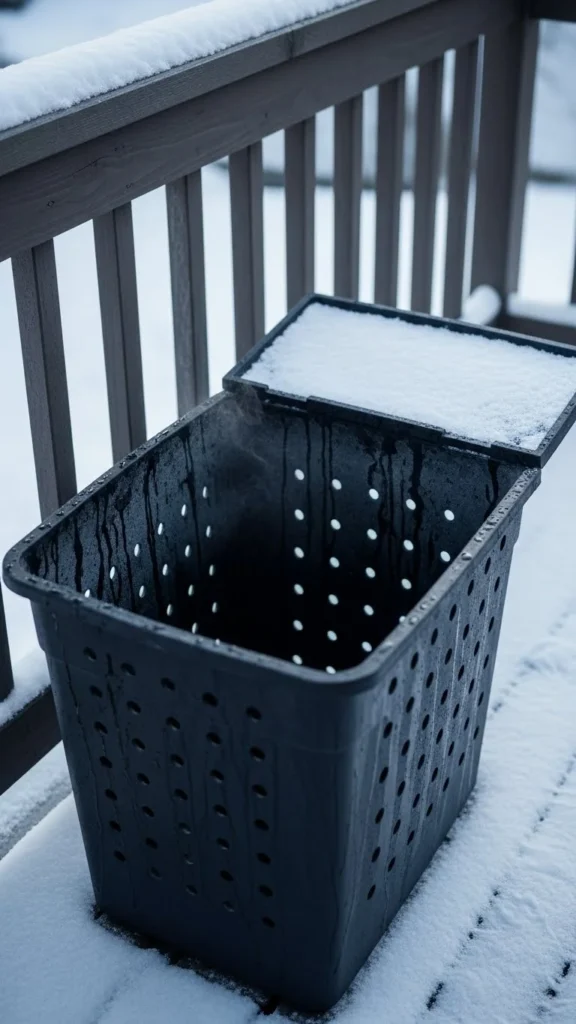
A rubber tote is a great option if you want something small and simple. Choose a heavy-duty tote with a tight lid and drill holes along the sides. Keep it on a sheltered porch or near your back door so you can access it even on cold days.
Add dry leaves, shredded cardboard, or old paper bags to absorb moisture. Stir the tote occasionally with a small garden fork. Because the tote is compact, it heats up faster than larger bins. If your region gets below freezing often, wrap the tote in an old blanket or place it inside a wooden crate for extra warmth.
6. Tumbling Barrel Bin
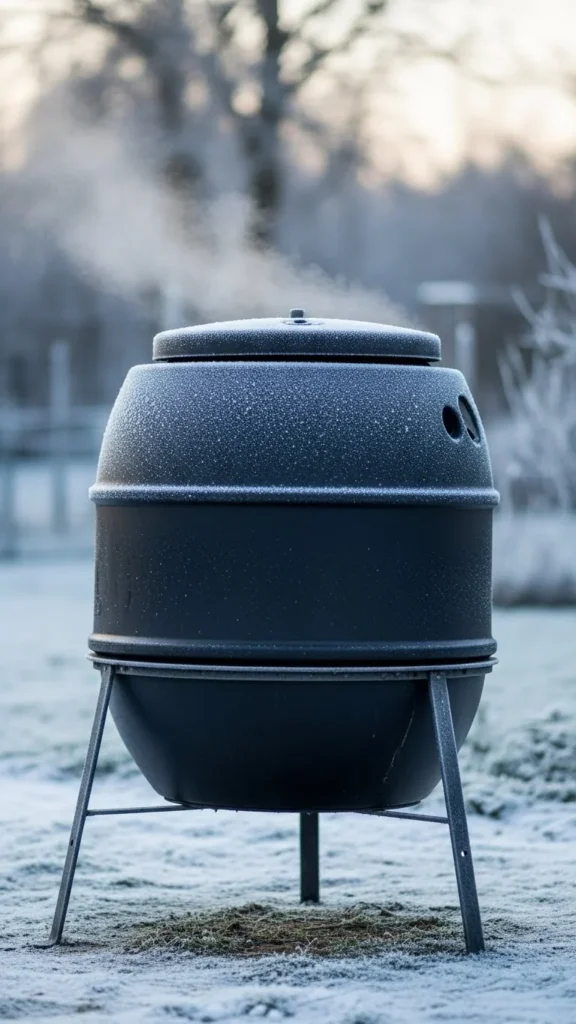
A tumbling bin is convenient in winter because you don’t need to dig into a frozen pile. Simply rotate the barrel to mix your materials. Tumblers hold heat well thanks to the enclosed design.
Keep the tumbler at least half full so the internal temperature stays consistent. Add shredded paper when the mix feels too wet. Rotate the barrel every few days if the weather isn’t freezing. On very cold weeks, turn it less often to preserve warmth. Place the tumbler where it gets sunlight, even if limited.
7. Metal Garbage Can With Holes
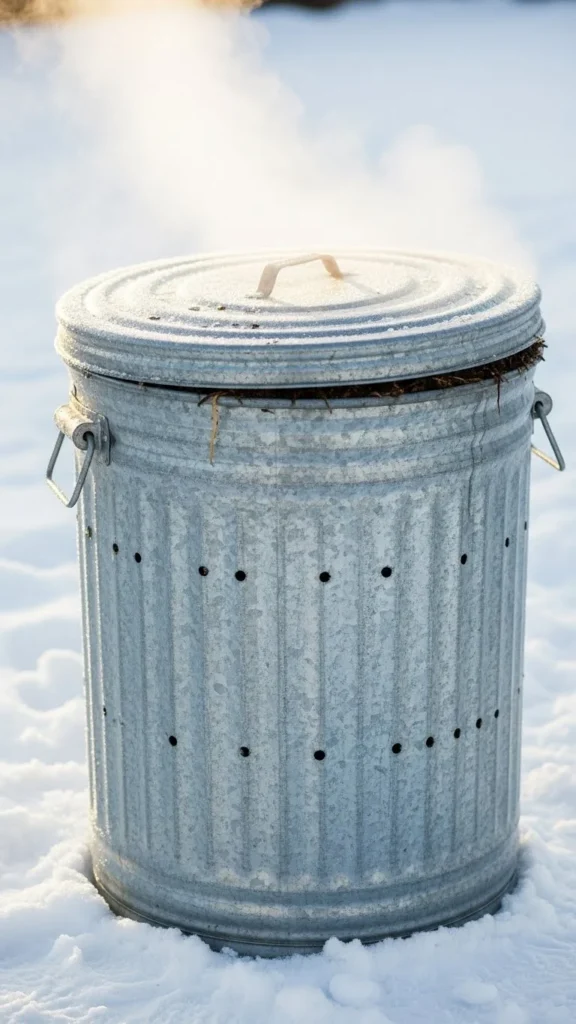
A metal garbage can is surprisingly effective for winter composting. The metal absorbs any available sunlight and warms the inner mix. Drill rows of holes around the top and bottom for ventilation.
Place a layer of sticks at the bottom to improve drainage. Keep the can slightly elevated on bricks so excess moisture doesn’t freeze underneath. Add kitchen scraps in small amounts and cover them with browns to help maintain heat. If your winters are very harsh, wrap the can with insulation or old blankets.
8. Enclosed Wire-Mesh Bin
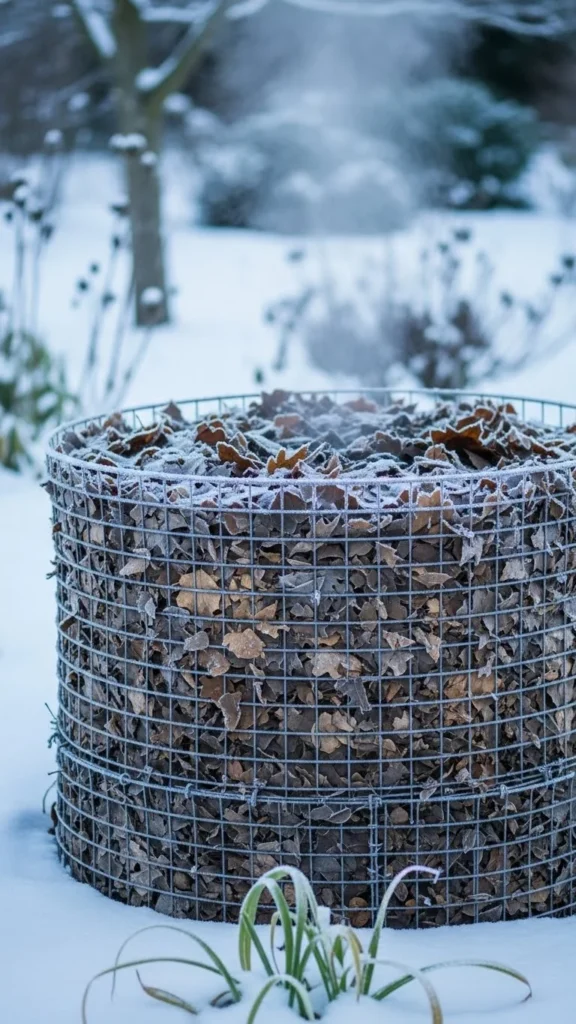
A wire-mesh bin works year-round when you pack the sides with insulation. Fill the outer ring with dried leaves while the inner core holds your compost. The leaves act like a warm jacket for the pile.
This method is low-cost and perfect if you produce lots of yard debris. Add new scraps deep within the center. Keep the pile moist but not soggy. When spring arrives, the leaf insulation breaks down beautifully.
9. Brick-Lined Compost Pit
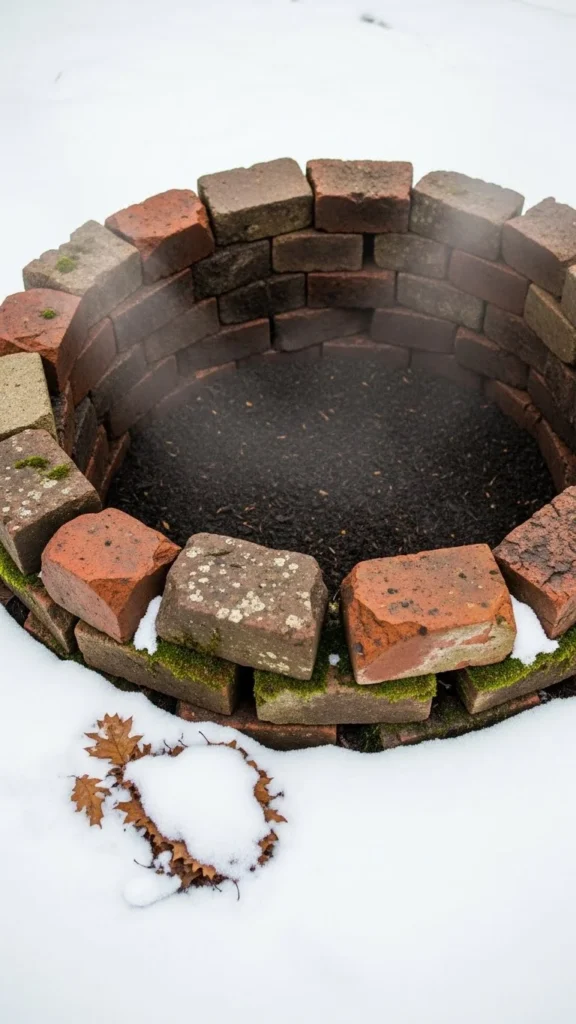
A brick-lined pit keeps compost warm because the earth acts as insulation. Dig a shallow pit and line it with old bricks or stones. Add your composting materials and cover the top with a wooden board or tarp.
This method hides the pile from wind, snow, and freezing air. Add cardboard layers between batches to help keep warmth in the core. This pit system works especially well for gardeners with extra yard space.
10. Cedar Box Winter Bin
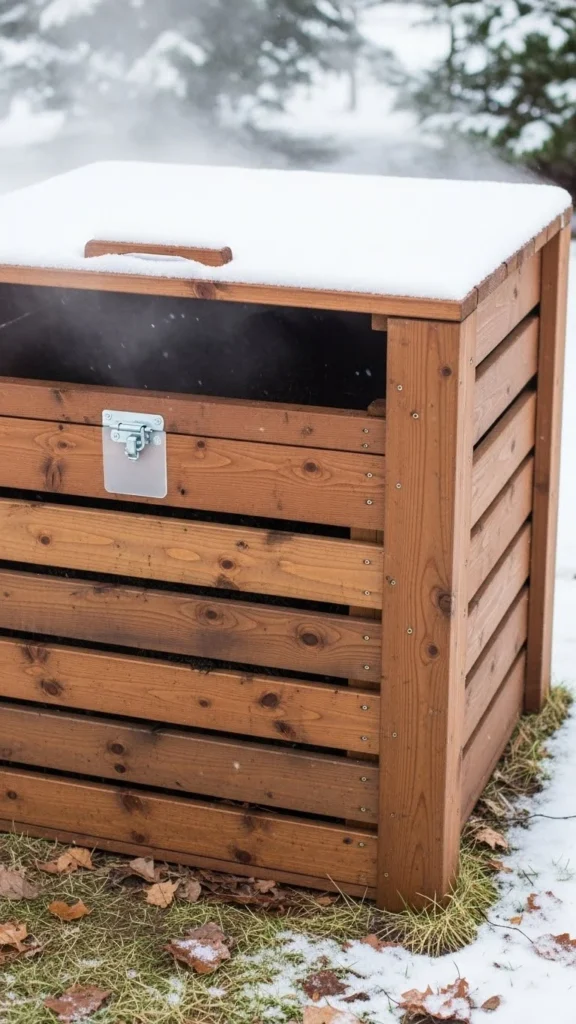
Cedar wood handles winter moisture well and resists rot. Build a simple box with a removable or hinged lid. Add insulation in the form of dried leaves or cardboard along the inner walls.
Keep the box full to encourage heat in the center. Add warm water—not hot—if your mix gets too dry. This bin is attractive, durable, and ideal for small or medium yards.
11. Black Plastic Bag Compost Setup
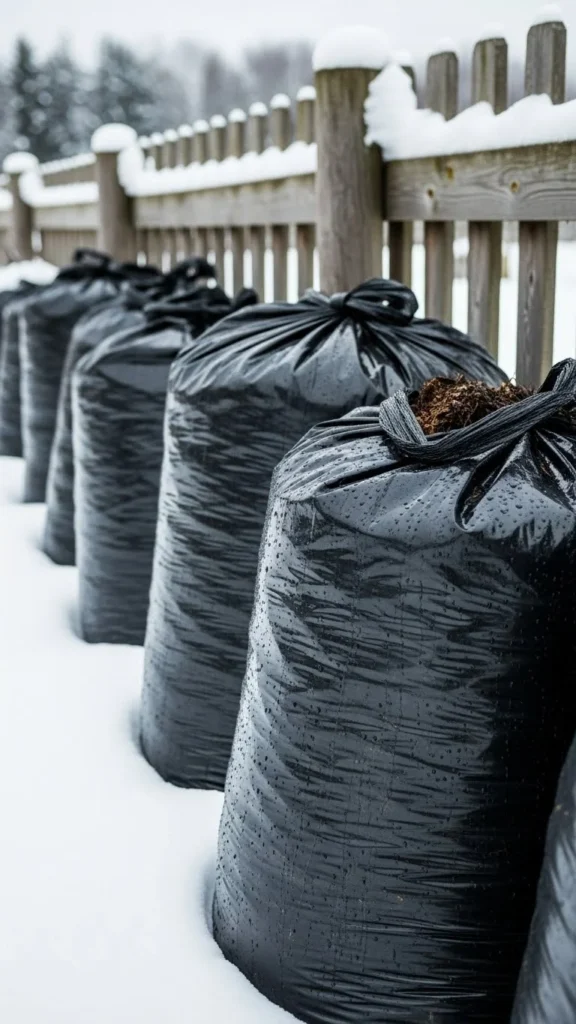
A black contractor bag can work surprisingly well as a temporary winter bin. The dark color absorbs heat, and the plastic traps moisture. Fill the bag with alternating layers of scraps and browns.
Place the bag somewhere sunny. Turn it by hand every few weeks. If the bag tears, tape it or nest it inside another bag. This setup is extremely budget-friendly and great for beginners.
12. Old Freezer or Cooler Bin
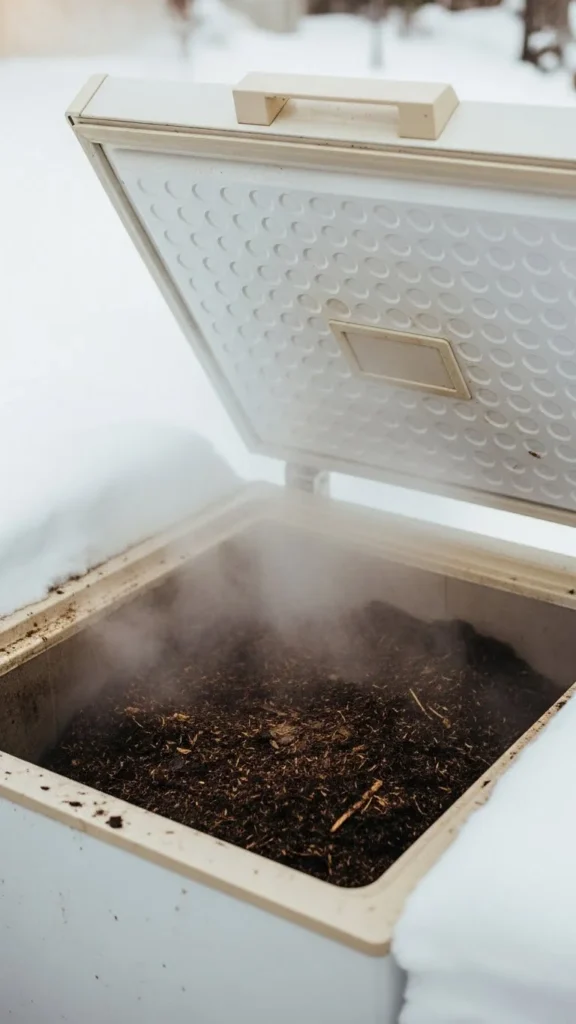
An old freezer or cooler offers thick insulation that helps compost stay active. Remove any mechanical parts and drill small holes for drainage and airflow.
This bin works especially well for large families who produce lots of scraps. Add materials in big, compact layers. Use dried leaves or shredded cardboard to keep odors low and heat steady. The lid protects the pile from snow and rain.
13. Stacked Tire Compost Bin
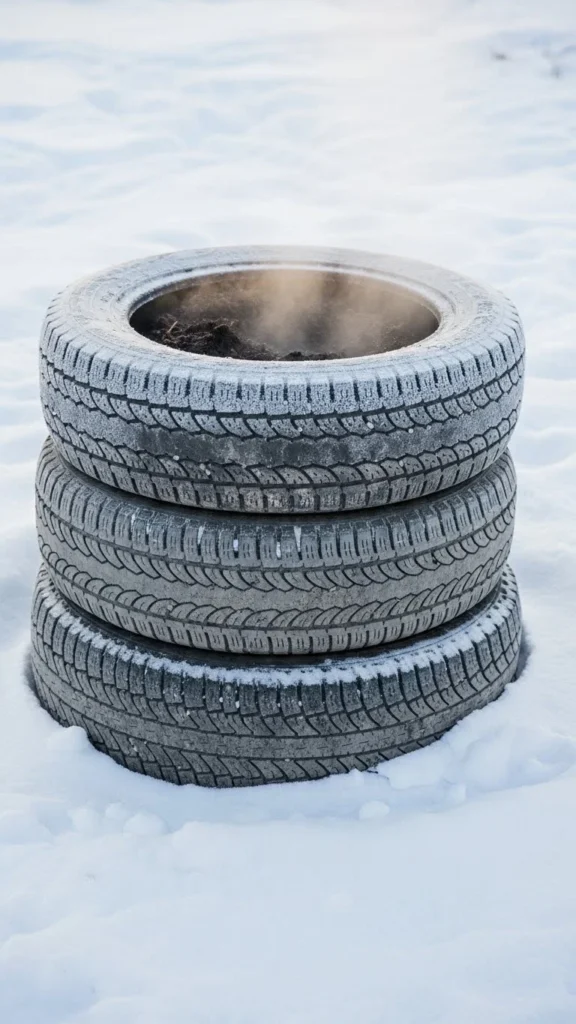
Used tires trap heat better than you’d expect. Stack two or three tires and fill the center with your compost mix.
Cover the top with a wooden board or piece of cardboard. Add scraps deep into the stack to keep the warmth inside. This bin is simple, durable, and a great way to reuse old materials.
14. Concrete Block Bin
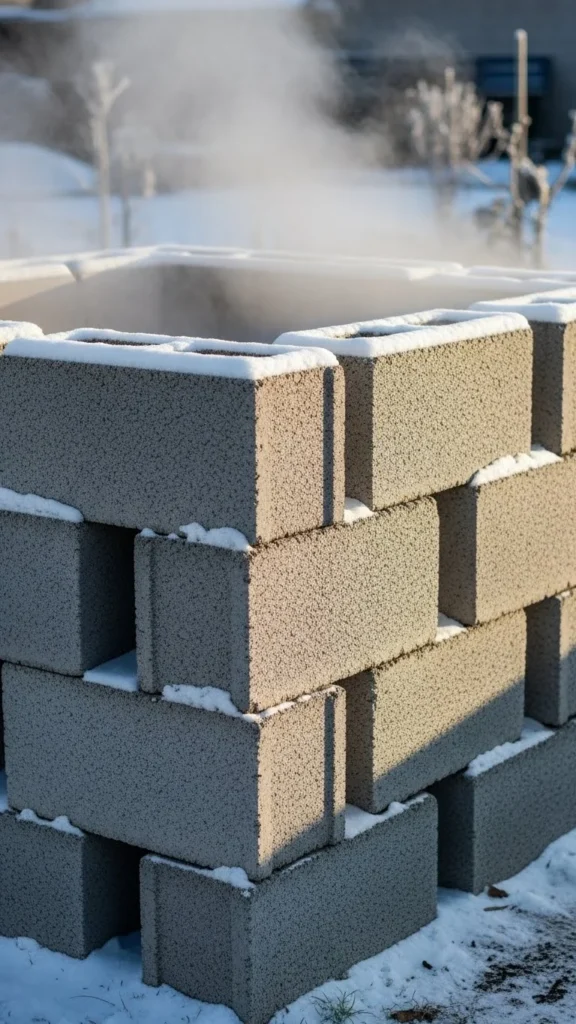
Concrete blocks create a sturdy bin that holds heat well. Leave small gaps between blocks for airflow. Add insulation by lining the inside with leaves or straw.
Fill the bin deeply and add scraps in the center. Cover the top with plywood or a repurposed cabinet door. This style is long-lasting and easy to size to your yard.
15. Raised Wooden Crate Bin
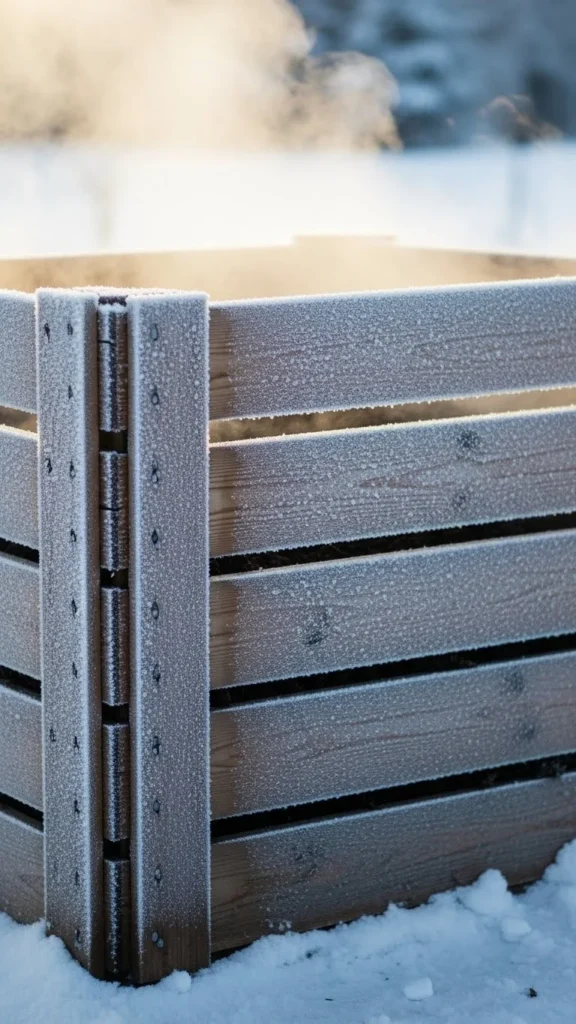
Raised bins work well in winter because the air circulates consistently and the wood keeps the sides warm. Add cardboard along the inner walls. Keep the lid closed to protect from snow.
Add scraps after mixing them with dry materials indoors. Fill the crate quickly so the inner compost can heat up. This is a simple option for beginners.
16. Compost Bag Inside a Barrel
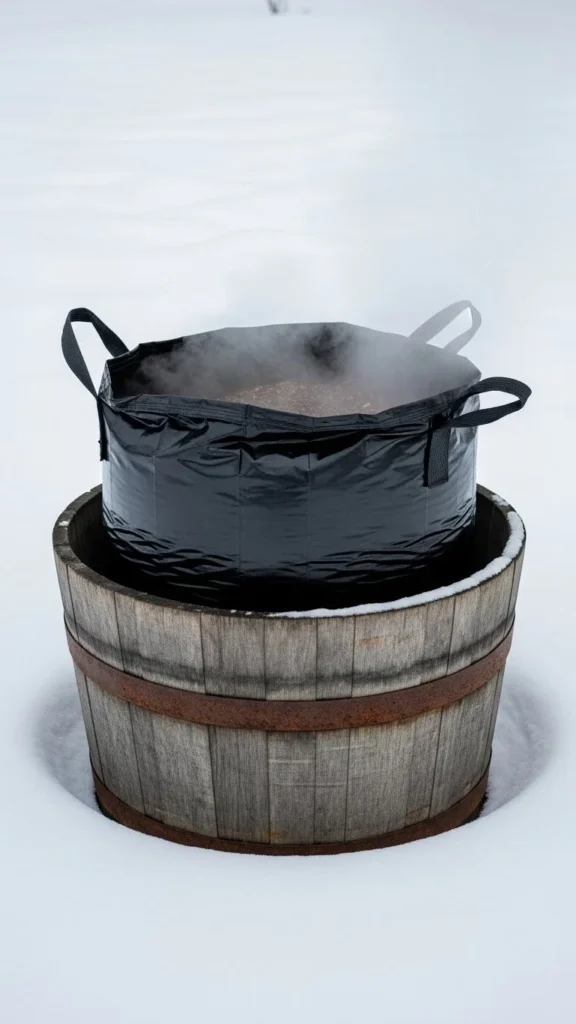
This double-layer method helps trap extra heat. Place a sturdy compost bag inside a plastic or metal barrel. Add your materials to the bag and tie it loosely.
The barrel blocks wind, and the bag holds moisture and warmth. This setup works well in small yards or patios.
17. Multi-Bin Winter Station
A multi-bin system lets one pile rest while another stays active. In winter, focus on filling one bin completely so it can heat up properly.
Add scraps in layers and keep the surface covered. When the active bin cools, switch to the next one. This system is helpful for large households.
18. Hooped Wire Frame With Insulating Wrap
Wrap a wire frame with burlap, straw, or leaves to create a warm shell. The inner compost stays surprisingly warm through freezing nights.
Add food scraps in the center and cover with thick layers of dry materials. This bin is simple and flexible in size.
19. Upcycled Rain Barrel Bin
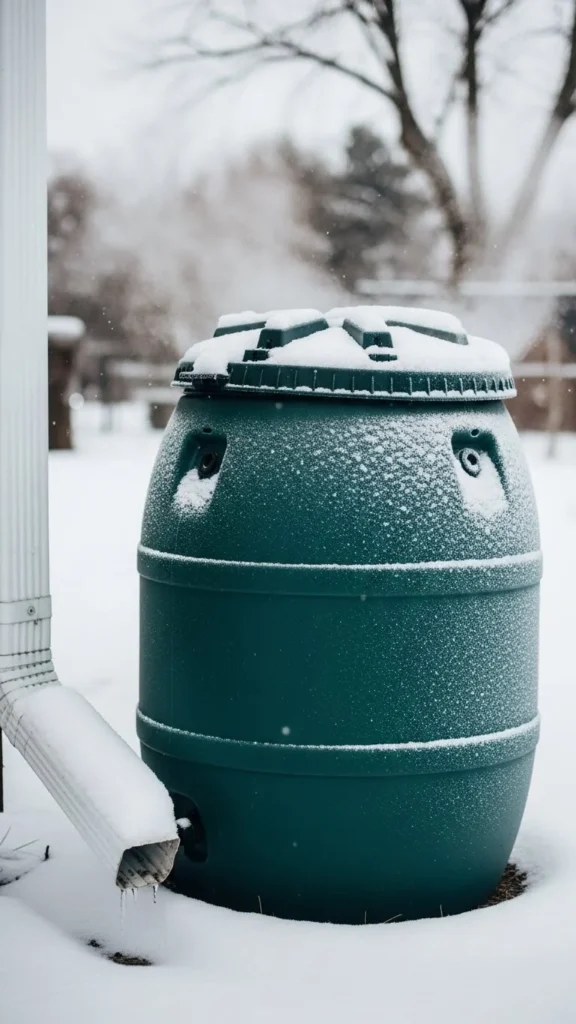
Rain barrels make great winter composting bins because they’re already designed to handle outdoor weather. Add side vents and keep the lid secure.
Place the barrel somewhere sunny. Add shredded paper or straw for dryness control. This bin holds a large amount and fits neatly in a corner.
20. Side-By-Side Tote Towers
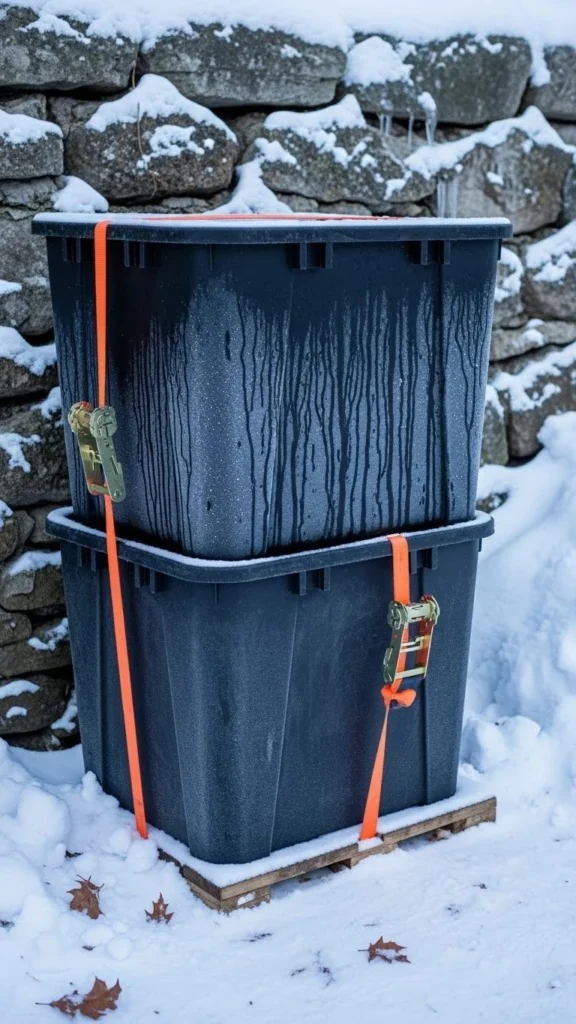
Stacking totes helps save space and creates a warmer environment. Drill vents in both totes and rotate between them.
When one gets chilly, stop adding scraps and let the other take over. Keep both near a sheltered wall for extra warmth.
21. Compost Trench Under Snow
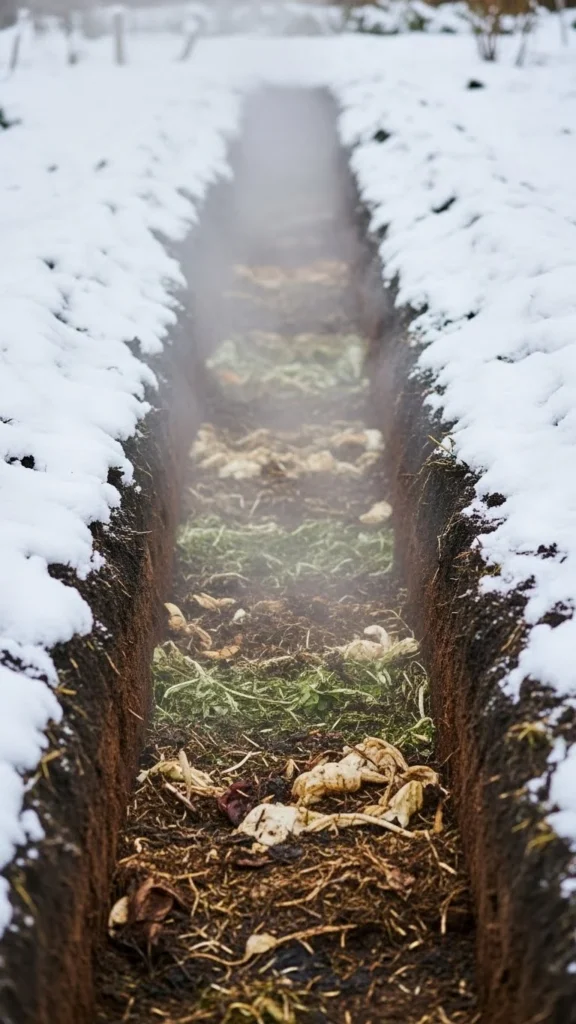
A compost trench is hidden under the soil, which creates natural insulation. Dig a long trench, fill it with kitchen scraps and leaves, then cover with soil.
This is perfect for winter because it requires zero maintenance. By spring, the buried material enriches your planting beds.
Conclusion
Winter composting doesn’t have to slow down just because the temperature drops. With the right bin, your scraps will keep breaking down steadily while staying protected from harsh weather. Whether you choose a simple tote, a straw-bale surround, or a sturdy insulated bin, each option helps you keep your garden soil thriving all year. Pick a design that fits your space, start layering your materials, and enjoy steady, low-effort composting even in the coldest months.

Leave a Reply