
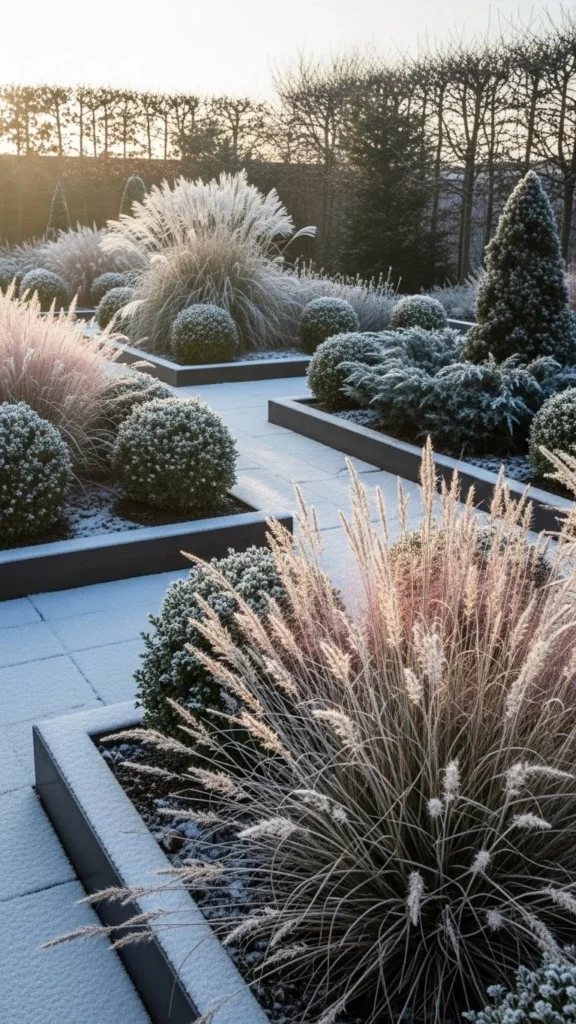
Winter doesn’t have to flatten your garden. With the right borders, you can create shape, rhythm, and tidy lines that stay attractive long after blooms fade. These ideas help you frame beds, guide footpaths, hold soil in place, and add subtle style—especially during cold months when structure matters the most. Each idea is simple, practical, and easy to try even on a tight budget.
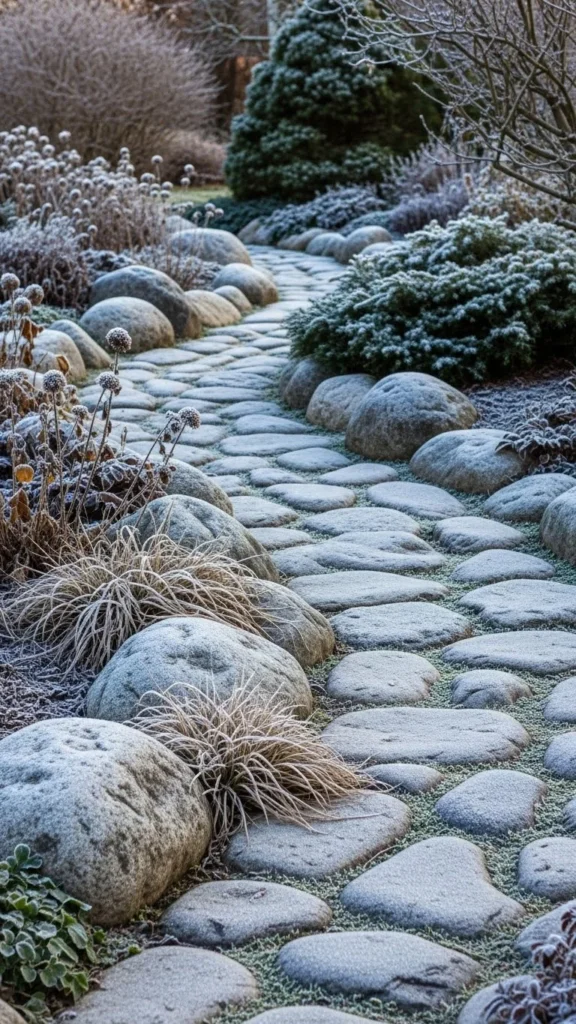
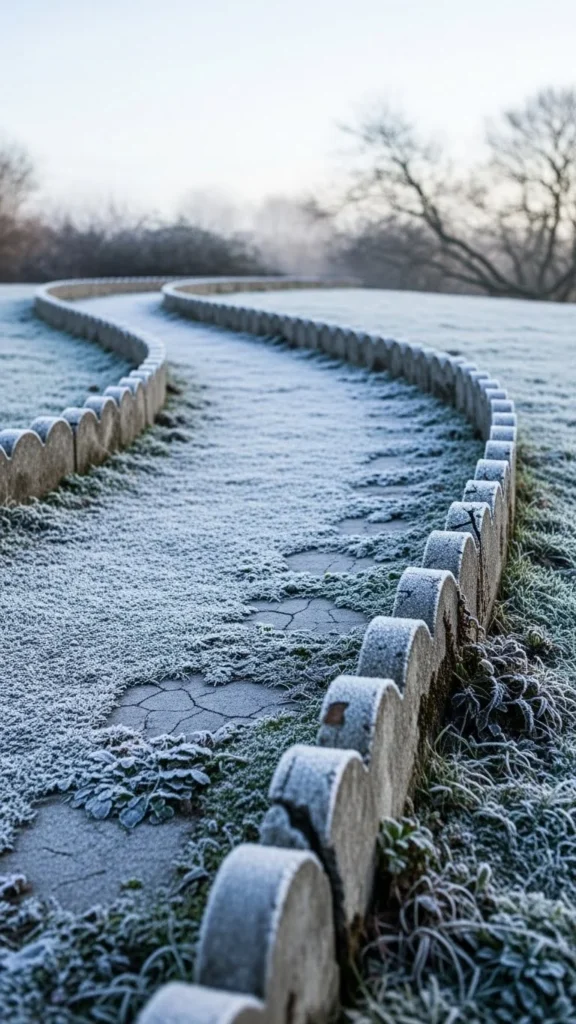
1. Natural Stone Strip Border
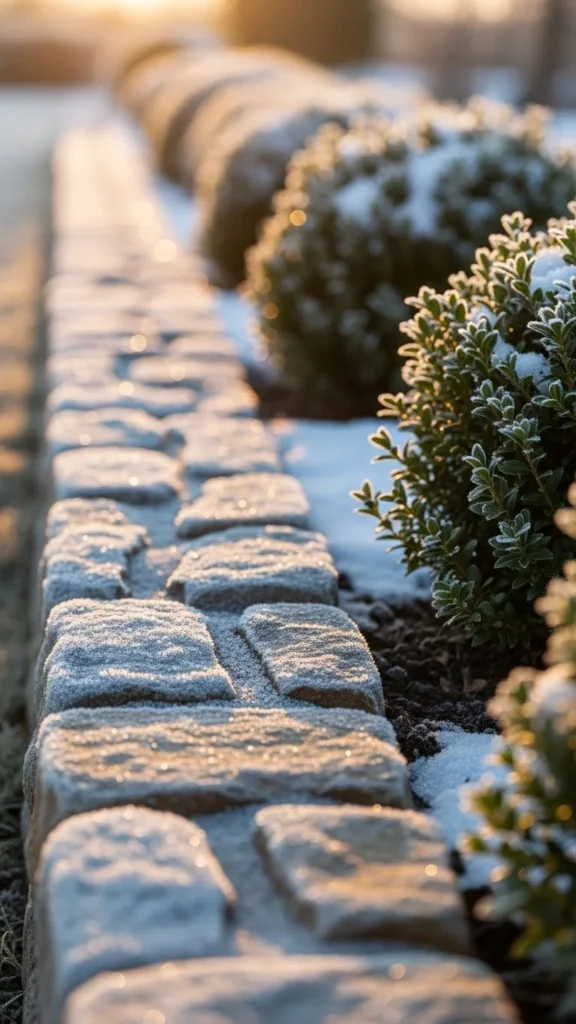
A natural stone strip adds clean definition without feeling harsh. It works well in winter because the stones stay visible even through light snow. You can buy mixed-size stones from any landscape supplier or gather them from your property if you’re trying to save money. Lay them close together for a tidy look or leave small gaps for a more relaxed style.
Keep the stones slightly raised above soil level so they remain visible when the ground freezes. If you want a budget-friendly trick, use leftover paving stones and break them into smaller pieces with a hammer. This gives you a rustic edge without extra cost.
Stone borders also help hold mulch in place, which is helpful in windy winter weather. You can create a longer border over time—add a bucket of stones each weekend until the whole path or bed is lined. It’s a simple job that makes your winter garden look organized and calm.
2. Brick Soldier Edge
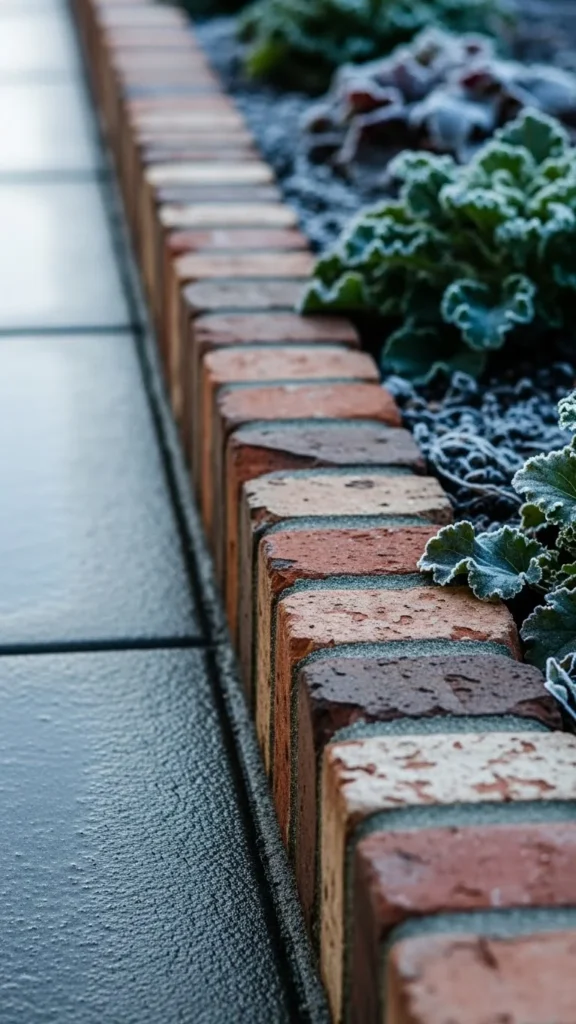
A brick soldier edge adds charm and structure to your winter beds. The upright pattern gives height, making the line visible even when snow covers the lower layers. You can recycle old bricks from past projects or pick up mismatched ones from salvage stores at a low cost.
Dig a narrow trench and set the bricks vertically with tight spacing. Tap them in so they sit evenly. This small lift adds a tidy frame around shrubs, perennials, and gravel paths.
If you want a softer look, lightly brush soil around the base to blend the bricks with the landscape. For extra support in freeze-thaw cycles, pack gravel behind them.
This edge is perfect for gardeners who like a timeless style. It’s simple to install and easy to extend when you expand your beds later.
3. Frost-Resistant Metal Edging
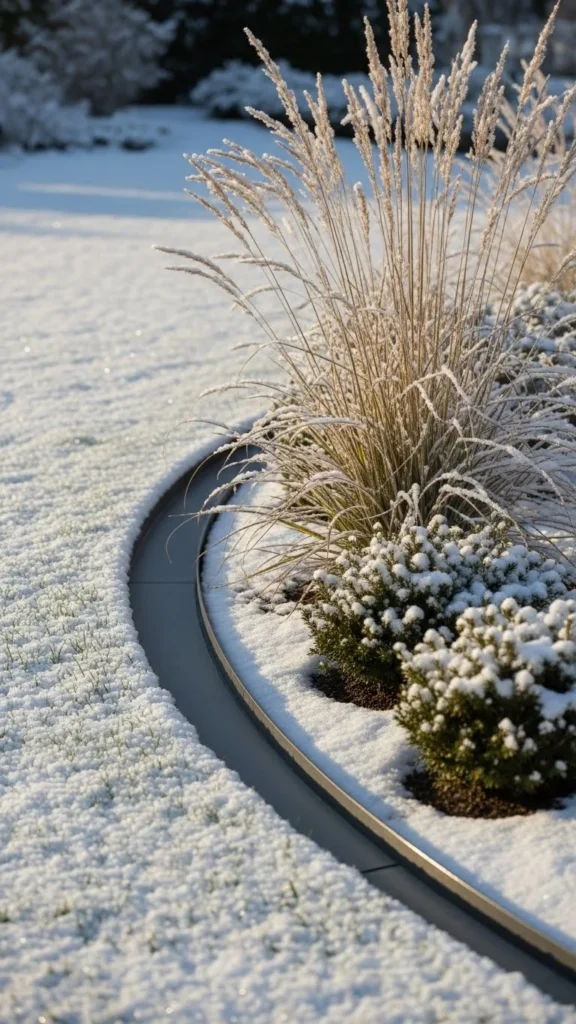
Metal edging stays crisp through winter and helps define curves or straight lines. Look for weather-resistant steel or aluminum strips. They don’t warp, and snow melts off quickly, keeping the border visible.
Installation is quick. Just press the strip into the soil and secure it with stakes. If your soil is frozen, pour warm water along the trench line to soften it before inserting the edging.
For a cost-friendly idea, use recycled roofing metal cut into long bands. Sand any sharp edges before placing them.
Metal borders help keep gravel and mulch in place during harsh winds. They’re also thin, so they blend well with evergreen plants and winter ornaments.
4. Log Slice Border
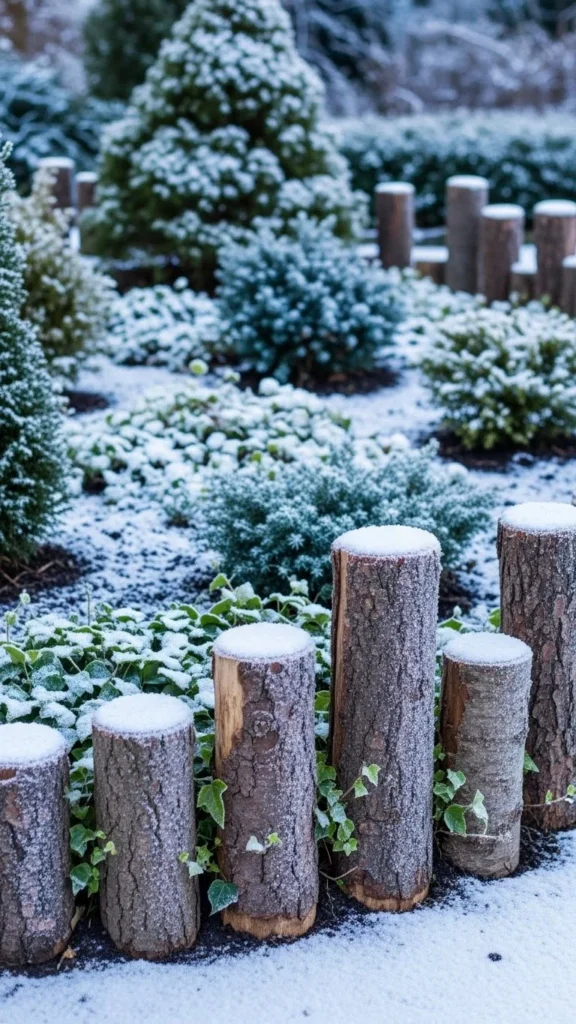
If you love a natural look, a log slice border brings charm and warmth even in winter. Cut logs into equal-height sections and place them upright in a row. Cedar, pine, and hardwood scraps work well.
You can gather branches after pruning or ask neighbors for fallen limbs. Cut them into slices with a hand saw or small chainsaw. Try to keep heights consistent for a uniform look.
Push each slice several inches into the soil so they stay upright during freeze-thaw cycles. For extra stability, backfill with gravel.
This border works well around cottage-style beds, winter berries, or areas you want to soften with rustic detail. It’s a no-cost project if you already have wood scraps available.
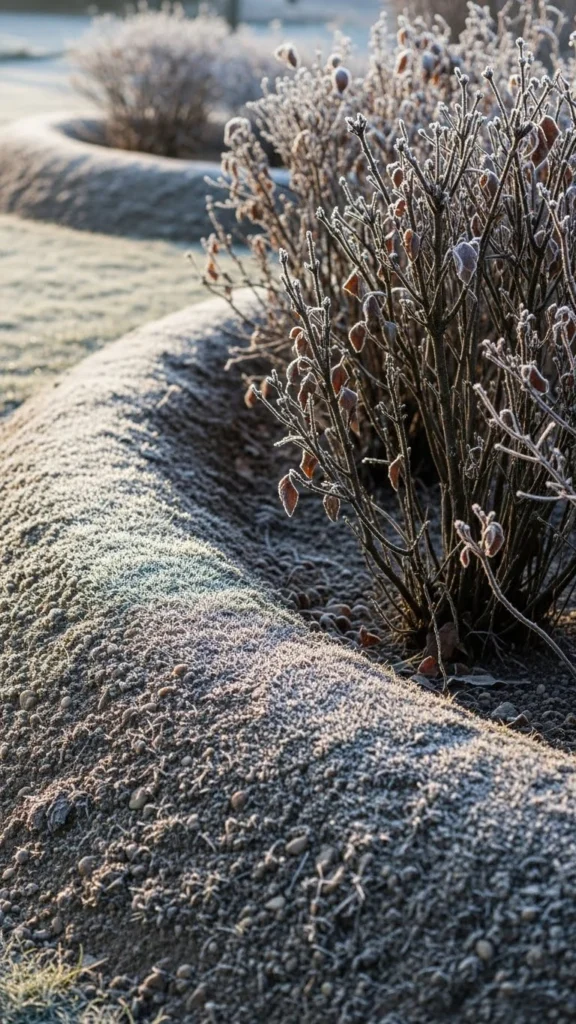
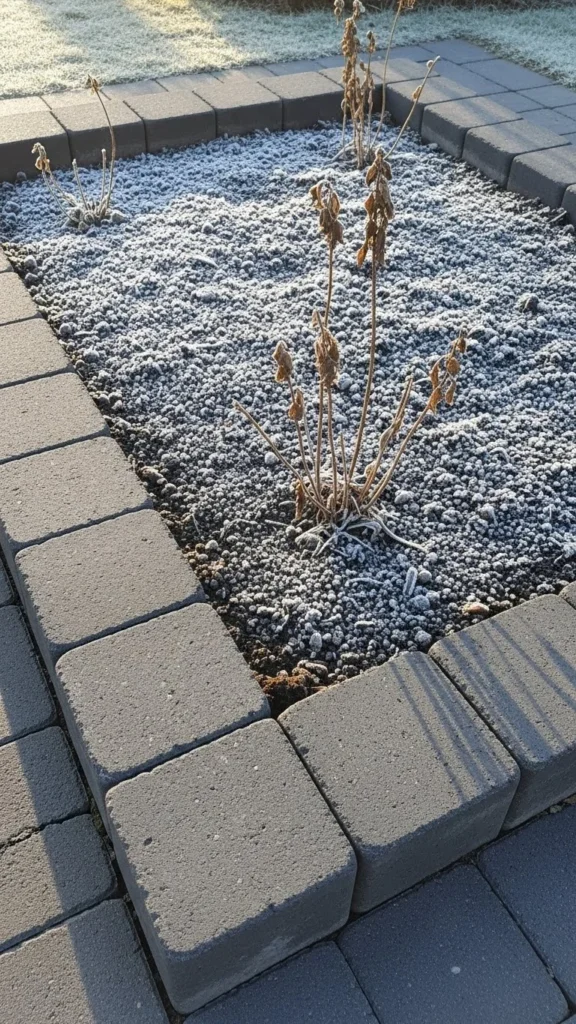
5. Gravel Mound Border
A gravel mound border creates a clean division with minimal effort. Pour a thick ribbon of gravel around your beds and shape it with a rake. The mound prevents mulch from drifting and keeps edges neat even when snow melts.
Choose pea gravel for a softer look or angular gravel for sharper lines. If you’re on a budget, check local quarries—they often sell small loads for a low price.
You can add stones gradually, one bag at a time, making this project easy to tackle over several weekends.
Gravel mounds also improve drainage, which helps reduce winter root problems. If you want extra texture, mix in a few mid-size river stones.
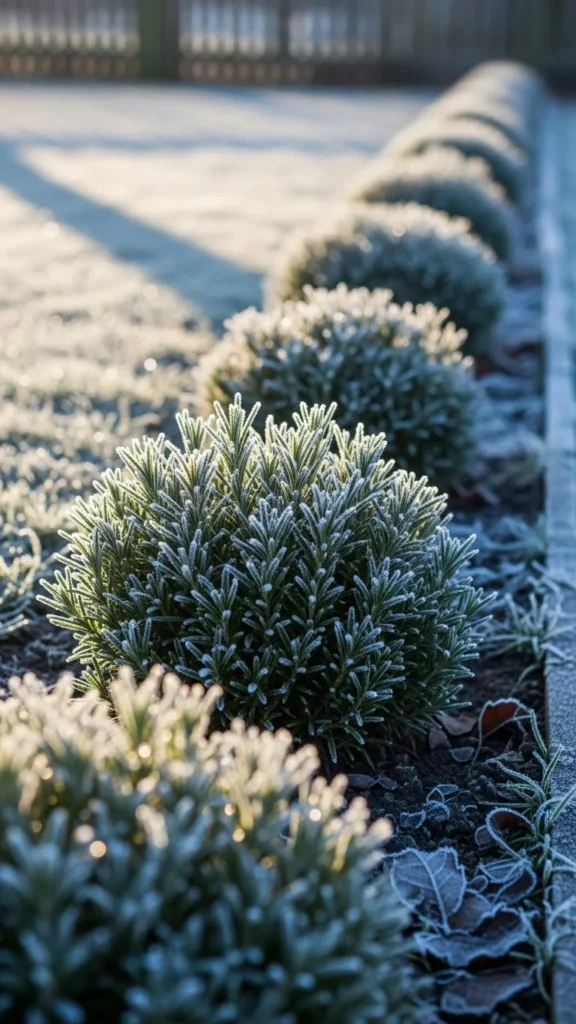
6. Evergreen Hedge Border
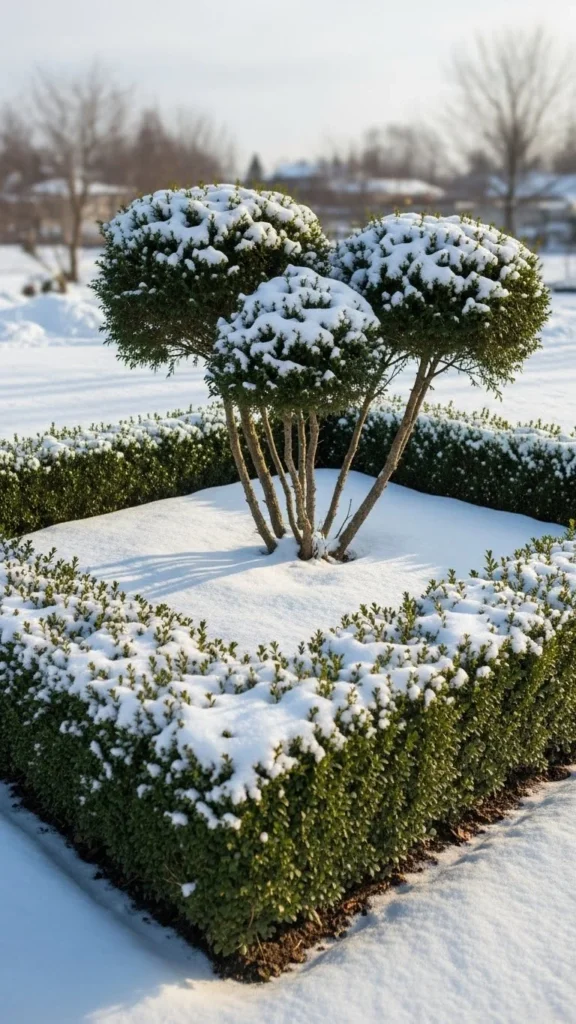
A low evergreen hedge gives your winter garden shape even when everything else is dormant. Choose varieties that stay compact, like boxwood or dwarf holly.
Plant them in a straight or curved line to frame paths or beds. Keep spacing tight so they grow into a solid border over time.
If you’re working with limited funds, start with smaller pots—they’re cheaper and fill out with patience.
Keep the hedge lightly trimmed so it holds its outline during winter. Wrap young shrubs with burlap on extremely cold nights to prevent damage.
This border adds a soft, living frame that looks good all year.
7. Willow Woven Border
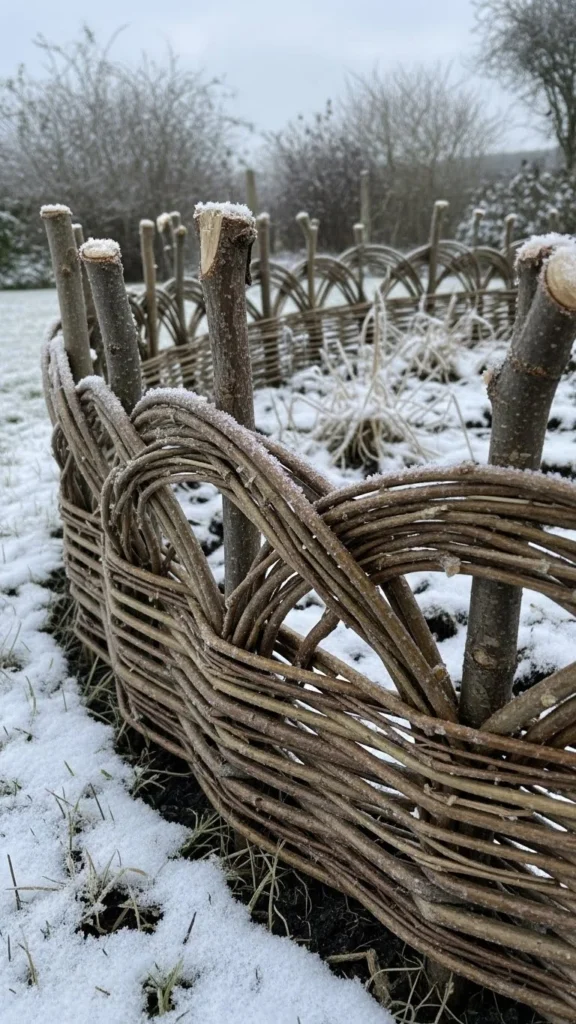
Woven willow borders add charm and texture in winter. They’re flexible, affordable, and surprisingly sturdy.
Collect long branches from willow trees or purchase bundles online. Push sturdy stakes into the soil first, then weave thinner branches between them.
This creates a rustic fence-like edge that stands out against winter tones.
If you’re on a budget, gather branches during fall pruning season for free materials.
The woven pattern helps hold mulch in place and adds interest to areas that may look bare in winter.
8. Large River Rock Border
Large river rocks create bold lines that stay visible during snow. They also bring natural texture and weight to your borders.
You can buy them by the bucket or collect some from nearby rivers if allowed.
Place the rocks in a single row or double row, adjusting the shapes so they nest together.
For extra grip in winter, press each rock slightly into the soil.
They look beautiful around winter berries, conifers, and ornamental grasses.
9. Recycled Concrete Chunks
Recycled concrete chunks—sometimes called “urbanite”—create a unique, rugged border. You can often get them free from demolition sites or landscapers.
Break the slabs into smaller pieces with a hammer, then arrange them like stones.
Set them at an angle for a dynamic look or line them up for a tidy pattern.
This is one of the most affordable ways to add structure to winter spaces, and the pale concrete stands out beautifully in cold light.
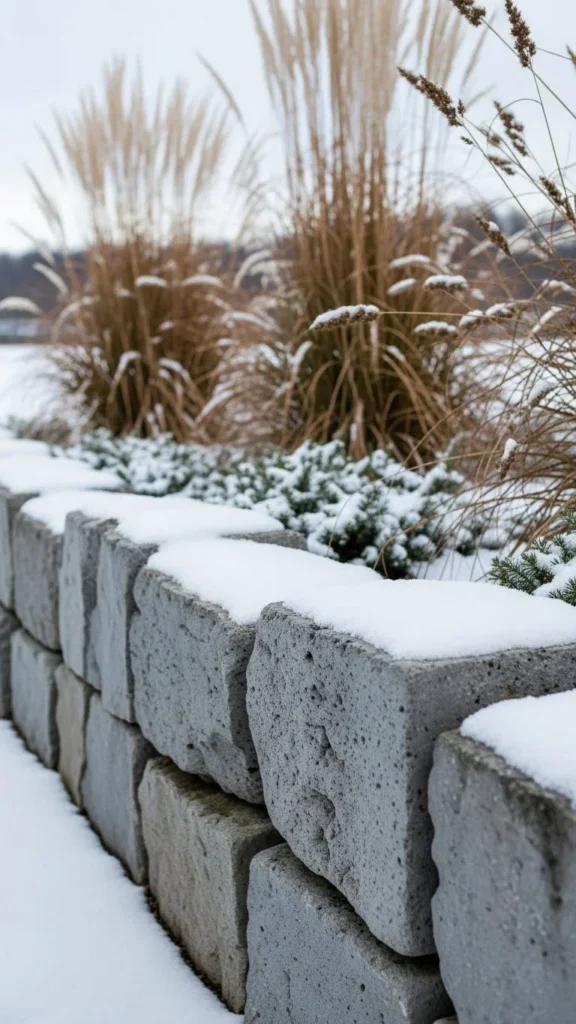
10. Low Gabion Wall

Gabions offer strong visual structure during winter. Use small baskets filled with stones, bricks, or gravel.
They hold up well in freezing weather and add height to your edges.
If you want to save money, fill the cages with leftover materials—broken pavers, old bricks, or stones from your yard.
You can build a straight or curved line, depending on your garden layout.
Gabions also help with erosion control on sloped areas.
11. Terracotta Pot Fragment Border
Terracotta fragments add warm color to winter gardens. Collect broken pots and arrange the shards in a tilted pattern.
This creates a unique scalloped border that costs nothing if you already have broken pieces.
Press each fragment halfway into the soil so the edge remains stable in winter.
The warm color pops against snow and pairs well with winter herbs and evergreens.
12. Mini Timber Plank Border
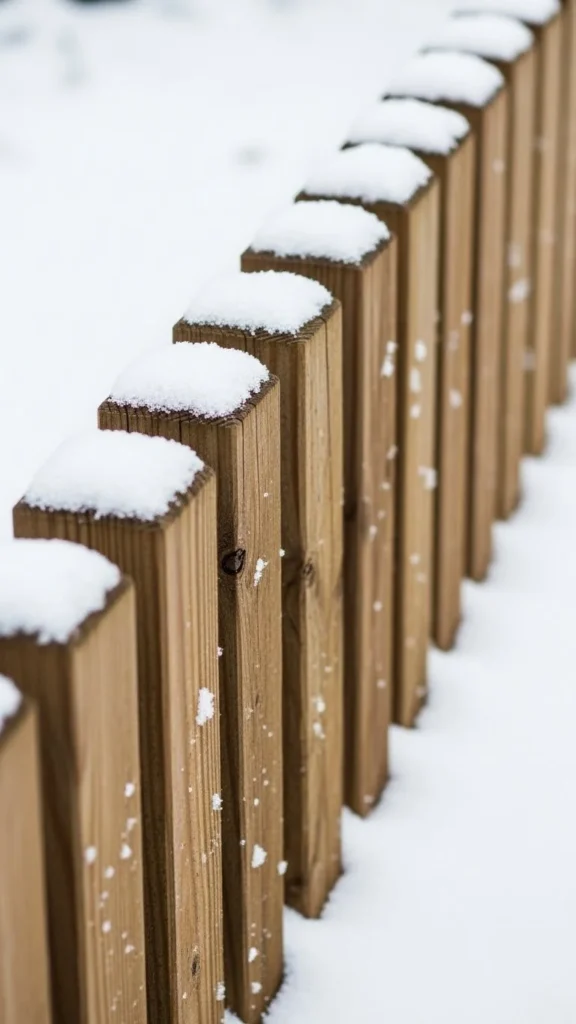
Timber planks make a clean border that fits modern gardens. Cut leftover boards into short sections and stand them vertically.
Seal the wood to protect it from winter moisture.
For a budget idea, use pallet boards—just sand them first.
This border works nicely along straight beds or to frame gravel paths.
The vertical lines stay visible even in snow.
13. Raised Soil Berm Border
A raised soil berm is one of the simplest winter border ideas. Use soil to create a shallow ridge along your bed.
Shape it with a rake, then pat the sides to firm it.
The ridge keeps mulch in place and adds soft structure.
If you want more definition, top the berm with fine gravel or mini river stones.
This option is free, quick, and easy to modify.
14. Black Plastic Edging (Hidden)
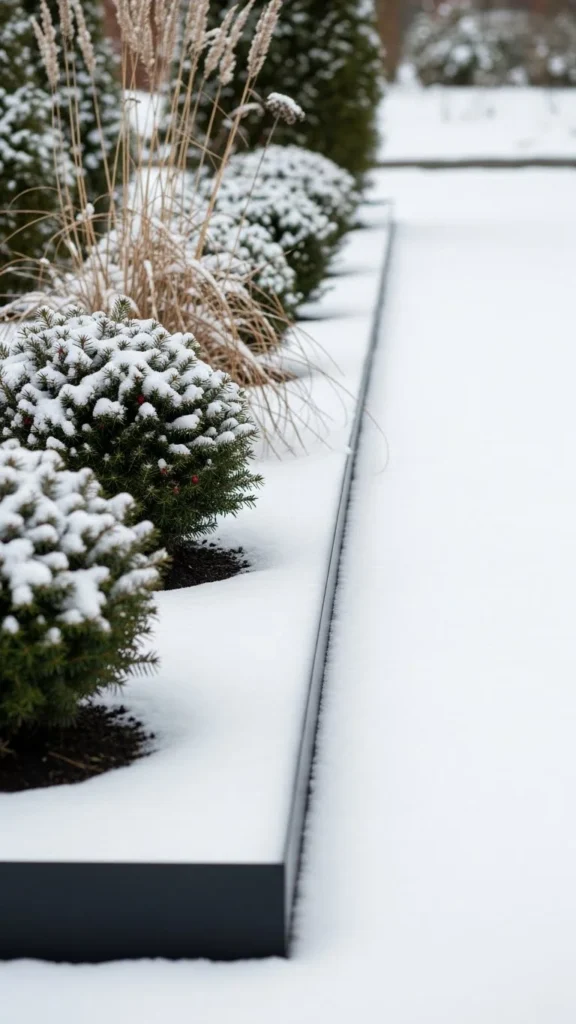
Black plastic edging is low-cost and blends into winter soil. It’s easy to install and flexible enough for curves.
Push it a few inches into the ground to keep it stable during freeze cycles.
Most hardware stores sell long rolls at a low price, making it a good choice for large gardens.
Once installed, mulch hides most of the plastic, leaving only a crisp line.
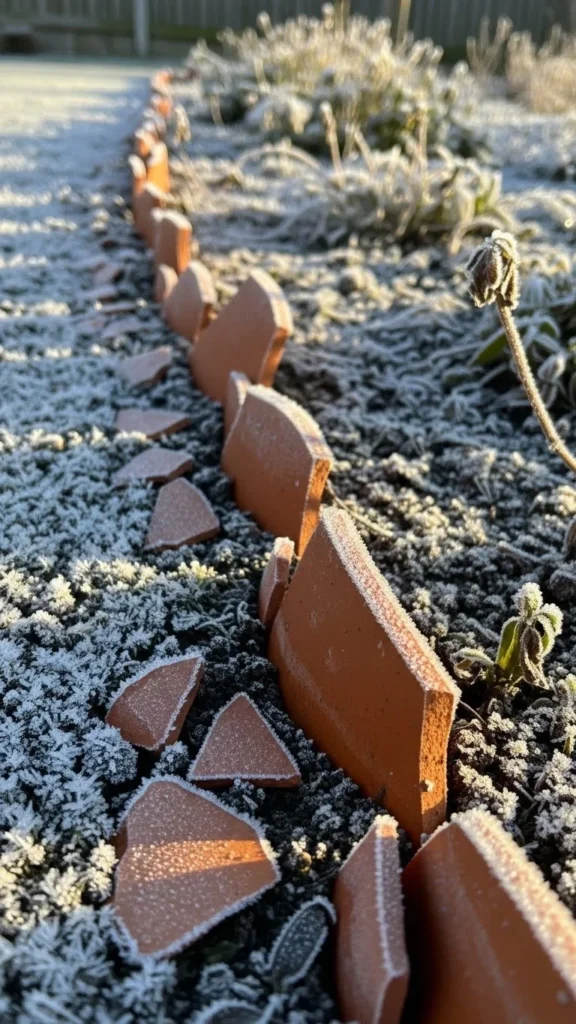
15. Recycled Roof Tile Border
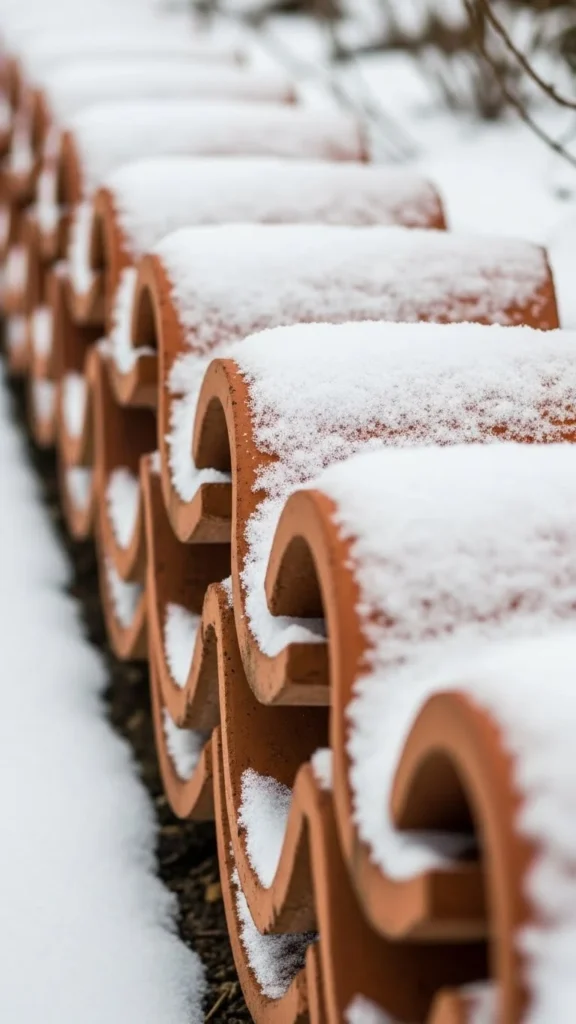
Old roof tiles make charming borders. Their curved shape adds rhythm to winter beds.
Place them upright in a repeating pattern.
You can often find tiles free from renovation sites.
The heavy material keeps them stable during winter storms.
They look especially good along herb beds or cottage-style paths.
16. Horizontal Log Border
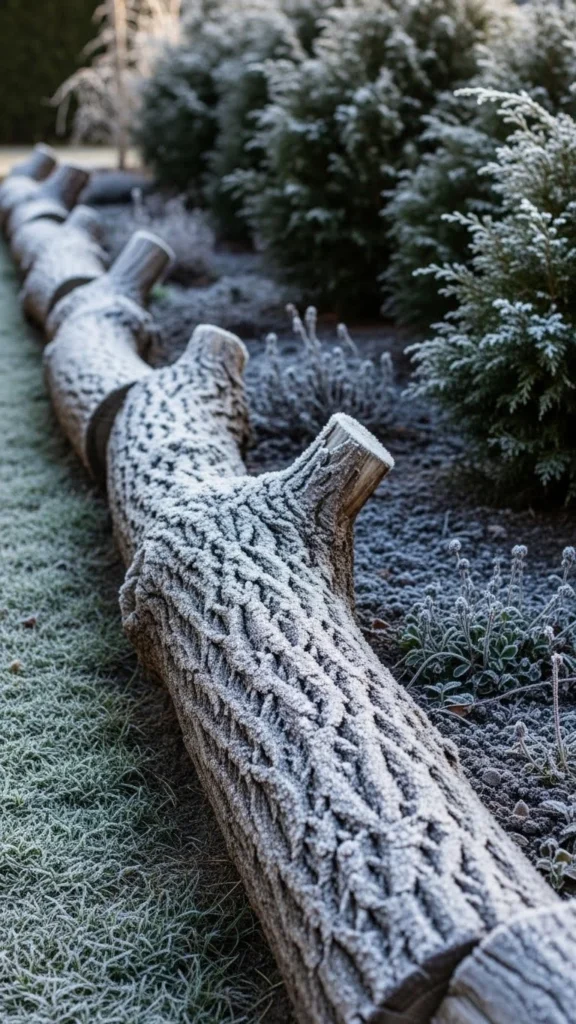
Thick logs create a solid boundary that feels warm even in cold months.
Lay them directly on the ground or notch them into place for stability.
If you want to save money, use trees removed from your property.
Seal the logs to extend their lifespan.
This border works well for rustic gardens, woodland paths, and sloped areas.
17. Paver Block Border
Paver blocks create a strong, geometric frame. You can line them up tightly or space them for a lighter look.
Check clearance aisles at hardware stores for discounted mismatched pavers.
Set the blocks slightly above soil level so they stand out in winter.
This border suits modern or traditional spaces.
18. Slate Shard Border
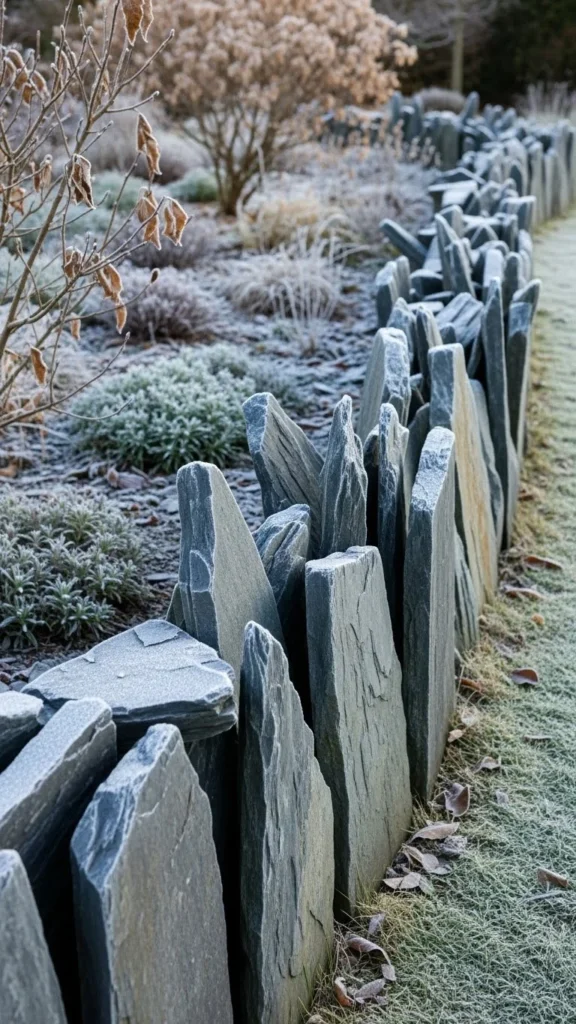
Slate shards add texture and interest to bare winter beds.
They’re easy to install—just press them into the soil.
You can find broken slate pieces at stone suppliers for a low price.
Their dark color contrasts beautifully with snow and pale grasses.
19. Rope and Stake Border

A rope border is simple, quick, and inexpensive.
Place small stakes and run a thick rope between them.
This works well if you want to define areas without installing heavy materials.
Choose natural rope for a softer look.
It’s handy for marking paths during snowy months.
20. Cast-Iron Garden Border
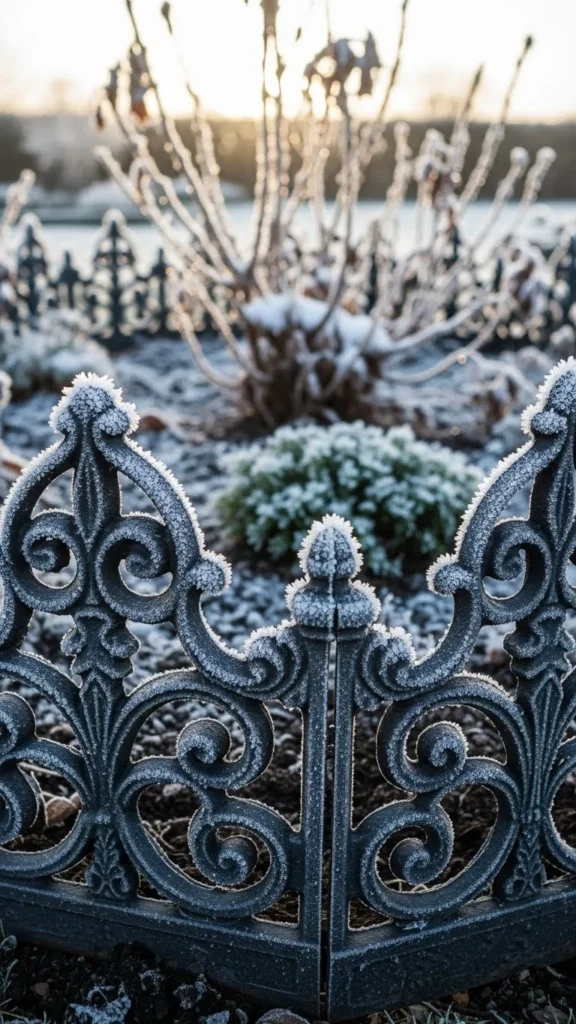
Cast-iron edging adds elegance and permanence.
Look for panels with simple patterns so the border doesn’t feel heavy.
Iron stands out beautifully in winter light.
For a cost-friendly approach, check thrift stores or salvage yards.
These borders are easy to install—just press the stakes into soil.
21. Brick-on-Side Border
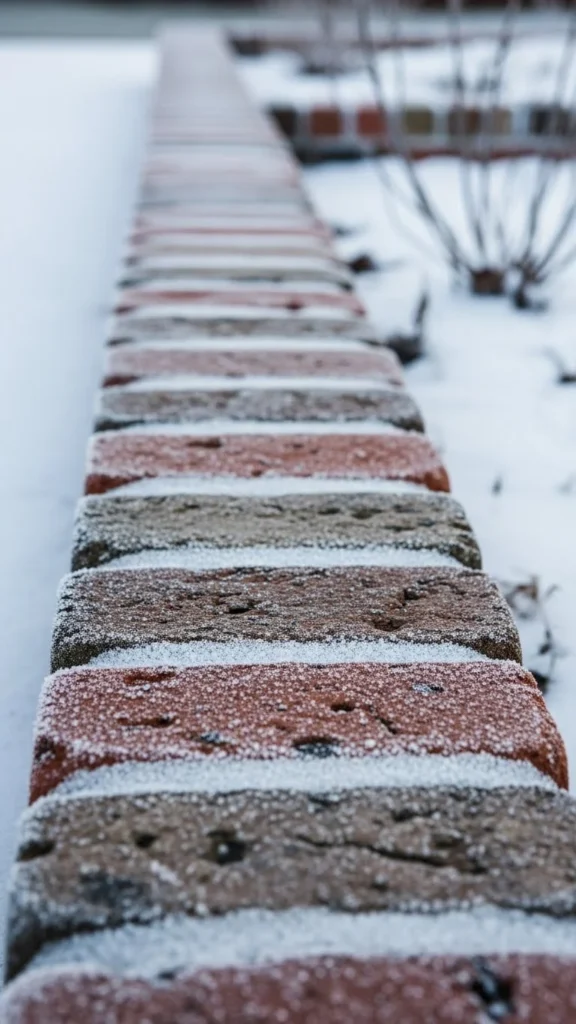
Laying bricks on their sides creates a flat, wide border.
It’s stable in winter and easy to walk along when working in the garden.
Use reclaimed bricks to save money.
Add a thin layer of gravel underneath to help drainage.
This creates a simple, attractive frame around beds.
22. Scalloped Concrete Edging
Scalloped edging is classic and durable.
Most home stores carry affordable sections.
Place them evenly to form a strong curve or straight run.
They’re heavy enough to stay put in winter storms.
The curved top stays visible when snow falls.
23. Herb Border Strip
A strip of hardy herbs doubles as a border and a functional planting.
Rosemary, thyme, and lavender give winter structure.
Plant closely for a dense line.
Start with small nursery pots to save money.
Trim lightly so the line stays clean all winter.
24. Gravel-Set Pavers
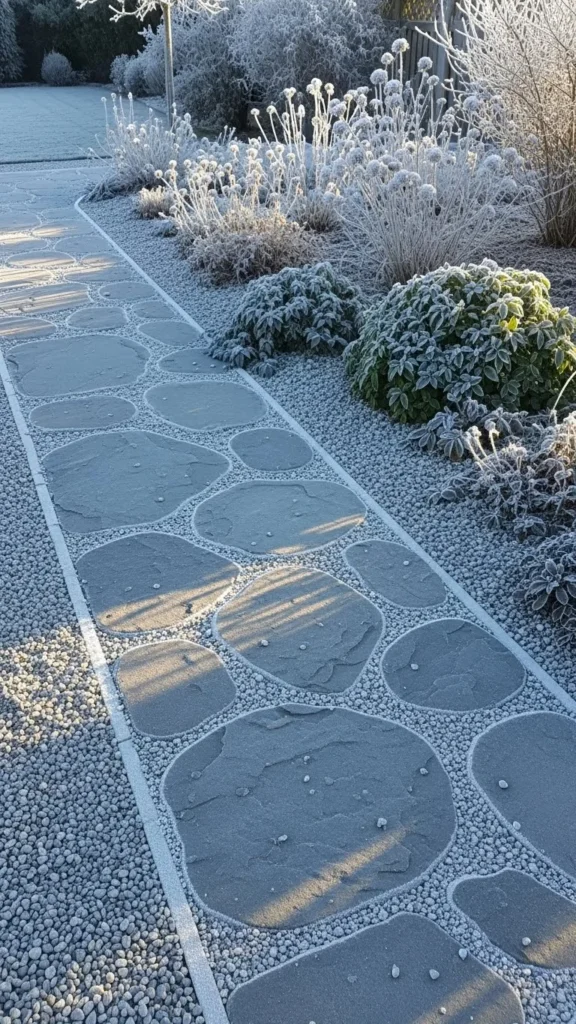
Set large pavers into gravel for a sturdy edge.
This style fits modern gardens and handles winter moisture well.
Use leftover pavers mixed with inexpensive gravel.
It’s easy to adjust the layout as your garden grows.
The wide border also makes a neat walking surface.
25. Steel Tube Border

Steel tubes create an industrial yet stylish border.
Use cut lengths of tubing or repurpose old metal pipes.
Lay them horizontally or stand them upright in a row.
Their reflective surface catches winter light beautifully.
Check scrap yards for low-cost materials.
26. Flat Rock Layer Border
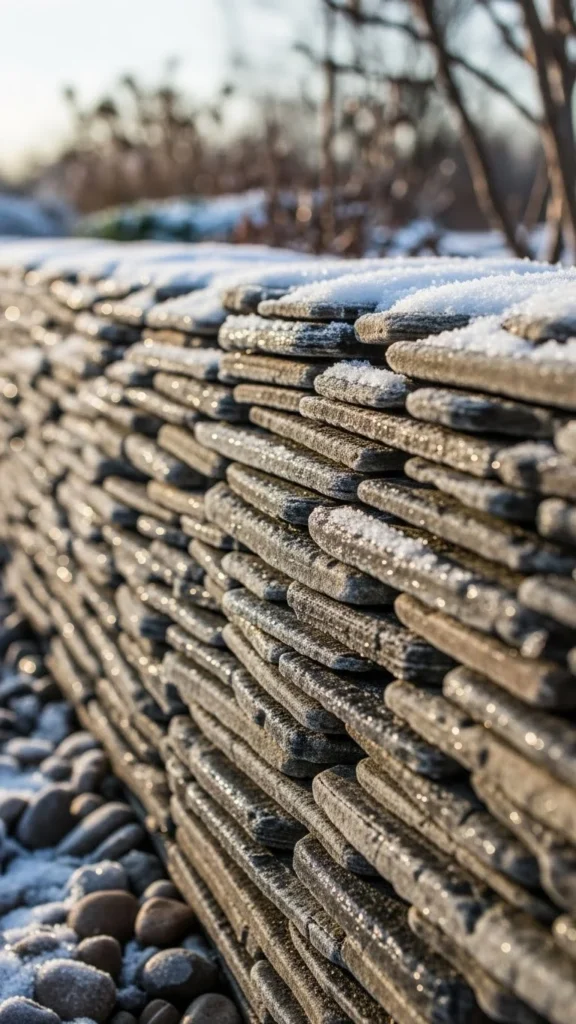
Flat stones stack easily and create a refined edge.
Look for discounted “broken flagstone” piles at suppliers.
Lay stones in overlapping layers for stability.
This border blends well with winter shrubs and conifers.
It’s a long-lasting, low-maintenance choice.
27. Mulch-Defined Trench Border
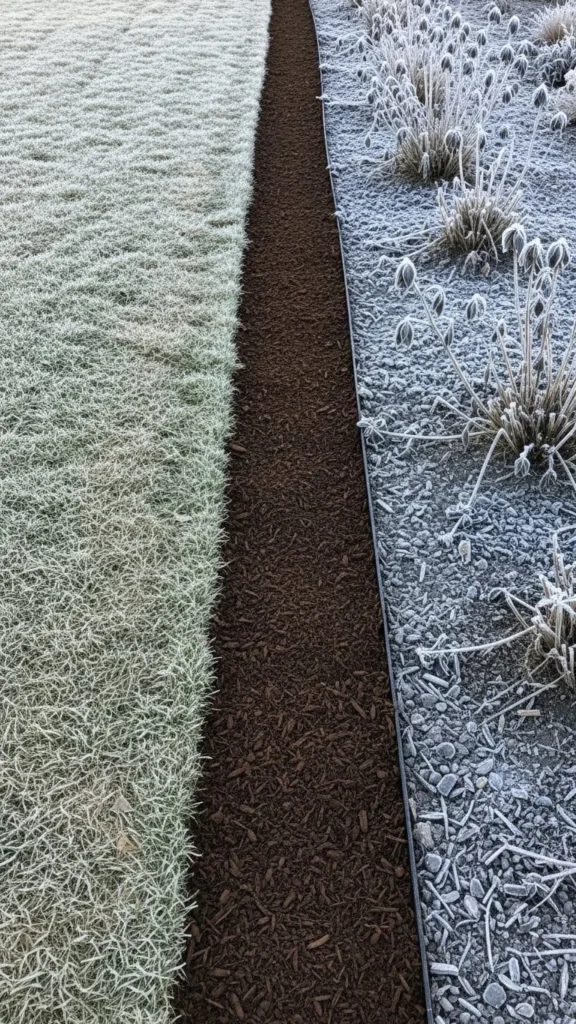
A simple trench filled with mulch creates a soft, tidy border.
Use a half-moon edger to cut a shallow dip along your bed.
Fill it with fresh mulch for contrast.
This border is nearly free and fast to refresh.
It works well around curved or organic-shaped beds.
Conclusion
Winter borders bring shape and clarity when your garden feels quiet and bare. These ideas help you outline beds, guide footpaths, and create structure that lasts through the cold season. Choose one or mix a few styles to shape your space your way. Small updates can make your garden feel organized, thoughtful, and ready for spring.

Leave a Reply