
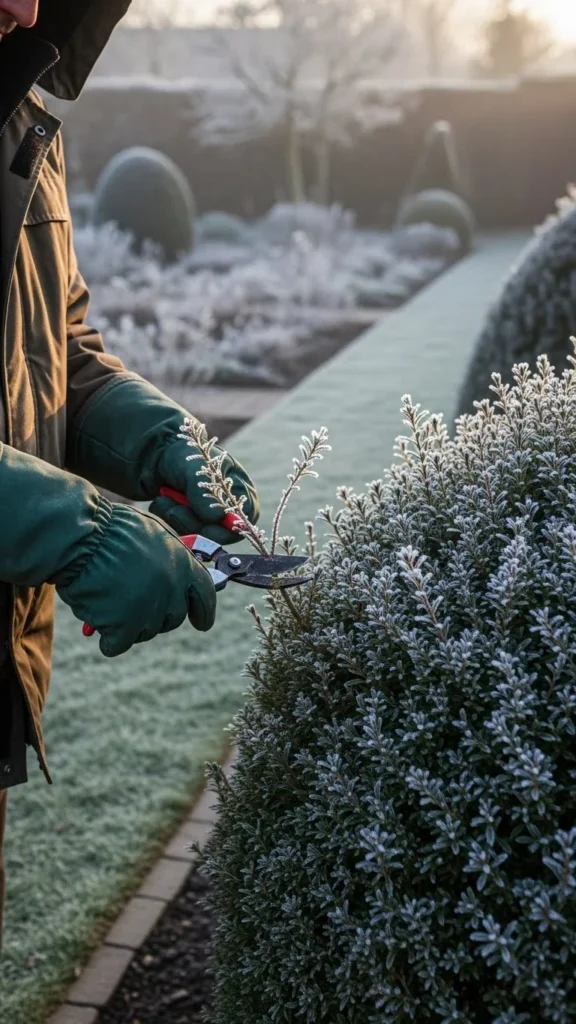
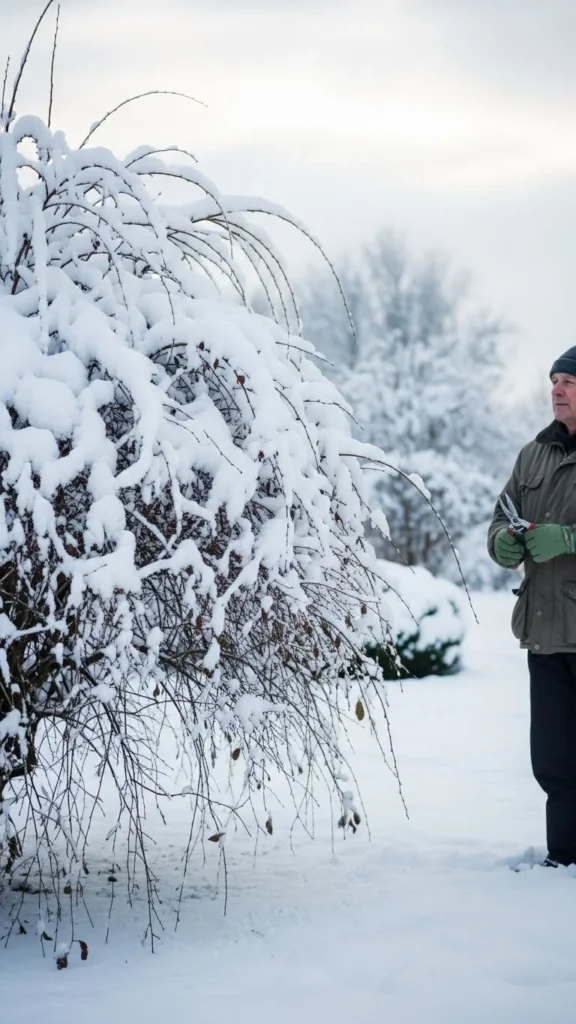
Winter is the calmest time to shape shrubs because growth slows down and branches become easier to read. Many new gardeners skip small steps that make a big difference in spring regrowth. This guide breaks everything into clear, simple actions so you can prune confidently without spending much money. Each step helps you shape healthier shrubs, remove damage, and reduce future problems. Follow these tips at your own pace and you’ll notice cleaner cuts, stronger branches, and better growth once warmer days return.
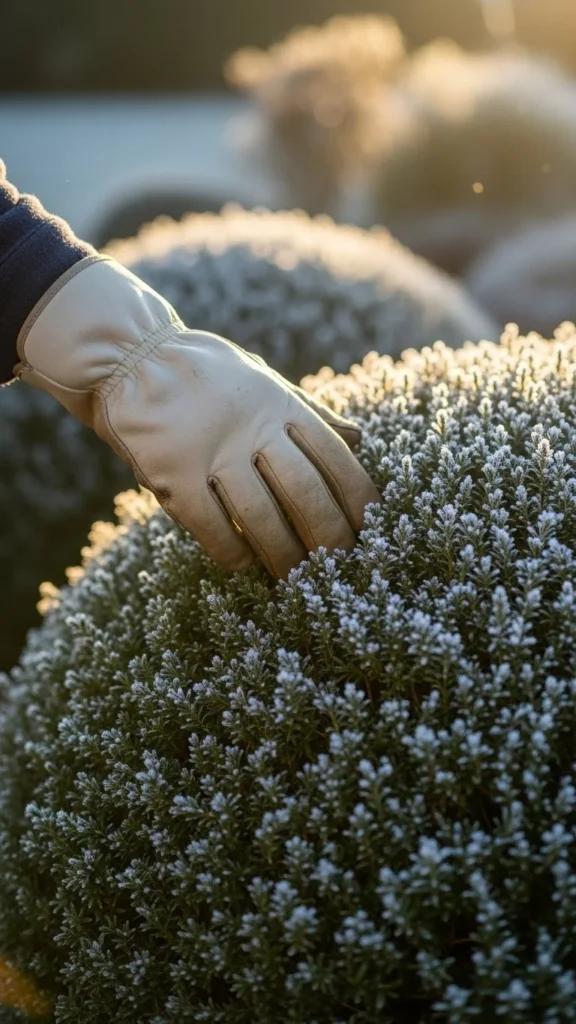
1. Start With a Slow Walk-Around
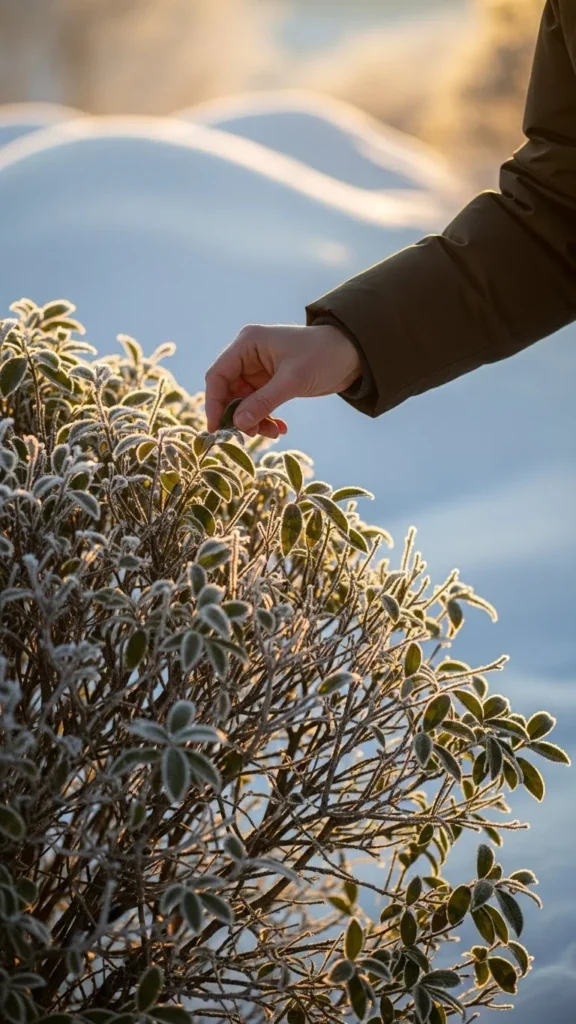
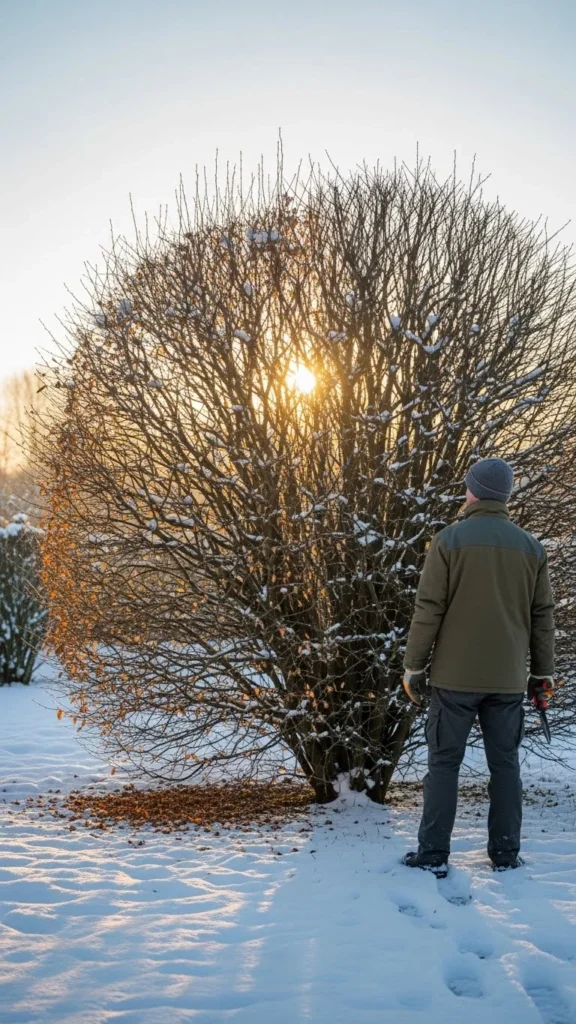
Take a few minutes to walk around your shrub. Look from different angles. You’ll notice uneven sides, older growth, and weak spots. Many beginners rush into cutting and miss little issues that matter later. Move slowly and observe where branches cross or rub. You don’t need fancy tools for this step. A simple notebook helps if you want to mark areas to fix. Walking around also warms you up on cold days. This first check makes everything easier because you’ll know exactly where to start instead of guessing once clippers are in your hand.
2. Clean Your Tools Carefully
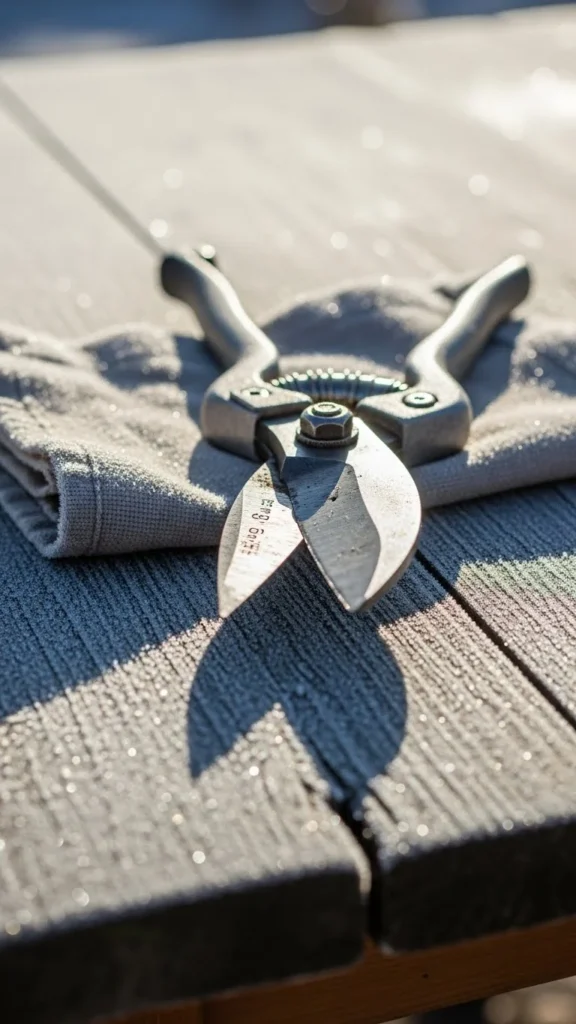
Wipe your shears with warm water and a bit of dish soap. Dry them fully. This helps you avoid spreading plant issues during pruning. If the blades feel sticky, add a drop of household oil. You don’t need special cleaners. A simple wipe keeps cuts smooth and prevents tearing. Many beginners skip this because it feels small, but clean tools make cleaner cuts and help shrubs recover faster. Keep a cloth in your pocket while you work so you can wipe blades between shrubs without stopping.
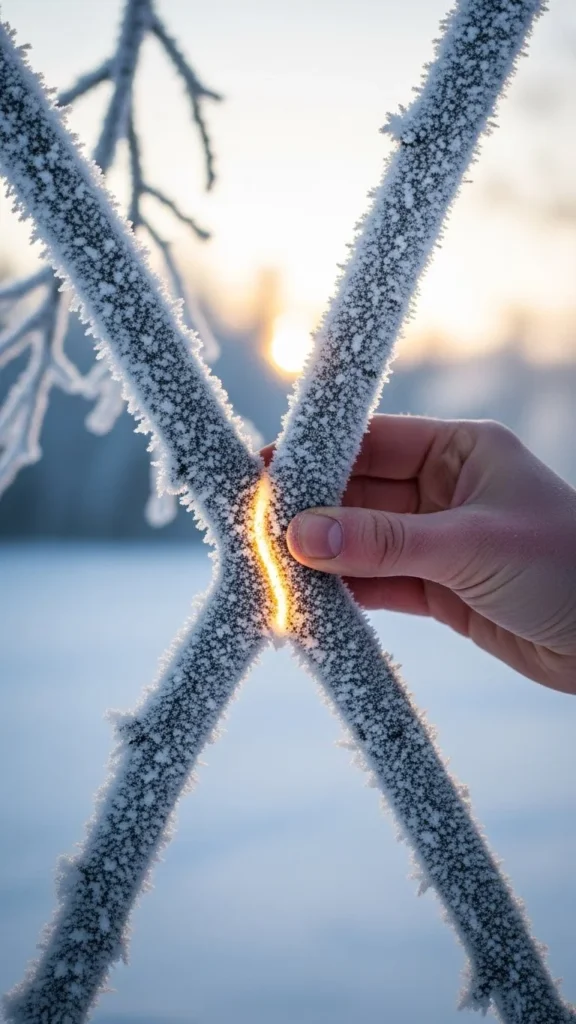
3. Remove Any Dead Wood First
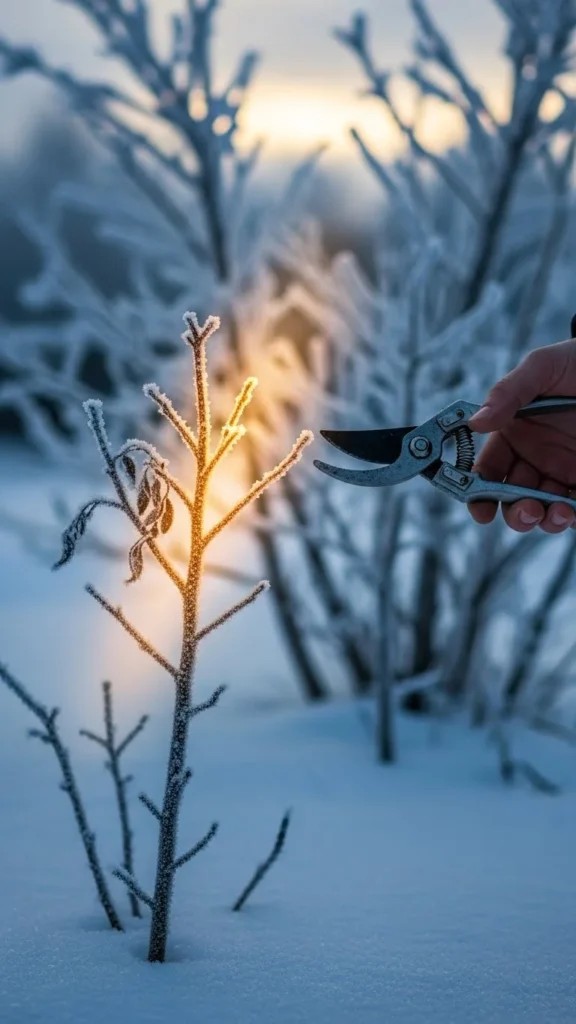
Dead wood is easy to spot in winter. It looks dry, faded, and brittle. Snap a tiny piece to check—dead branches break cleanly. Start by cutting all dead wood because it opens up space and makes the shrub easier to shape. These cuts don’t require precision. Just trim back to the nearest healthy branch. If you’re unsure, scratch a small section of bark. Green under the bark means the branch is alive. Dead wood removal sets the stage for everything that follows.
4. Cut Out Any Diseased Branches
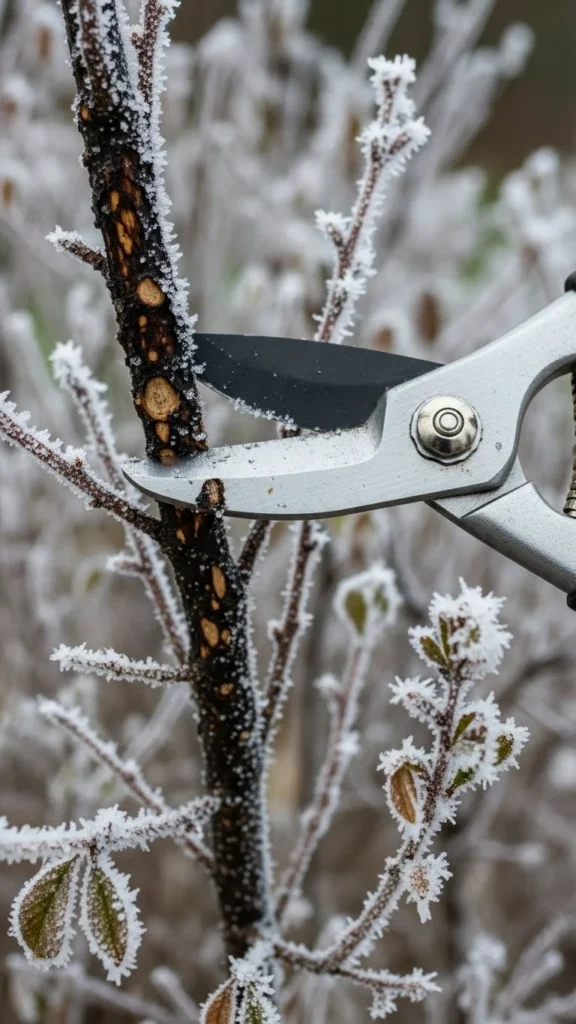
Look for dark spots, odd swelling, or mushy bark. These are signs of plant issues. Remove the branch fully instead of trimming the tip. Use a clean cut and avoid tearing the bark. Place removed pieces in the trash instead of compost. You don’t need sprays or chemicals for this step. Removing the damaged wood early keeps the rest of the shrub healthier. Many beginners overlook disease in winter because leaves are gone, but the signs are easier to spot on bare branches.
5. Identify the Main Structure
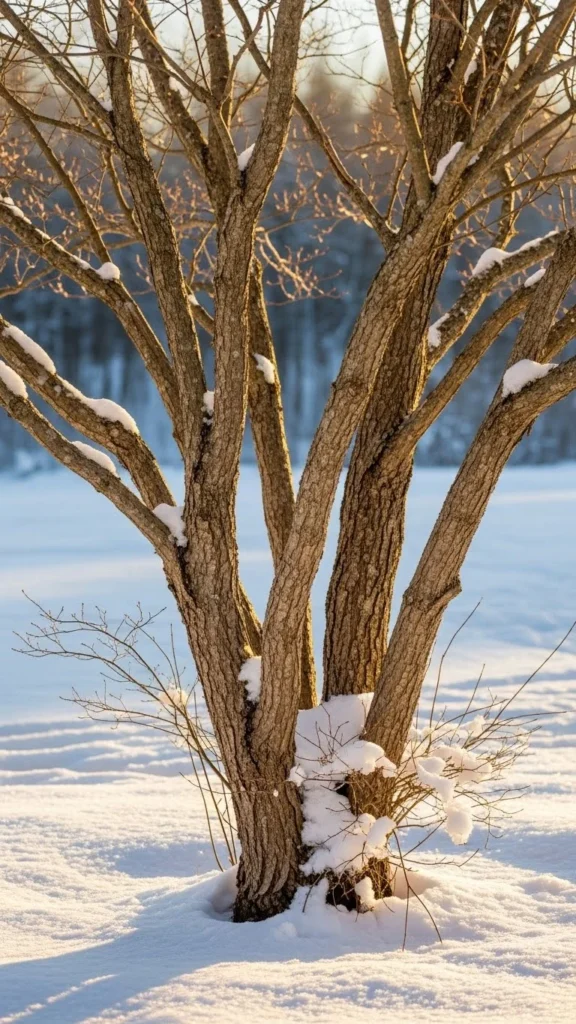
Stand back and look for the thickest structural branches. These form the shape of your shrub. Trace them visually from the base to the tips. Once you know the structure, the rest becomes simple. Avoid cutting these strong branches unless absolutely required. Understanding structure helps you trim gently without changing the natural shape. You don’t need design skills—just follow the natural flow. This gives your shrub a tidy look without removing too much.
6. Remove Rubbing Branches
When branches rub, they create wounds. Winter is the best time to fix this because you can see rub marks clearly. Pick the weaker branch and cut it out. This helps sunlight reach deeper into the shrub. It also reduces future breakage. A quick snip avoids problems that beginners often notice too late in spring. Cutting rubbing branches also makes your shrub look more open and balanced.
7. Open Up the Center Slightly
Shrubs benefit from light and airflow. Gently open the center by removing a few small branches. Aim for just enough space to let sunlight reach the inside. You don’t want a hollow look—just a little breathing room. This helps new growth appear evenly instead of only on the outer shell. You can do this with simple shears. Try removing only one or two branches at a time to avoid overdoing it.
8. Cut at a Slight Angle
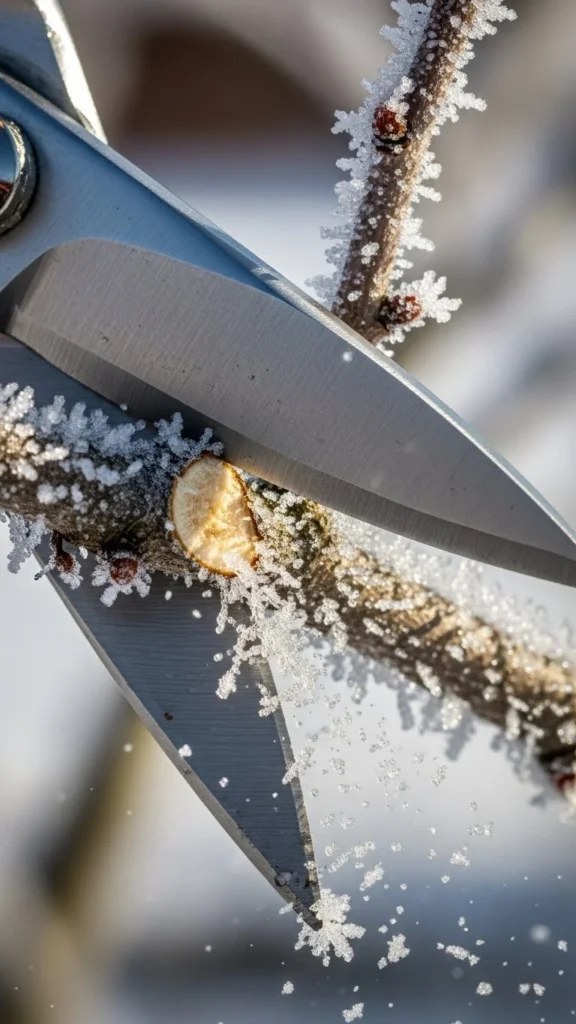
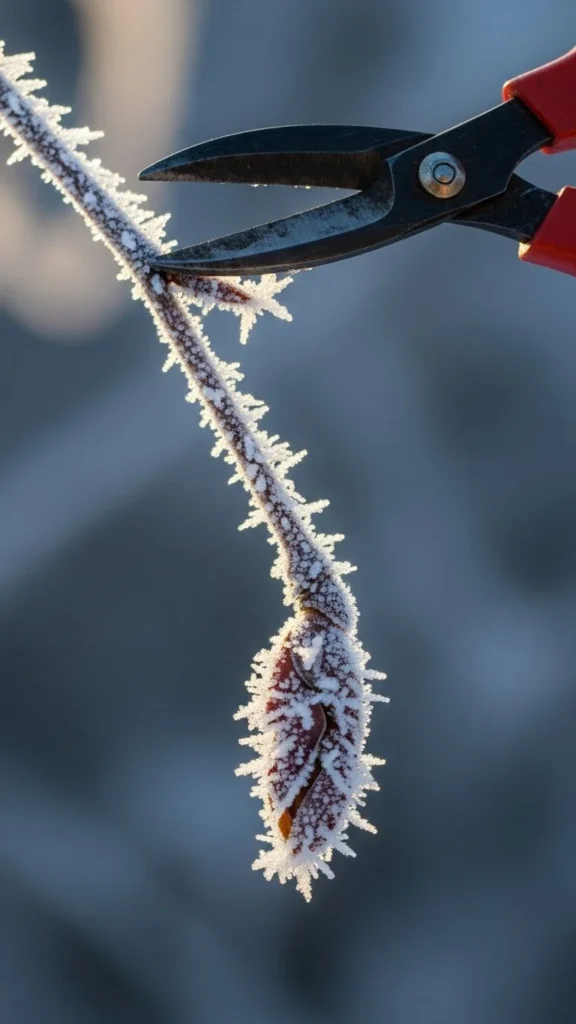
A slight angle helps moisture slide off the cut. This creates a cleaner healing point on the branch. You don’t need to measure the angle—just tilt your wrist a little. Beginners often cut flat across, which traps moisture on winter days. A small angle makes the cut neater without extra effort. If you’re pruning many shrubs, keep your shears sharp to avoid crushing the bark.
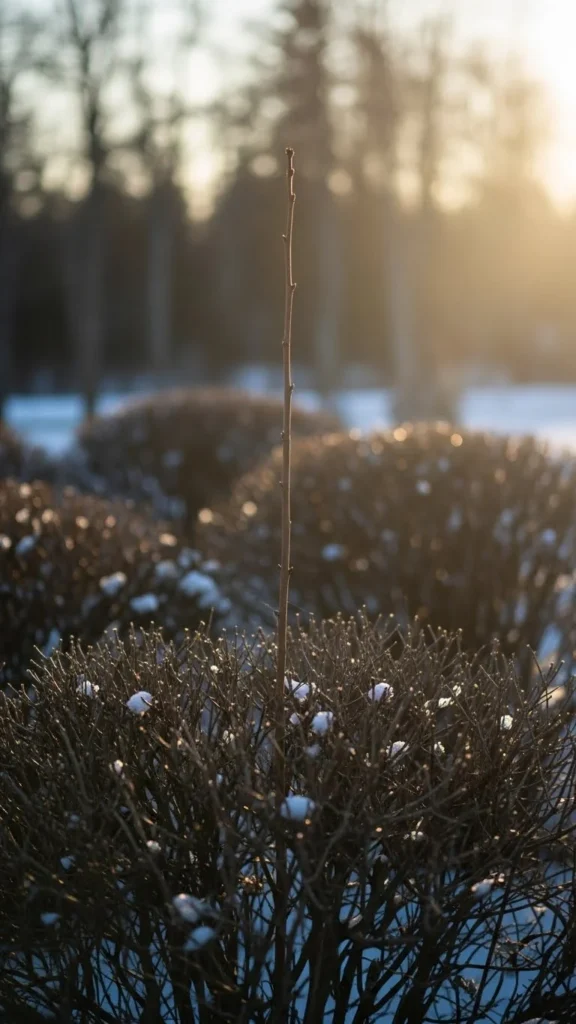
9. Shorten Long, Wild Shoots
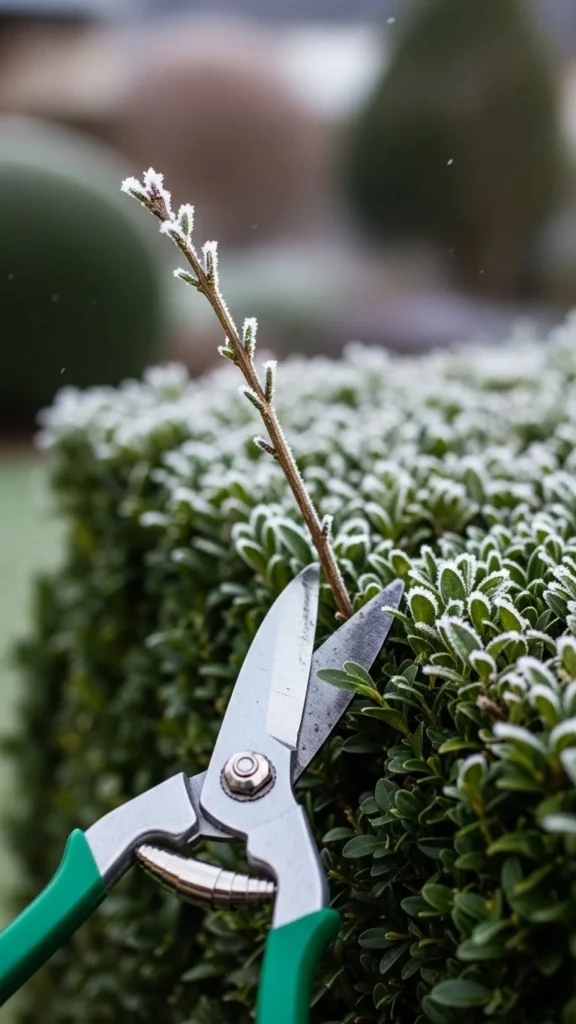
Winter exposes long shoots that stuck out during warmer months. Trim them back to match the general shape of the shrub. Don’t cut too close to the base. Leave a small bud so spring growth fills in nicely. Shortening long shoots helps keep the shrub dense. It also prevents bending when snow collects. This step gives the shrub a tidy look without heavy shaping.
10. Keep Cuts Just Above a Bud

Every cut encourages new growth. So aim right above a bud facing outward. This directs new branches away from the center, creating a wider shape. Avoid cutting far below or directly on the bud. A small space—about the width of a fingernail—is perfect. This helps the shrub fill out evenly when warmth returns. Many gardeners skip this, but it makes shaping easier later.
11. Follow the Natural Shape
Don’t try to create new shapes. Follow what the shrub naturally wants to become. Winter outlines are easy to see with leaves gone. This keeps your pruning simple and prevents flat spots. Use light snips along the outline. Step back frequently to check your work. You don’t need costly tools—basic hand shears work well for most shrubs. Following the natural curve also helps keep growth balanced.
12. Avoid Cutting Too Much at Once
A common mistake is removing too many branches. Keep your work light and steady. Take off a little, then stop and check the shape. Winter pruning is about guiding, not reshaping. Removing too much weakens the shrub. Focus on gentle shaping instead. If you feel unsure, step back and compare both sides. Light work looks better in spring.
13. Watch for Hidden Damage
Cold weather can split wood. Look closely for cracks, peeling bark, or hollow spots. Remove damaged sections carefully. Always cut back to healthy wood. These hidden problems are easy to miss, but winter light helps reveal them. This small check prevents branches from breaking under snow later. A tiny fix now saves you bigger cleanup during storms.
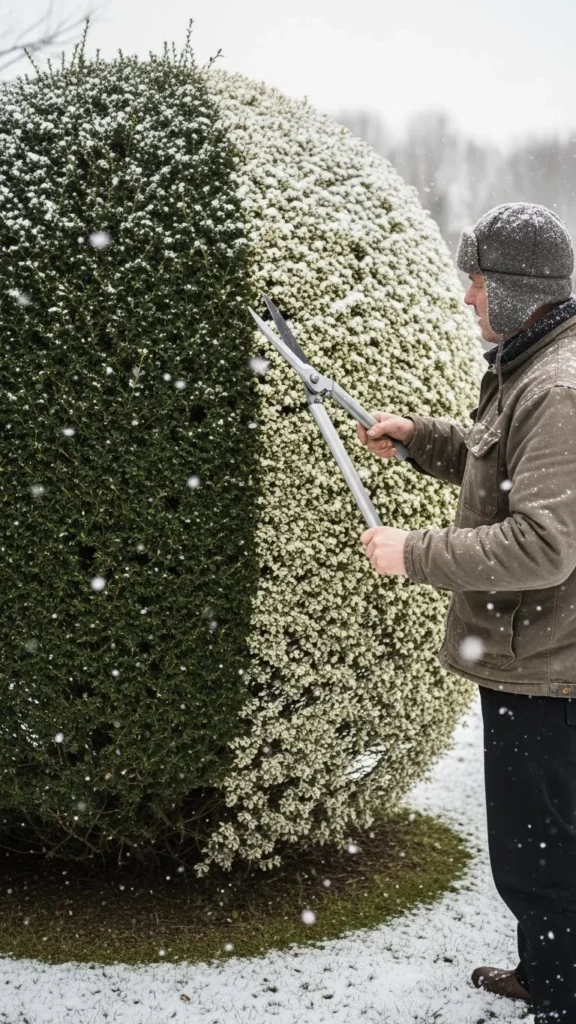
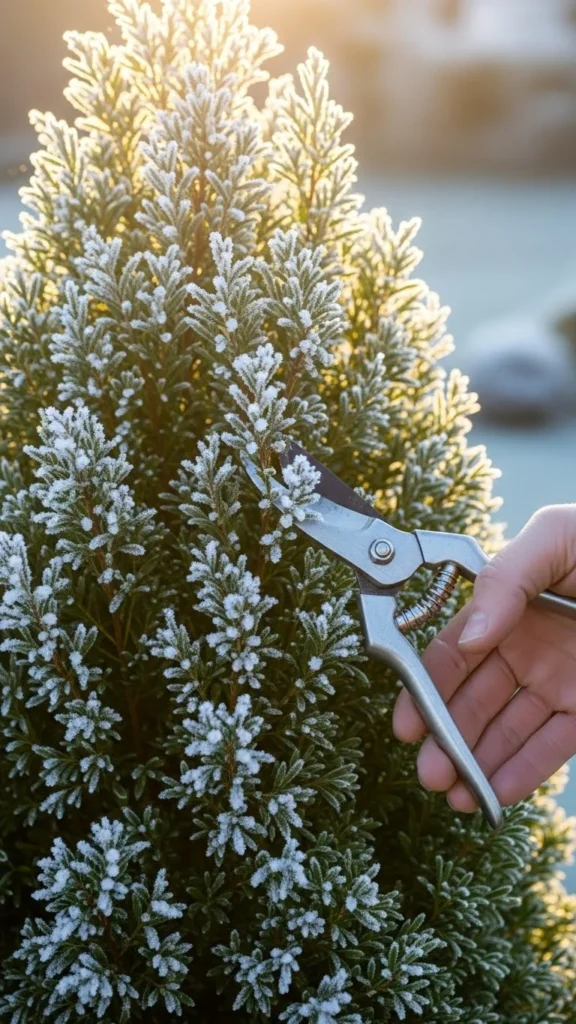
14. Clip Only When Temperatures Are Mild
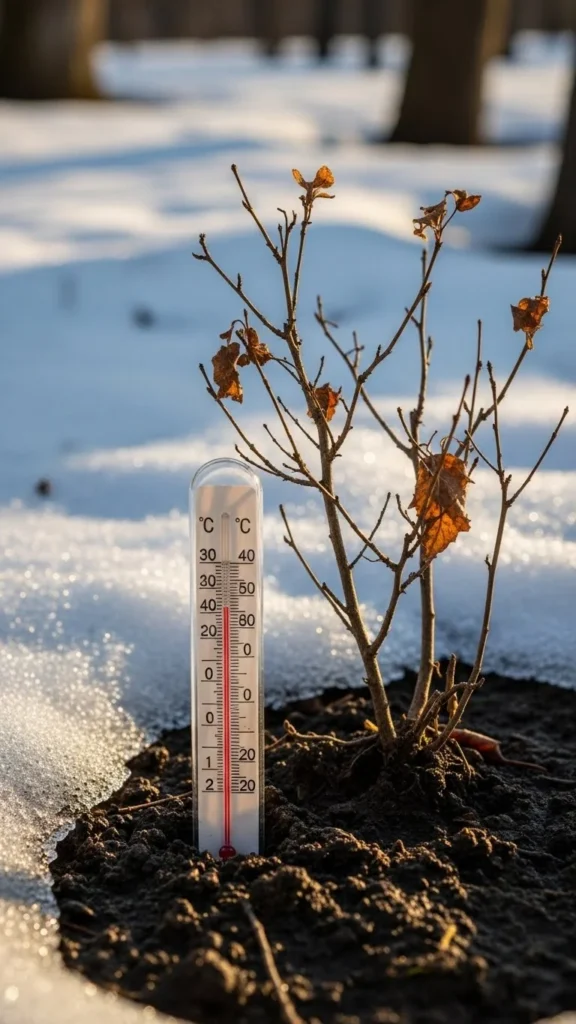
Avoid pruning during freezing hours. Wait for a mild winter afternoon. Wood becomes brittle in harsh cold and may split when cut. Mild temperatures help you make smoother cuts. This isn’t complicated—just choose a day that feels comfortable to work in. A simple afternoon trim makes recovery easier for the shrub.
15. Use Two Tools for Easier Work
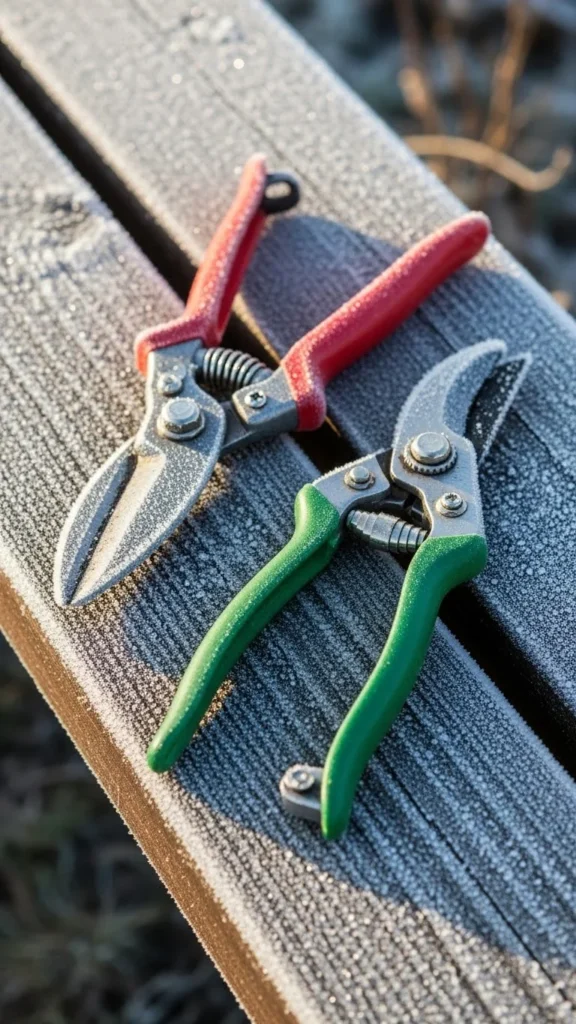
Keep both small shears and small loppers nearby. Shears handle thin twigs; loppers tackle thicker parts. Switching tools lets you work faster and cleaner. You don’t need high-priced gear. A basic pair from a home store works fine. Holding both keeps you from forcing small tools through thick wood, which can damage branches.
16. Clear the Base of Debris
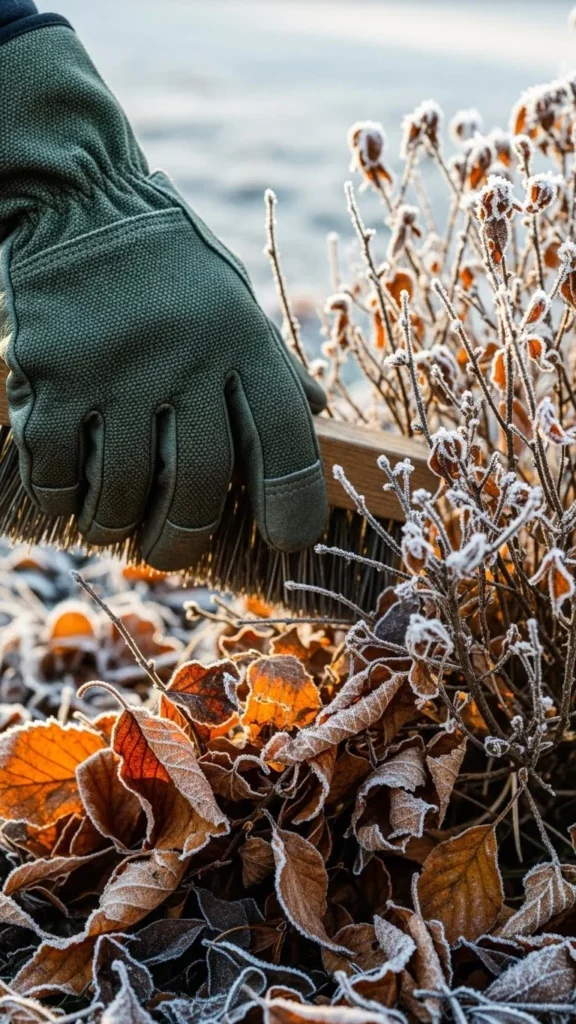
Remove leaves, sticks, and old mulch around the base. Debris hides problems like rot or insects. Clearing the area gives you a clean view and keeps your feet from slipping. It also reveals low branches that might need trimming. This step costs nothing and improves your overall workspace.
17. Stand Back Every Few Minutes
Shaping goes smoother when you pause. Step back and check your progress. Look for uneven sides or missed areas. This helps you avoid overcutting. Beginners often stay too close and trim more than planned. Take short breaks and walk around again if needed. These quick check-ins give you cleaner results.
18. Remove Branches Growing Straight Down
Downward branches don’t add much to shrub shape and often sit on the ground. Trim them back to the base or to a healthy upward-facing bud. This small step keeps shrubs tidy and helps air move better around the base. It also prevents soil contact that can lead to rot. Removing downward growth keeps the form clean.
19. Trim Close to the Collar
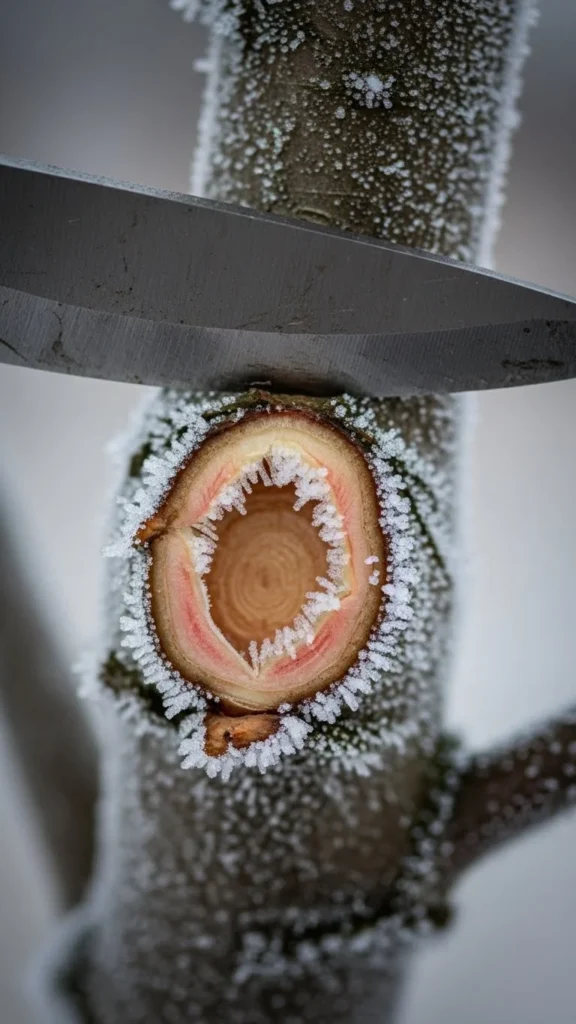
The branch collar is a small swollen area where branches meet. Cut just above it. This supports good healing. Avoid cutting into the collar. It may look small, but this detail helps shrubs recover neatly. You don’t have to identify it perfectly—just trim slightly above where two branches join.
20. Thin Crowded Spots
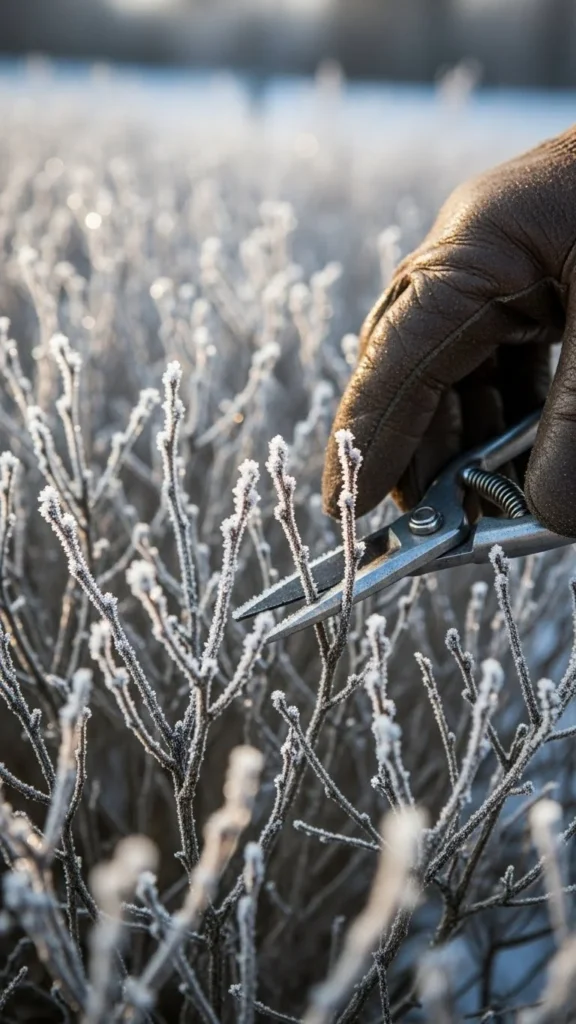
Leafless winter branches make crowded areas easy to spot. Remove a few twigs to open space. This reduces future breakage and allows new growth to form evenly. Keep it simple: remove one or two thin branches at a time. Clearing crowded areas helps sunlight reach deeper parts of the shrub during the growing season.
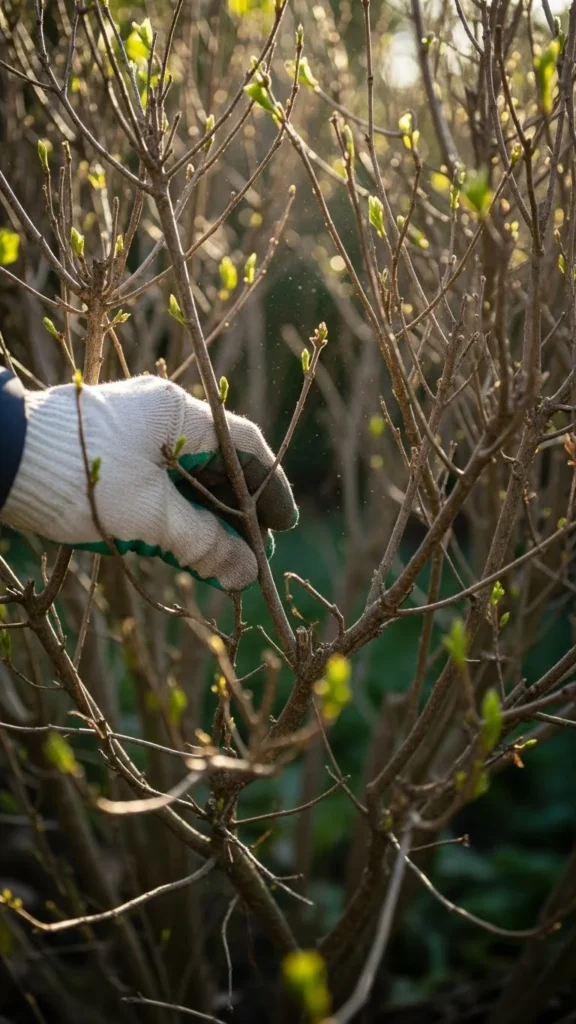
21. Leave Young Shoots Alone
New thin shoots don’t need trimming. They hold next year’s growth. Leaving them helps shrubs recover from winter pruning without stress. Focus on older wood instead. Beginners often trim these because they look delicate, but they are the growth you want to keep. Keeping young shoots intact produces a fuller shrub in spring.
22. Shape From the Top Last
Always prune the bottom and middle before touching the top. The top grows fastest, so adjusting it last gives better balance. This avoids a lopsided shape. Keep your trimming light. A few careful cuts are enough. Ending with the top helps tie the whole shape together without taking too much off.
23. Check the Ground for Fallen Twigs
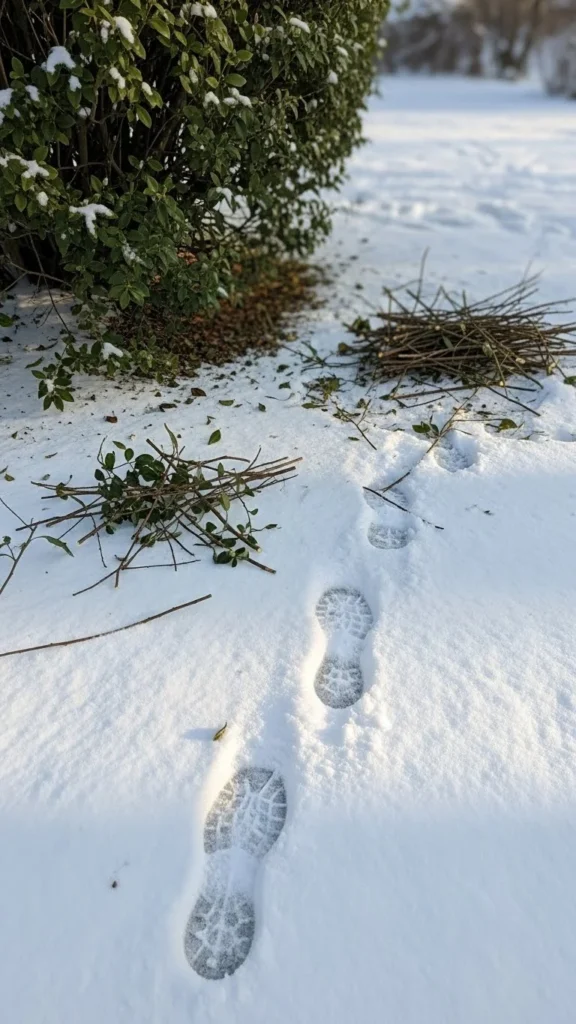
Clear trimmed pieces from the ground as you work. Stepping on them can hide hazards and slow you down. Cleaning as you go makes the area safer and easier to view. You don’t need special tools—just gather them into a small pile and bag them later. Clean ground also helps you see your pruning progress more clearly.
24. Avoid Cutting the Main Leader
Some shrubs have a strong central leader. Avoid cutting it unless damaged. Trimming the main leader changes height and future structure. Keep your work focused on side branches. This keeps the natural shape intact. A strong leader supports even growth in warmer months, so protect it unless you’re trying to reduce height on purpose.
25. Don’t Rush Shrubs Under Snowload
If a shrub is covered in snow, let it melt off before pruning. Snow hides branch angles and makes wood brittle. Trying to prune under snow can cause snapping. Wait a day or two for a clearer view. Winter trimming goes faster and cleaner when branches are dry. This simple patience prevents unnecessary damage.
26. Look for Suckers at the Base
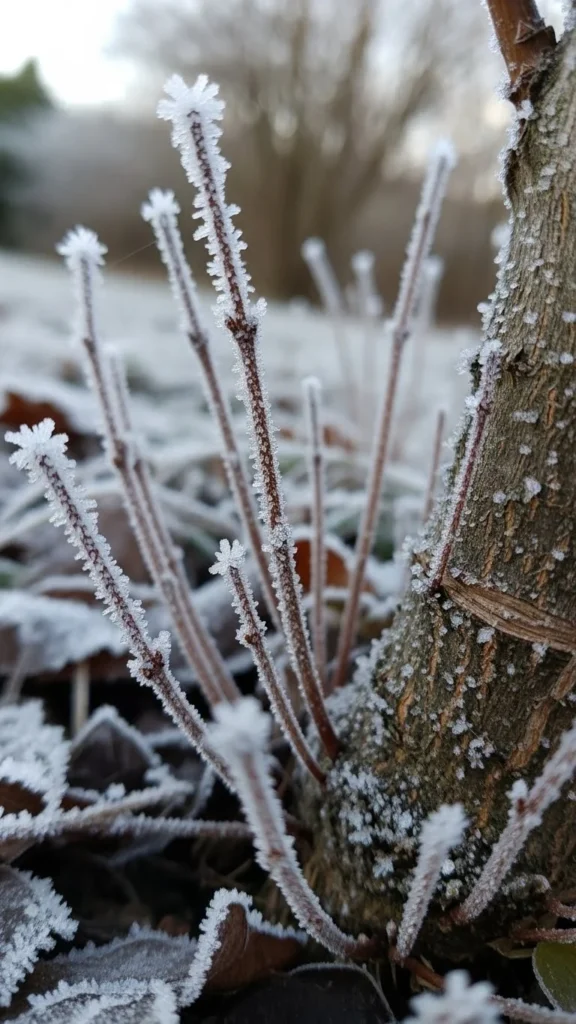
Suckers are thin shoots that pop up around the base. Remove them early. They pull strength from the main shrub. Cutting them helps keep the plant tidy and focused on strong growth. Use small shears and trim close to the ground. These tiny shoots grow fast, so winter removal keeps shape clean.
27. End With a Light Shape Check

Once you’re done, step back and look at the shrub as a whole. You’re just checking balance, not perfection. If one side looks heavier, trim a branch or two. Keep the shape natural and soft. A light final check ensures your work looks even. This is a simple way to feel confident that your winter pruning is complete.
Conclusion
Winter pruning doesn’t have to feel complicated. With slow, simple steps, you can shape shrubs clearly and avoid common beginner mistakes. These quiet winter tasks set the stage for cleaner growth and healthier branches once warmth returns. Grab your shears on the next mild day, follow these steps, and enjoy the satisfaction of a well-shaped garden when spring arrives.

Leave a Reply